This might be the easiest tutorial ever. I almost feel weird about calling it a tutorial, it’s so easy.
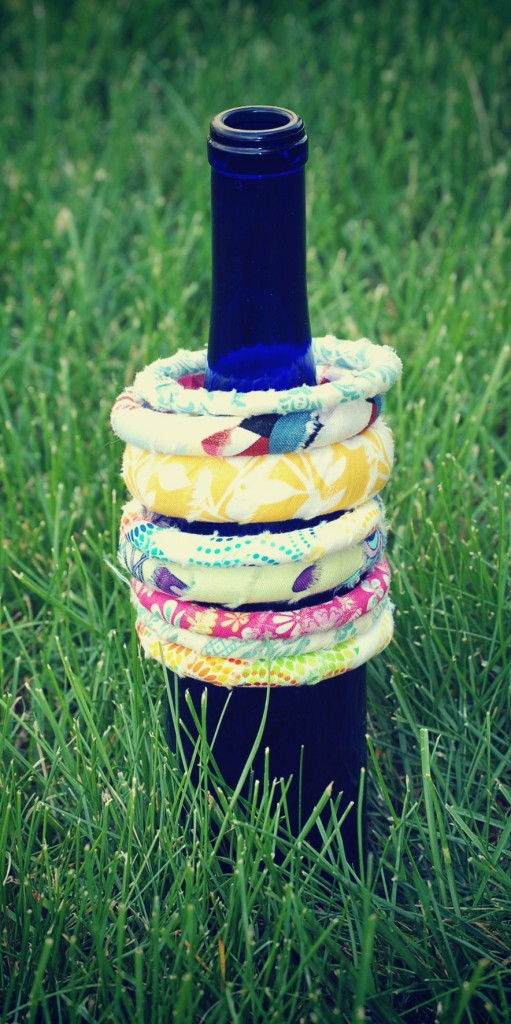
Remember when I wrote about my garage sale wish list that I keep on my phone? Well, one of the things I have on there is bangles. And these fabric-wrapped bracelets are why.
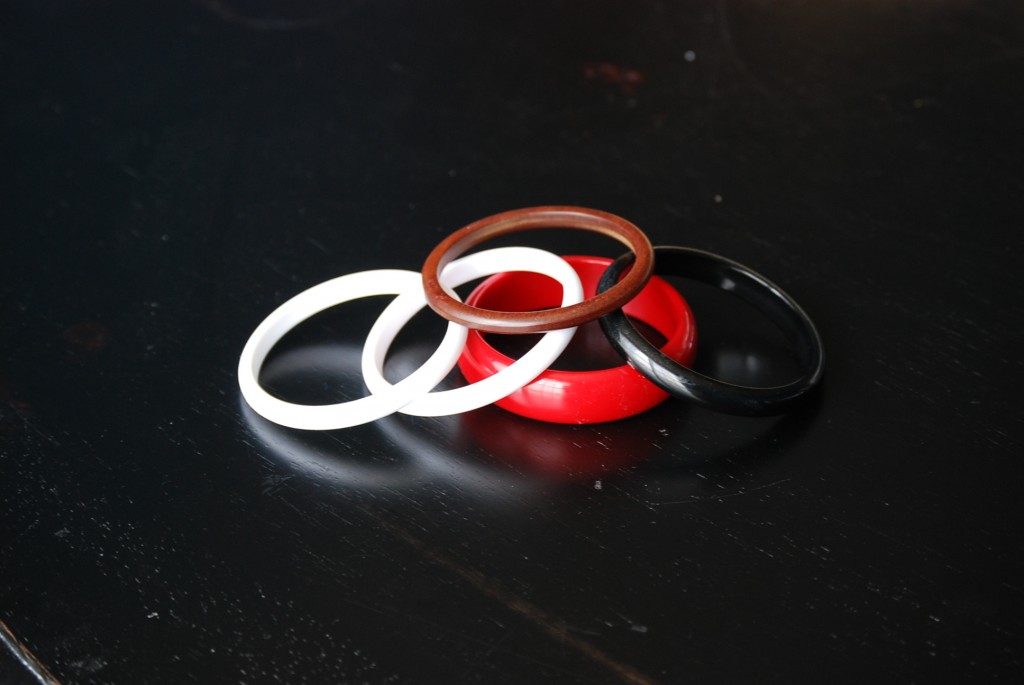
You can literally make these for pennies. I got all of these bangles at garage sales, so they were all around $.25 each.
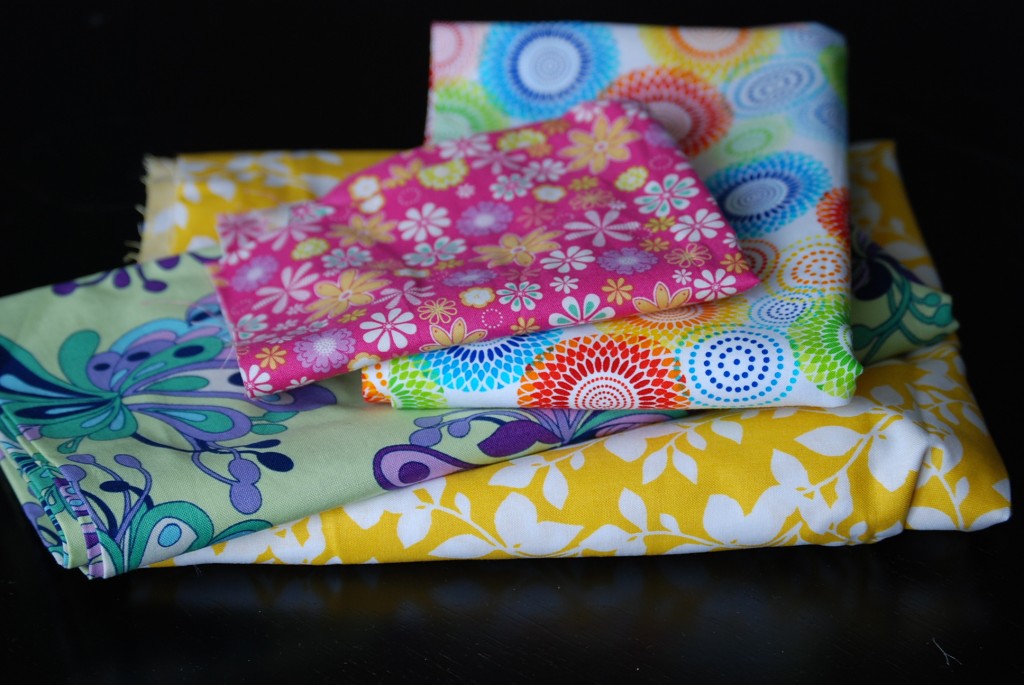
And I already had the fabric on hand, but you only need a tiny bit for each bracelet, so if you don’t have any fabric, check out the remnant bin at your fabric store. Or, you can use thrift-store clothing, old clothes of your own … pretty much any non-stretchy fabric you can find {you’ll be pulling pretty hard on the fabric as you’re wrapping, so you don’t want it to have a lot of stretch}.
Here’s what you do:
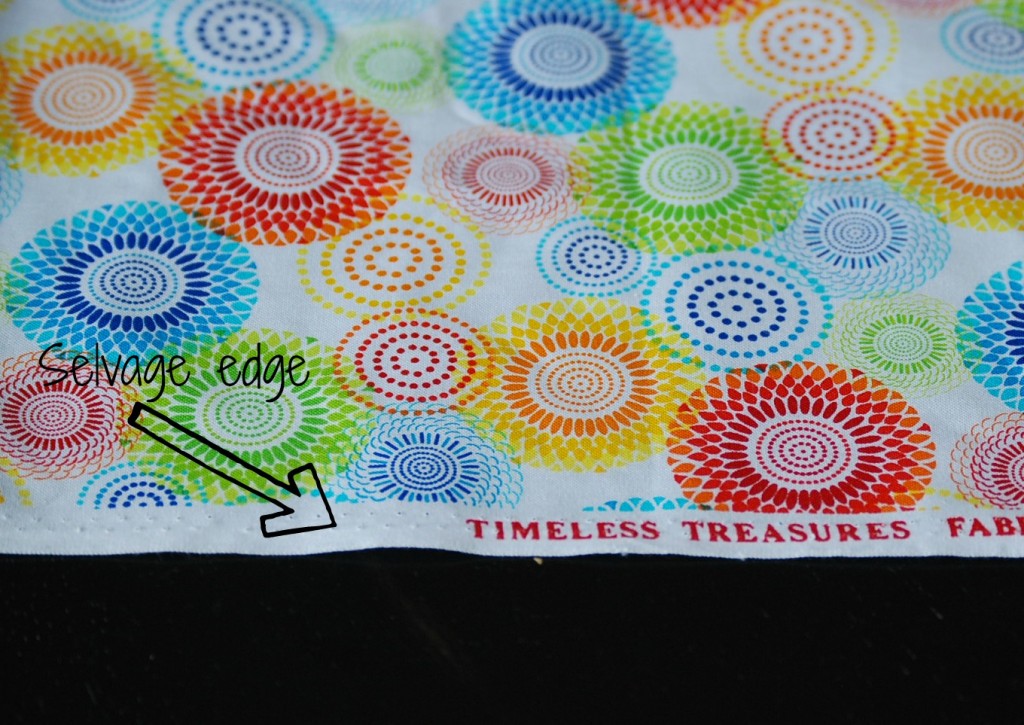
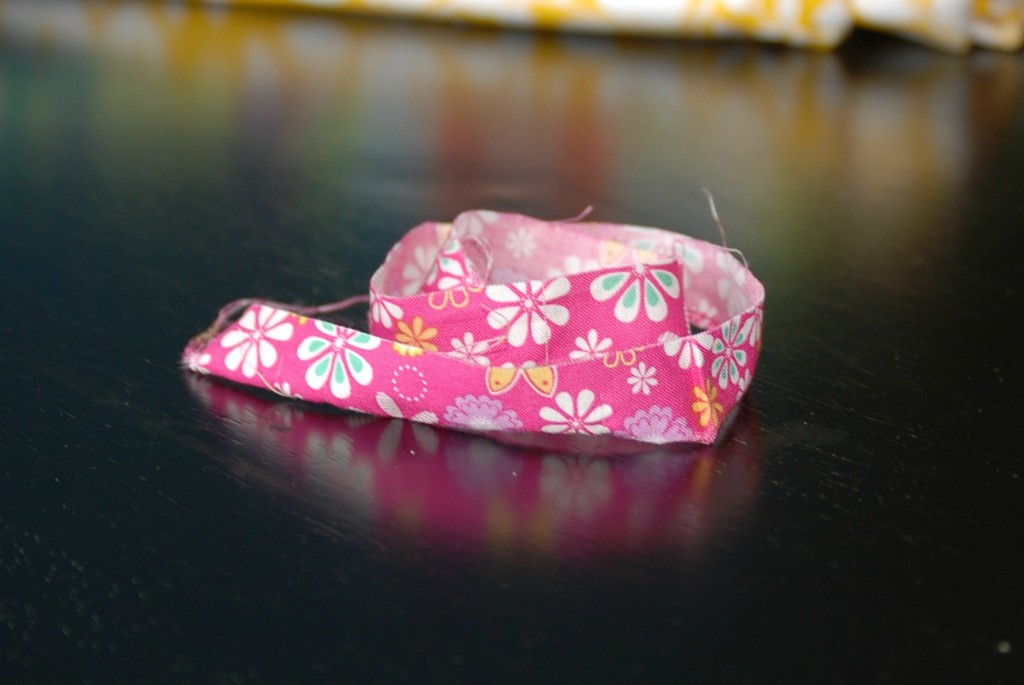
I like ripping the fabric instead of cutting, because I like the way it frays a bit on the sides. The easiest way to make sure you are getting a relatively straight piece is to make a slit at one end, right near the selvage edge of the fabric {the outside edges that are often white with writing on them}.
Rip down the length of the fabric, removing the selvage edge. Then make another slit about 3/4 in, and again rip down the length of the fabric. That’s your fabric strip!
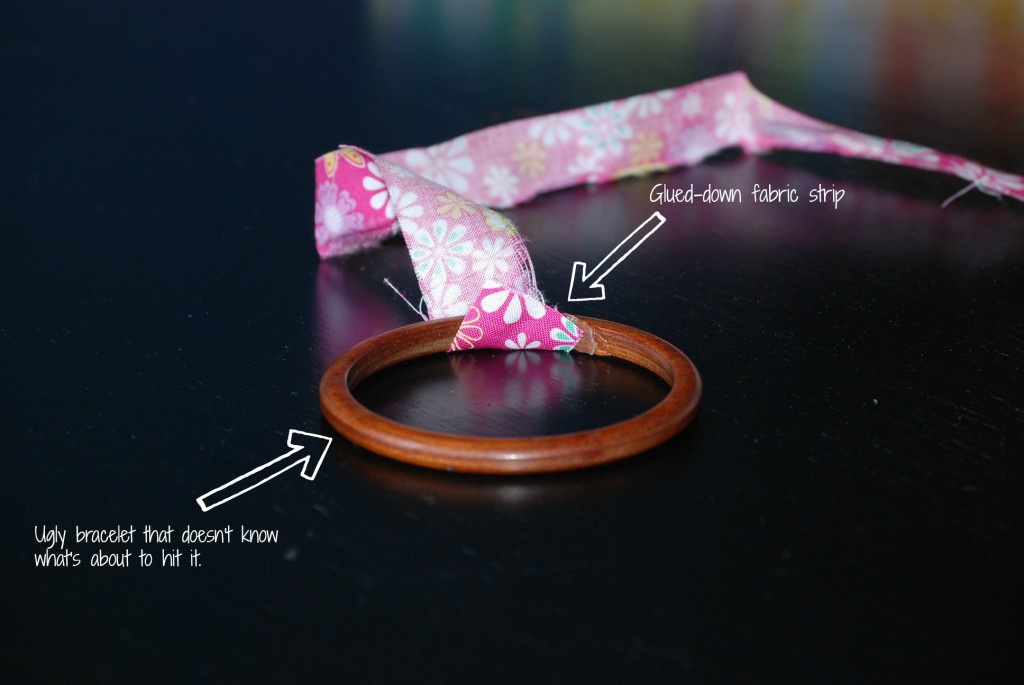
Now take your bracelet and hot glue one end of your fabric strip to the inside of your bracelet at an angle.
Now, just start wrapping your fabric around the bracelet. You’ll need to pull the fabric pretty tight so that it doesn’t get all bunched up. {NOTE: The wider your bracelet, the wider you can make your fabric strip. If you make your strip too wide, it will get all bunchy as you’re wrapping. If you’re a normal human being, this may not bother you. But if you’re a lunatic like I am, that will drive you insane and you will un-wrap and re-wrap a million times trying to get it to look right. So, don’t make your strip too wide. 3/4 of an inch is about perfect.}
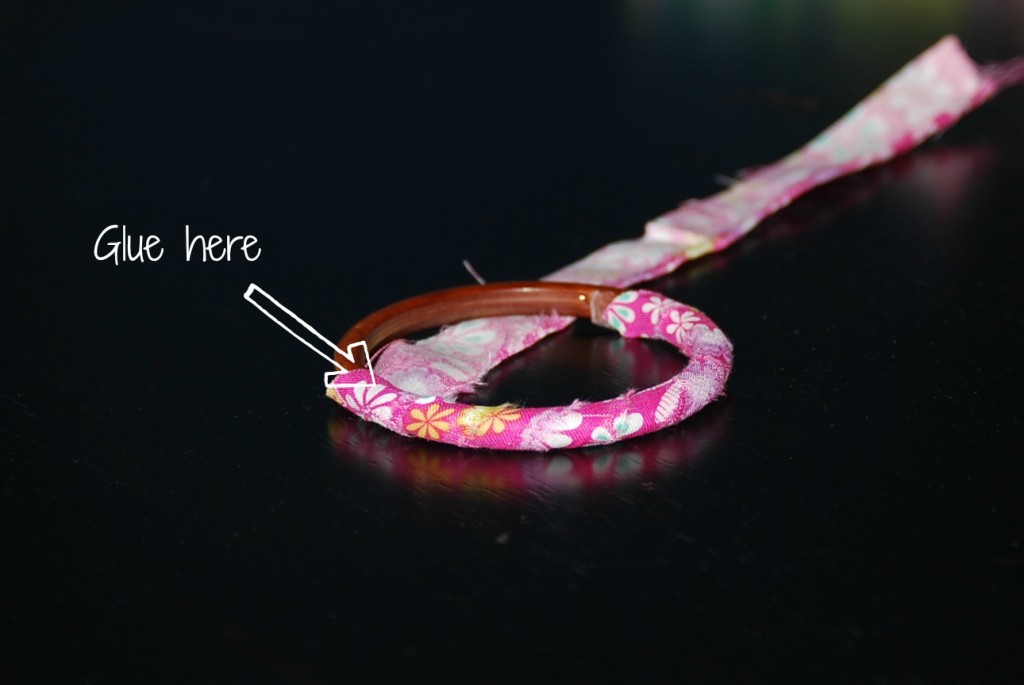
When you get about halfway done, put a dot of glue on the inside of the bracelet and continue wrapping. This ensures that the fabric will stay nice and tight.
Keep wrapping until you cover the entire bracelet. Once it’s covered, trim the fabric so that the end of the strip will be glued to the underside of the bracelet. For this step, I like to put the glue directly on the fabric instead of on the bracelet. This helps the end of the fabric strip not fray once it’s glued down.
That’s it!
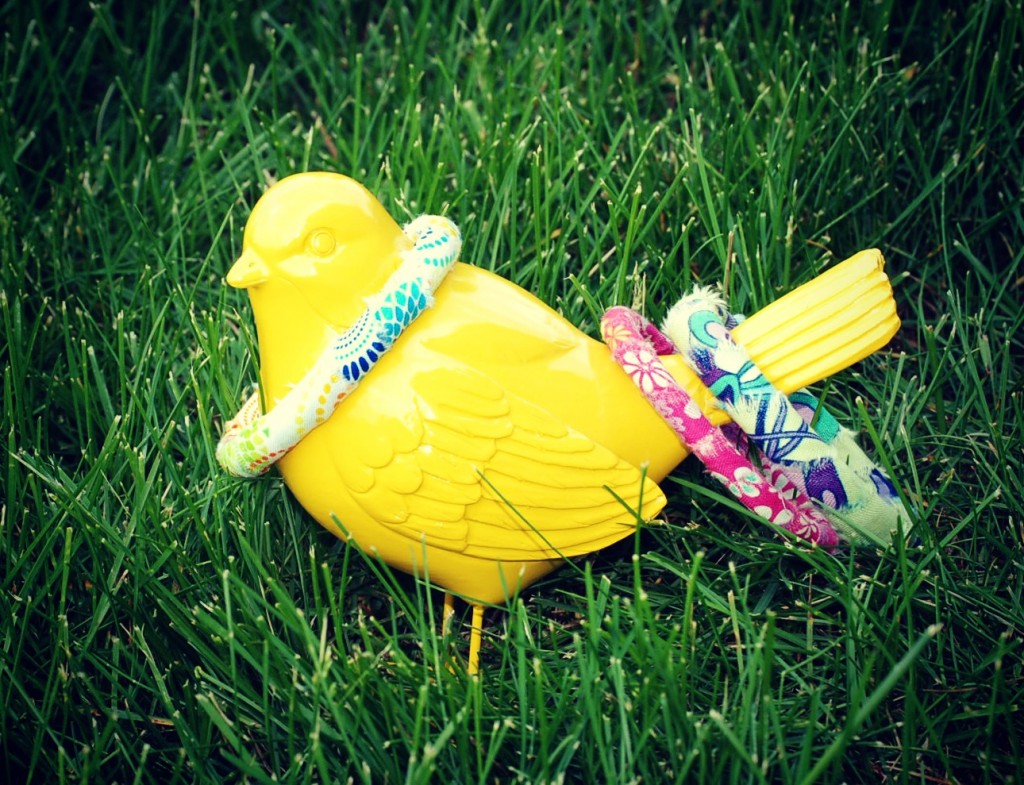
Now you can repeat this 4 million times so you can wear an armful of bracelets at the same time, 80s jelly bracelet-style.
{As always, click here to see where I link up and party}
Disclosure of Material Connection: Some of the links in the post above may be affiliate links. Among others, we are a participant in the Amazon Services LLC Associates Program, an affiliate advertising program designed to provide a means for us to earn fees by linking to Amazon.com and affiliated sites. As an Amazon Associate I earn from qualifying purchases. This means if you click on the link and purchase the item, I will receive an affiliate commission. Regardless, I only recommend products or services I use personally and believe will add value to my readers. I am disclosing this in accordance with the Federal Trade Commission’s 16 CFR, Part 255: “Guides Concerning the Use of Endorsements and Testimonials in Advertising.”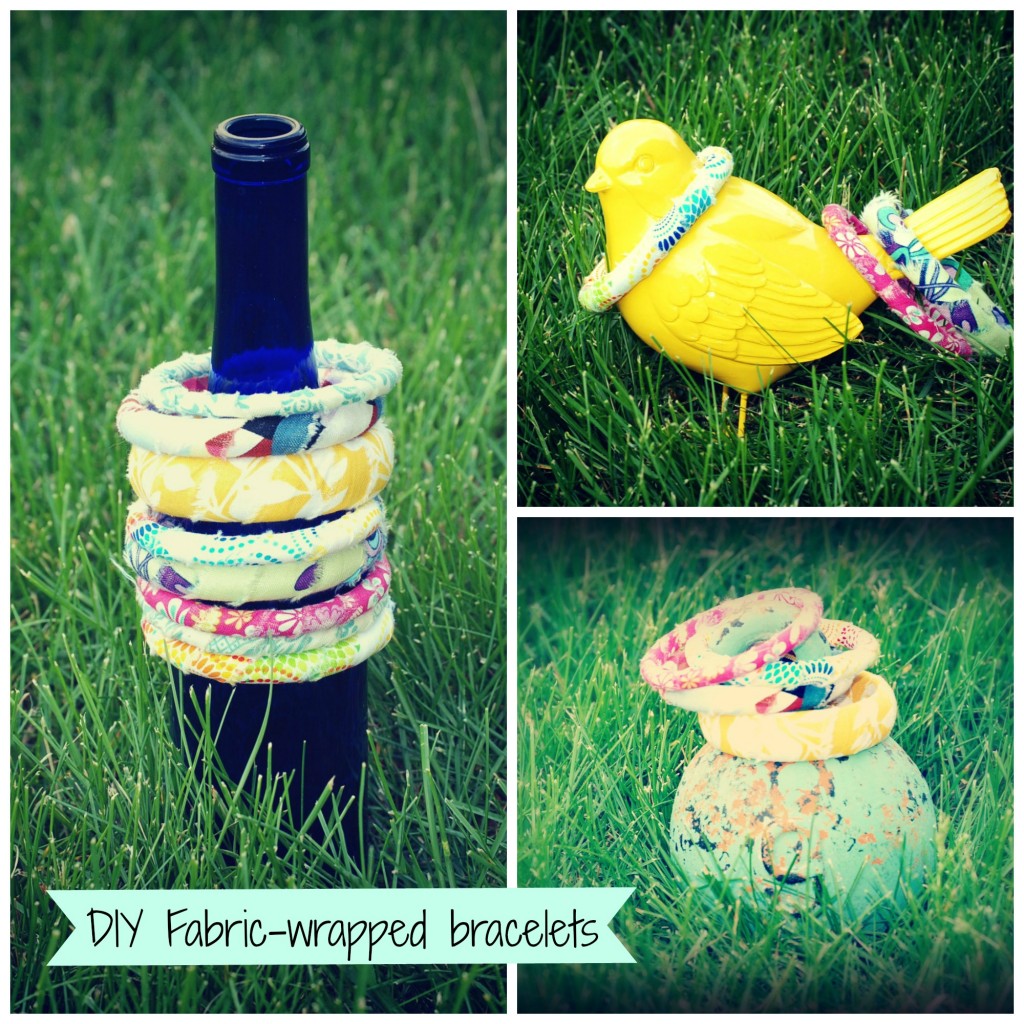
How darling are these bracelets! That a great idea!
Thanks so much! I love cute projects that are easy and cheap, too!! 🙂
These are adorable! I have seen them on pinterest but wasn’t sure how to make them! thank you for sharing!
oh and I found you via the MTM mixer 😀
Keia
I’ve never seen bracelets like these. They are beautiful. I’ll have to tell my daughter about this; she’d love it. Thanks!
I’m visiting from SITS! I’m definitely NOT a DIYer but I think even I can handle this one. My niece would LOVE these and would love to help me too. Heck, maybe even my boys would enjoy doing this!! Thanks for a great rainy day idea…that will look fabulous on mom!
Adorable! I think these would make great stocking stuffers for my girls. Thanks for sharing and have a great SITS day!!!
Oh my gosh–that’s so easy and they look so cute! Great photos, great website! Stopped by from SITS!
What a cute idea! I’m loving your blog! Following you everywhere now!
Super easy craft. I’ve just started knitting so I wonder how a knit strip would work? Maybe a thin yarn in a bright colour would give a different look to it.
Thanks.
A very cute and easy craft. I agree with one of your readers that a knit strip might be nice or a faux leather strip. Thanks for the post. Enjoy your SITS Day.
LOVE THIS!!! My 11 year old has been wanting to make jewelry. I think this might be a perfect place to start! Thanks SO much!! Happy SITS day! 😀
That’s cute & so simple. Showed it to my 8 yr old daughter & she loved this. Happy SITS day!
How adorable! I love how you could customize this. And they’re so bright and colorful, too. Thanks for sharing! Have a great SITS Day!
Very nice tutorial. Easy to follow, even for the crafting-challenged like me. This would be a good use for some of those little bits of fabric that are sitting around my house giving me guilt trips. I think I’ve got some metal bracelets where the shiny has worn off, so those would be perfect. Thanks for the idea.
Cute idea! I love how you displayed them on bottle, it’s a DIY 2 for 1 because you’ve given me some ideas for jewelry storage.
Cool tutorial and your photos are really fantastic (I liked that yellow bird). So simple, even I think I can manage it.
Happy SITS day!
These are so cute. I’ll have to keep my eye out for bangles since these would be great for stocking stuffers!
Pinned and loved…awesome post!
You would never guess that this was an old bracelet sitting around. Great way to add a flare to an everyday look.
Dropping by from SITS!
Hi, I’m visiting you from SITS Girls, hope you enjoyed your special DAY! I’m the one who mentioned that we sounded like kindred spirits… Well, I was right! Guess what? We are both using the same WP Theme from Angie Makes! Isn’t that awesome??? You have wonderful taste, by the way… 🙂