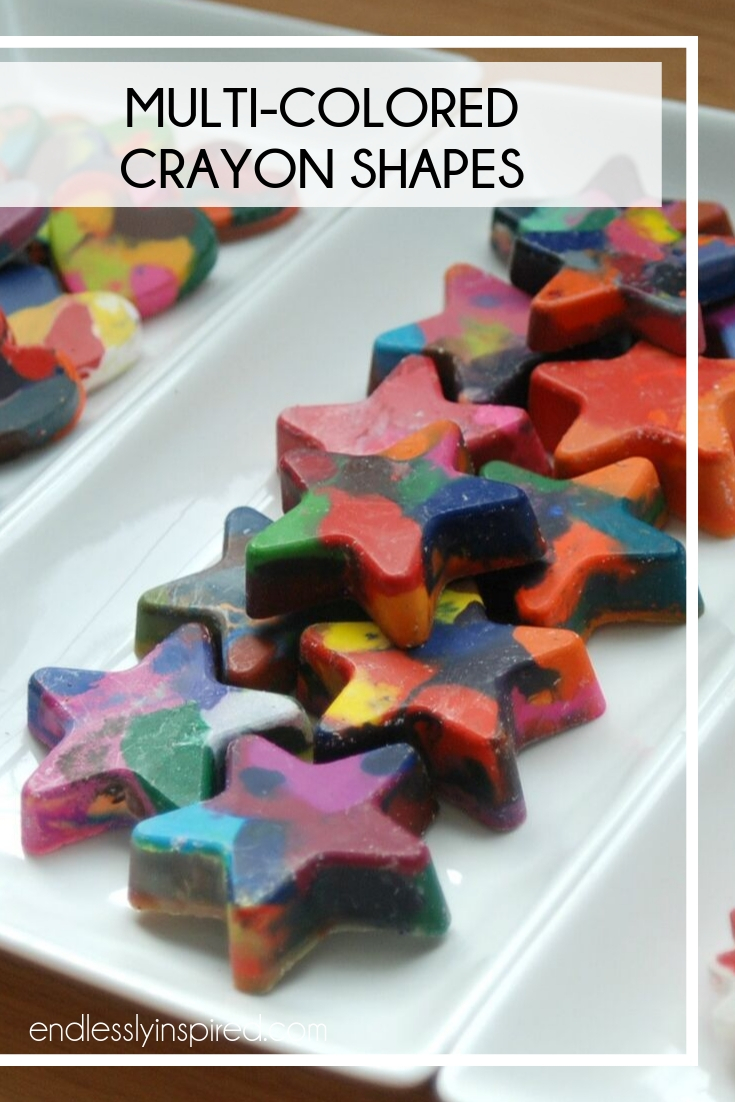
Learn how to make DIY multi-colored crayon shapes. Such a fun DIY for kids (with some grown-up supervision)!
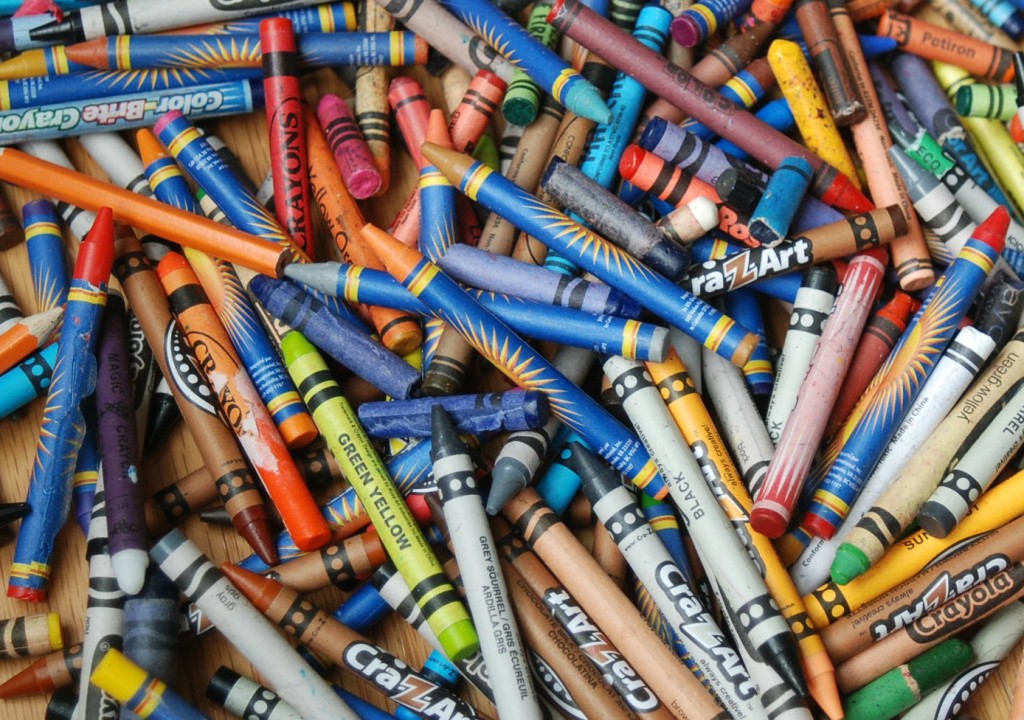
We have been drowning in crayons over here. Drowning, I tell ya.
Why?
Because tomorrow is Kids’ Day for the Central PA Festival of the Arts {aka Arts Fest}, and since David is now 8, he is finally old enough to have his own booth at the children’s sidewalk sale. He is way excited.
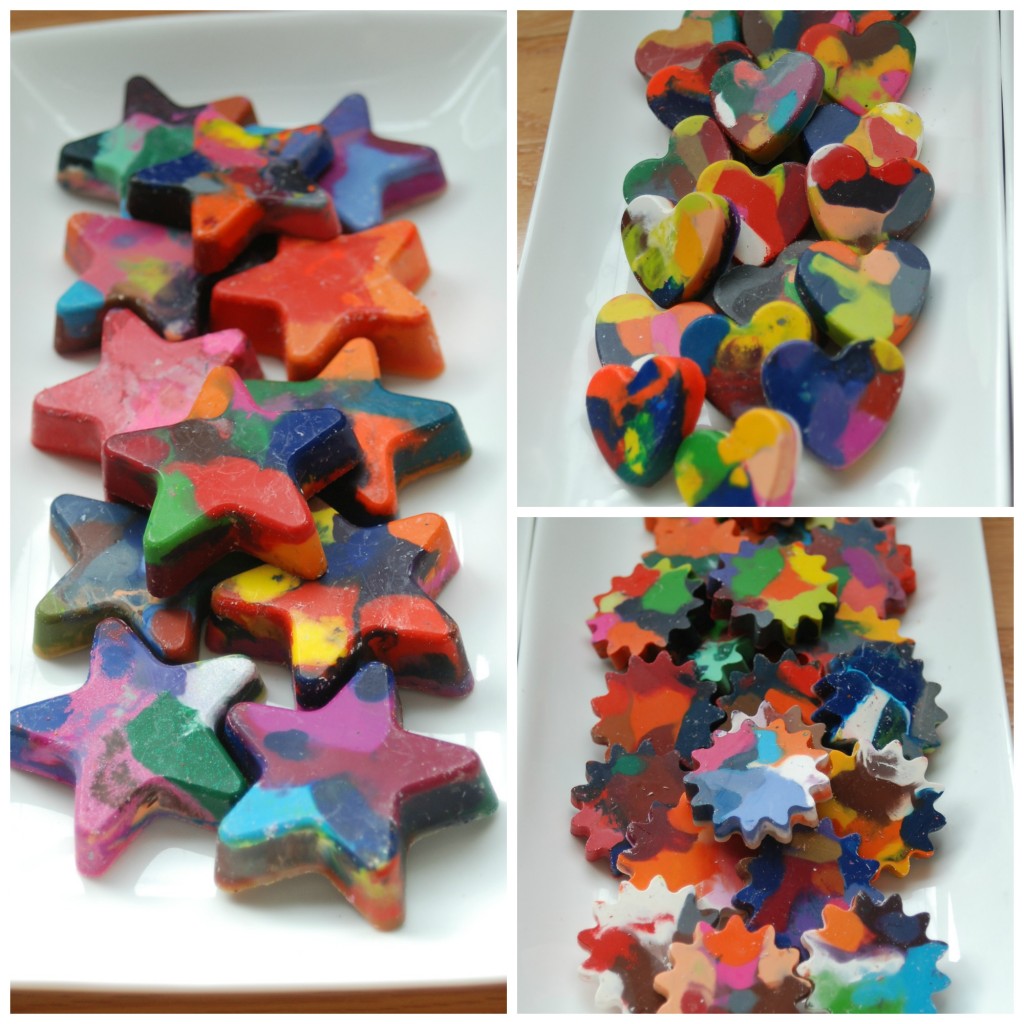
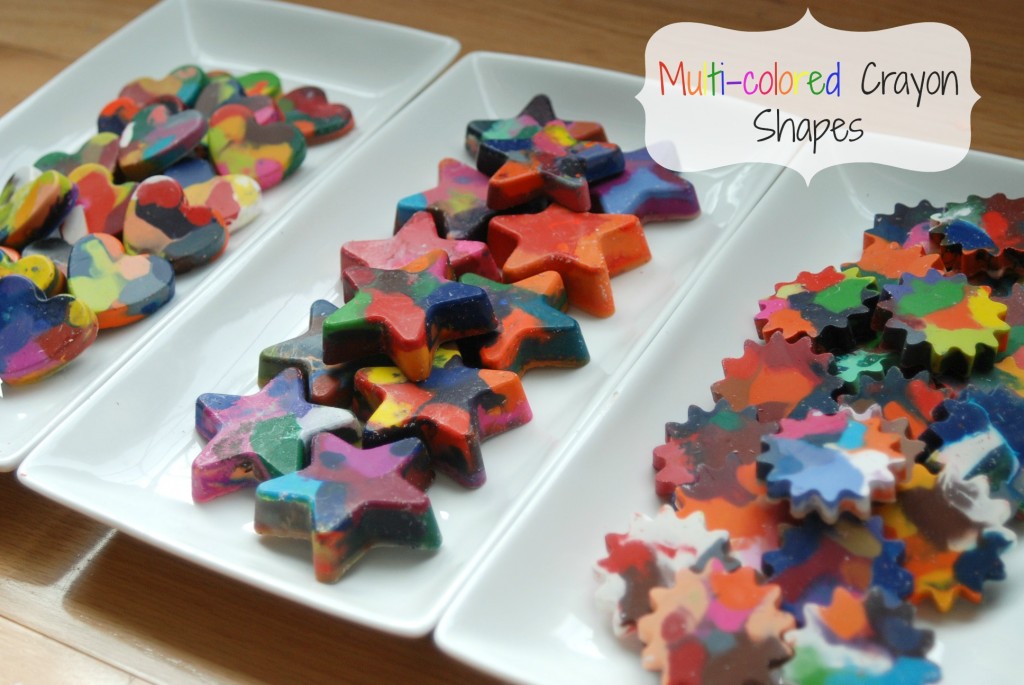
We decided that he was going to make and sell multi-colored crayon shapes and melted crayon art. We’ve been having so much fun, I thought I’d share a quick tutorial for the crayon shapes.
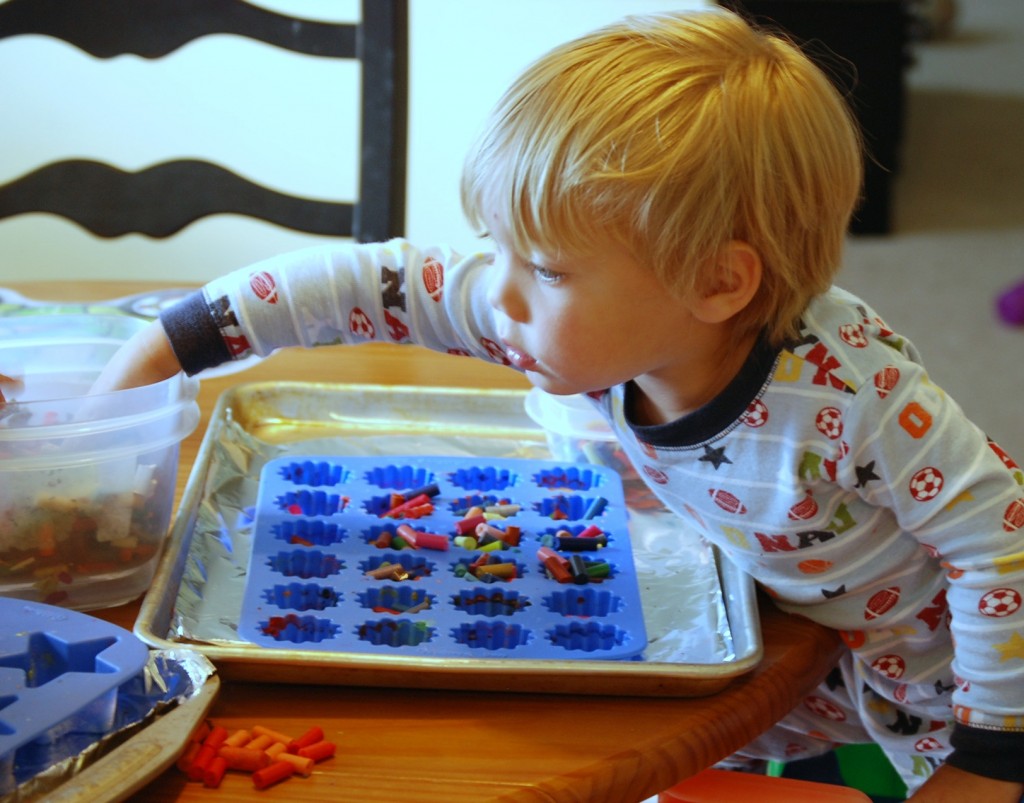
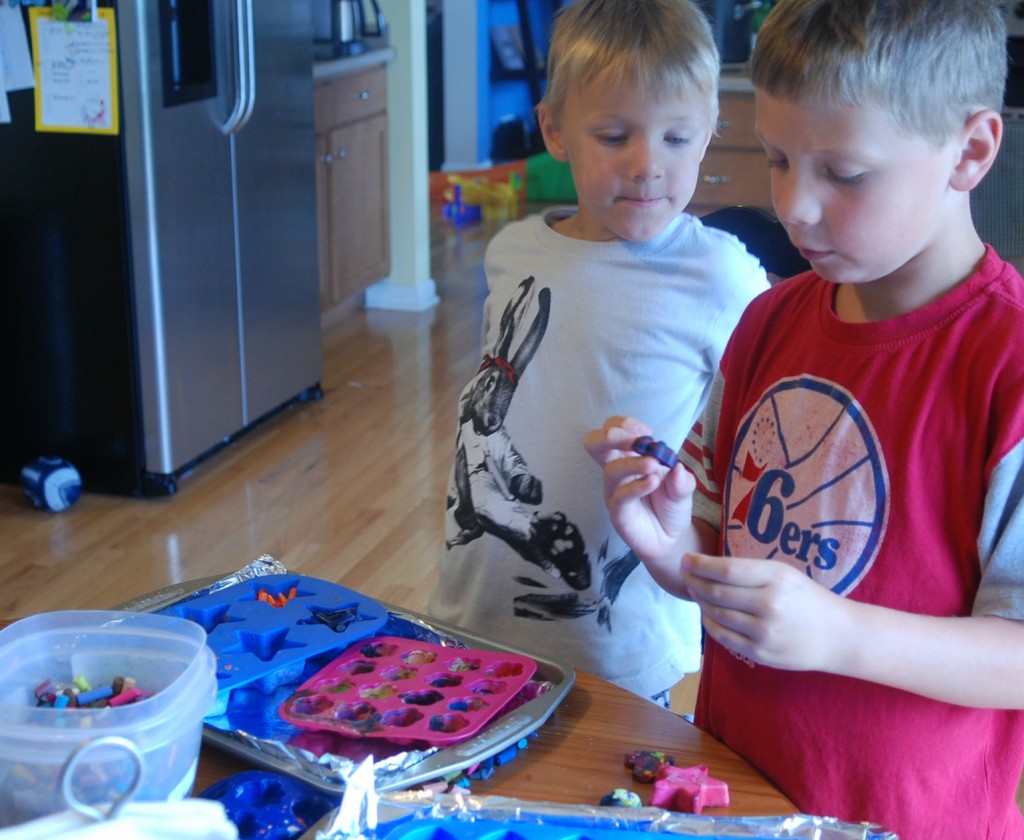
They are super easy, once you know a few little tips. And, aside from the chopping and oven-related parts, they can be made entirely by kids.
First of all, use Crayola crayons. Yeah, I know, they’re more expensive and you’d think this would be a great way to use up all those old, random crayons you have lying around. You’d be wrong. {Trust me, we’ve made over 500 of these bad boys over the last few weeks.}
If you use cheaper crayons, the wax in them will rise to the top when they’re melting and will create this whitish coating on your crayons, which will make them unable to actually write. Especially during back-to-school time, you can get 24-packs of Crayolas at Walmart for under a dollar. {Aside: when I was there yesterday, the 8-pack of Crayolas was $.75, and the 24-pack was $.50. I was a bit confused by this math.} Also, and this is extremely important based on the next tip I am about to give you: DO NOT USE WASHABLE CRAYONS.
Second tip: to get the papers off, soak the crayons in water before peeling. {See why you don’t want to use the washable crayons? I accidentally had a couple sneak in one batch, and they melted all over my hands when I fished them out. It was nasty.} Just dump out the whole box right into a big bowl of warm water. Most of the papers will start to peel off on their own after a few minutes. Some may be a bit more stubborn, but the water still makes it about a bajillion times easier to peel them.
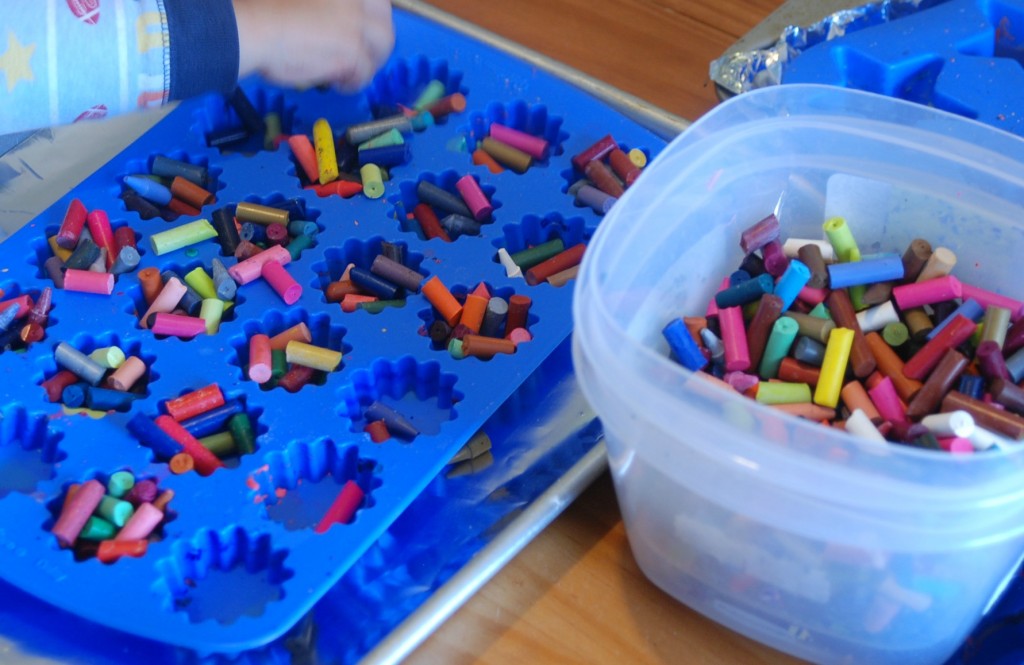
Once you have all your crayons peeled, break or chop them up into small pieces. How small depends on the molds you’re using, but I would recommend somewhere between 1/4″ and 3/4″ pieces. If you go too much smaller than that, you run the risk of the crayons melting together and just becoming a brownish blob, instead of getting distinct, pretty colors.
Also, if you’re chopping the crayons, I would recommend using an old, cheap or disposable cutting board, because it’s somewhat difficult to get it completely clean when you’re done.
Once everything is chopped, start filling your molds. The best ones to use are silicone molds, because you can just pop the crayons right out when they’re cooled. {But again, I wouldn’t plan on using these for food after this. Some of them got stained various colors from the crayons, and although you may be able to clean them up, I would think you’d end up with crayon-flavored treats. Ick.} For Arts Fest, we used a star one that’s not available anymore, this one, this one
, a lion’s paw mold similar to this
, and this Ikea flower one
. I would not recommend using the Ikea one. It was REALLY hard to get the crayons out, and they weren’t pretty and shiny like the other ones. We didn’t end up making very many of those, they were just too hard to deal with.
It’s also easiest to put the molds on a foil-lined baking sheet, because: a. the molds can be difficult to remove from the oven when filled with molten crayon wax, causing you to spill said molten crayon wax all over the bottom of your oven {not that I know this from personal experience or anything}, and b. it’s easy to accidentally drop crayon pieces on your baking tray and not notice you did until you get the tray out of your oven and see that your once nice baking sheet is now covered with melted crayons {again, this totally did not happen to me. At all.}.
Stick your filled molds into a preheated 300 degree oven for about 10 minutes, and then let cool. Make sure you allow the crayons to cool completely before getting them out of the mold, because otherwise they could break. If you your kids are too impatient to wait for them to cool on the counter, wait about 5 minutes and then stick them in the fridge for another 10 minutes or so.
Then comes the most fun part: popping your crayon shapes out of the molds! The boys loved seeing what the finished crayons looked like, because every one is different.
 Wish us luck at Arts Fest tomorrow, and cross your fingers for no rain!!
We’ll be stopping by to check things out!
Thanks, Jen! It was so good to see you! 🙂
Hi! Followed you over from Ginger Snap Crafts. I have seen similar ideas on Pinterest, but really love the way yours came out and and grateful for the tips such as not using washable or cheap crayons. Now following via Twitter.
Thanks, Jackie!!
Hi Jenn! I recently found your blog and am really loving going back through your old posts. In fact, I nominated you for the Liebster Award! Details can be found on my blog here… http://itfreezesbeautifully.blogspot.com/2013/07/i-won.html
I hope you will join in the fun:)
Julie
Oooh, how exciting is this?!? I’ve never been nominated for anything! 🙂 I am totally joining in on the fun, thanks so much!!
I thought it was pretty awesome too! Thanks for super fun posts 🙂
So…how would you clean the crayon wax from the oven? Not that either of us have done that!
Oh no!! I don’t know, shockingly this actually never has happened to me! I would probably try to scrape it off once the oven has cooled and the wax has hardened. Good luck!