I am kicking off a super fun series here at Endlessly Inspired today. Welcome to Party Week! Woot, woot! To celebrate Mason’s birthday, I will be bringing you all sorts of party fun this week, so stay tuned!
I can’t even believe I’m saying this, but my littlest man is 4 years old today. What the whaa? I mean, seriously, he. was. just. born. So, just stop with the 4 years old stuff.
And the poor little guy woke up sick today. I’m sorry, but being sick on your birthday is just not cool. Obviously, that means birthday cake ice cream for breakfast. So we’re going to do his birthday dinner tomorrow night.
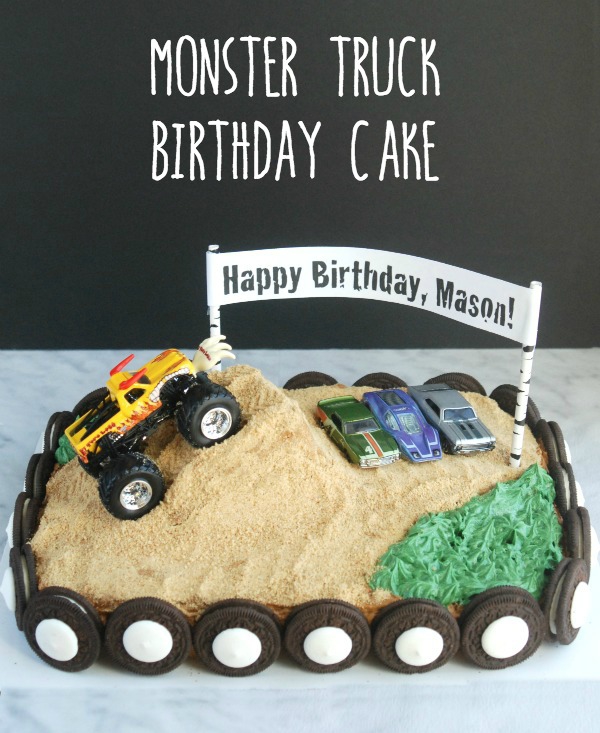
But you can’t have a birthday without a cake, and Mason is suddenly totally into monster trucks. So Dave suggested that I throw together a little monster truck birthday cake for him.
Now, I know I have said before {like here, and here} that I no longer bake cakes, but I couldn’t use my trusty Wegmans cake for what I wanted to do here, so I did go ahead and make a cake. But it was boxed, so it doesn’t totally count.
I did some searches online, and found a few cakes I liked {like this one in particular, although I can’t find the original source, so if this is your photo or if you know whose it is, please let me know!}, so I sort of took ideas from several of them and this is what I came up with.
I was pretty pleased.
And, like everything I make, it’s super crazy easy and anyone can do it.
I started out by making two boxed funfetti cakes in 9 x 13 pans, although I didn’t use most of the second cake. The rest of that one is now for snacking.
I placed one cake face-down, so the flatter side would be on top, on a cake board. If you don’t have a cake board, you could always use a platter or a piece of cardboard wrapped in aluminum foil. Slide a piece of parchment or waxed paper underneath each side of the cake to catch any frosting mishaps and keep your cake board clean.
Next, I used a toothpick to draw generally where I wanted the dirt and the grass areas to be. I then cut a wedge out of the second cake to use as a ramp. I stuck some frosting on the bottom of the wedge and placed it on the first cake.
Here you can see a little better how big of a wedge it is.
Then I covered the cake and the ramp with buttercream. I just used a vanilla icing that I colored with brown food coloring, but you could use chocolate icing if you’d prefer. And if you want to make things even easier, just use frosting from a can. I won’t judge.
Make sure you leave the areas where you want the grass to go uncovered, because it’s going to be a lot tougher to get the green icing to stick if there’s already icing there. Also, don’t worry about what the frosting looks like. You can see I am a god-awful froster {and also why you need to slide those pieces of parchment under there! I am crazy messy.}, but it doesn’t matter, because you’re going to be covering everything with graham cracker crumbs in a minute anyway.
See? Much better. I didn’t put crumbs on the side, because I wanted the Oreo tires to stick to the icing.
Then I just filled in the leftover areas with green icing. I used a piping bag {actually, a ziploc bag with a corner cut off} and a star tip. I actually have a fancy-schmancy piping tip
that is meant for grass, but naturally I couldn’t find it, so I went with what I had. If you aren’t comfortable using a piping bag or don’t have any special tips, you can just frost it and then tap a knife all over the frosting to create little points.
To make the little Oreo tires for around the bottom of the cake, I used white candy melts. I melted some in a ziploc bag in the microwave according to the directions on the package, and then snipped off a tiny corner. I piped a little dot in the middle of each Oreo and then topped it with a candy melt {unmelted, just right out of the bag}.
Then I just stuck them all around the bottom edge of the cake. A couple of the Oreos wouldn’t stick, either because the icing had dried a little bit or I didn’t have enough on, so I just slapped some more icing on the back of it and stuck it on.
I will say, at this point, I was a little concerned, because it wasn’t looking all that impressive.

But then I stuck on El Toro Loco and some cars for him to crush, and it all came together. I also printed out a little banner that I taped to some straws and stuck in there. Mason insisted upon calling it the finish line, and was very excited for El Toro Loco to “fly up over the ramp, and crush those cars, and then SMASH through the finish line!” I’m thinking Monster Jam may be bringing out a tad bit of violence in him.
But that little smile makes it all worth it.
If you’re looking for some other easy birthday cakes and treats, don’t miss these posts!
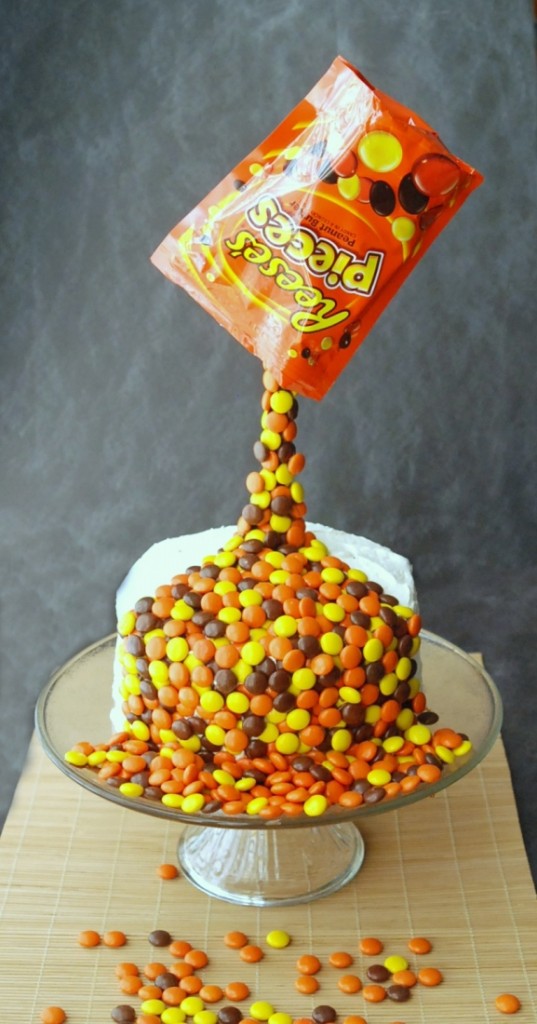 Reese’s Pieces Anti-Gravity Cake
Disclosure of Material Connection: Some of the links in the post above may be affiliate links. Among others, we are a participant in the Amazon Services LLC Associates Program, an affiliate advertising program designed to provide a means for us to earn fees by linking to Amazon.com and affiliated sites. As an Amazon Associate I earn from qualifying purchases. This means if you click on the link and purchase the item, I will receive an affiliate commission. Regardless, I only recommend products or services I use personally and believe will add value to my readers. I am disclosing this in accordance with the Federal Trade Commission’s 16 CFR, Part 255: “Guides Concerning the Use of Endorsements and Testimonials in Advertising.”




is the paper supposed to be arched or are the poles just to close together so the paper is bending?