Have you ever seen a photo that is mostly black and white, but just has a touch of color on it? I remember when I was in college, we would print out photos in black and white and then color them in with highlighters. We thought we were remarkably fancy and talented.
We weren’t.
But I still love how those photos look, and I’ve discovered how to make them super easily with PicMonkey.
If you’re not familiar with PicMonkey, it’s a free online photo editing tool. It’s what I use to edit all of the photos for my blog, and what I use to make all of the free printables I’ve offered as well.
Once you learn how to do this, you won’t want to stop. It gives such a cool, artsy and unique look to your photos, and it looks like it’s WAY harder to do than it actually is.
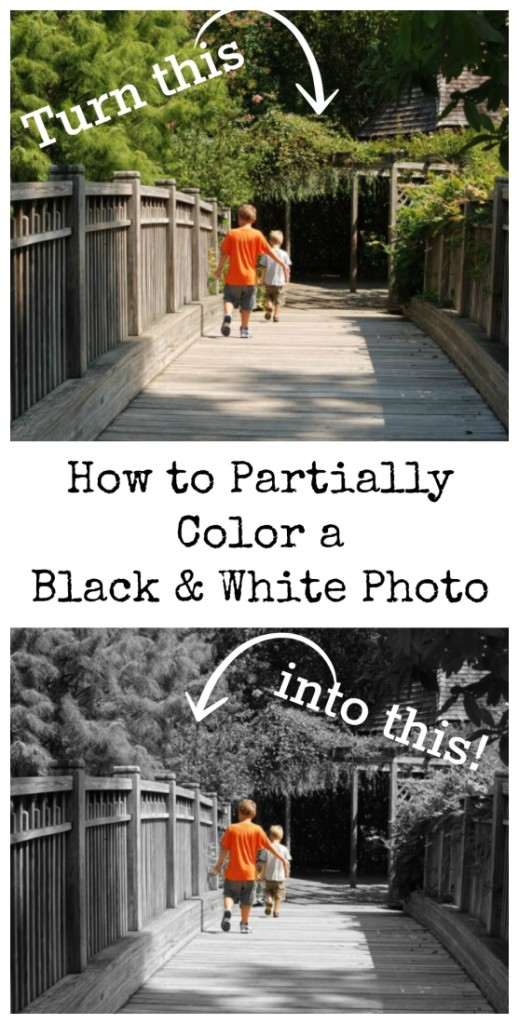
The first step is choosing a photo. This technique works best on relatively simple photos or photos that have one aspect you want to highlight. For this tutorial, I chose this picture of my boys on a bridge at Brookside Gardens in Maryland.

I am going to show you how to turn it into this:

Step 1
Open your photo in PicMonkey. Using the zoom tool in the lower right-hand corner of the screen, zoom in on the portion of your photo that you want to highlight (what I’ll call your “subject” from here on out) in color. If necessary, click and drag the photo so that your subject is as centered as it can be.
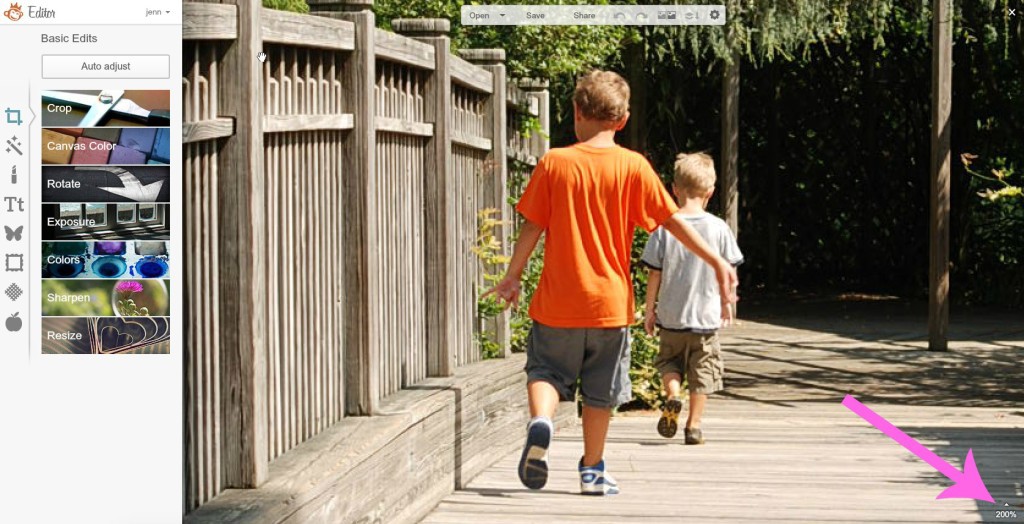
You want to get as zoomed in as you can get while still being able to tell what you’re looking at. It doesn’t matter if it starts to get a bit pixelated, but you don’t want it so pixelated that you can’t tell where the outlines of what you’re looking at are! It’s also easier if you can get the whole subject on the screen at once, but if you can’t, don’t worry about it.
Step 2
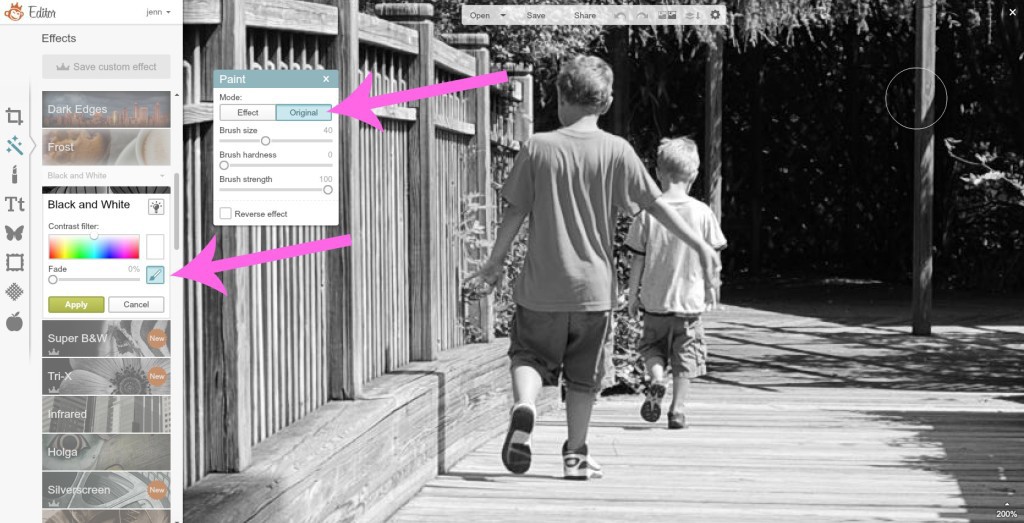
Click on the “Effects” button that looks like a little magic wand. Scroll down and click on “Black and White” but DO NOT click “Apply” yet. In the box that opens up under “Black and White,”click the button that looks like a little paintbrush. That will open up a box called “Paint.” Click on the Button in the Paint box that says “Original.”
Step 3
When you move your mouse around, you’ll see a circle moving. That is your paint brush. You can adjust the size and hardness of your paint brush with the sliders in the Paint brush.
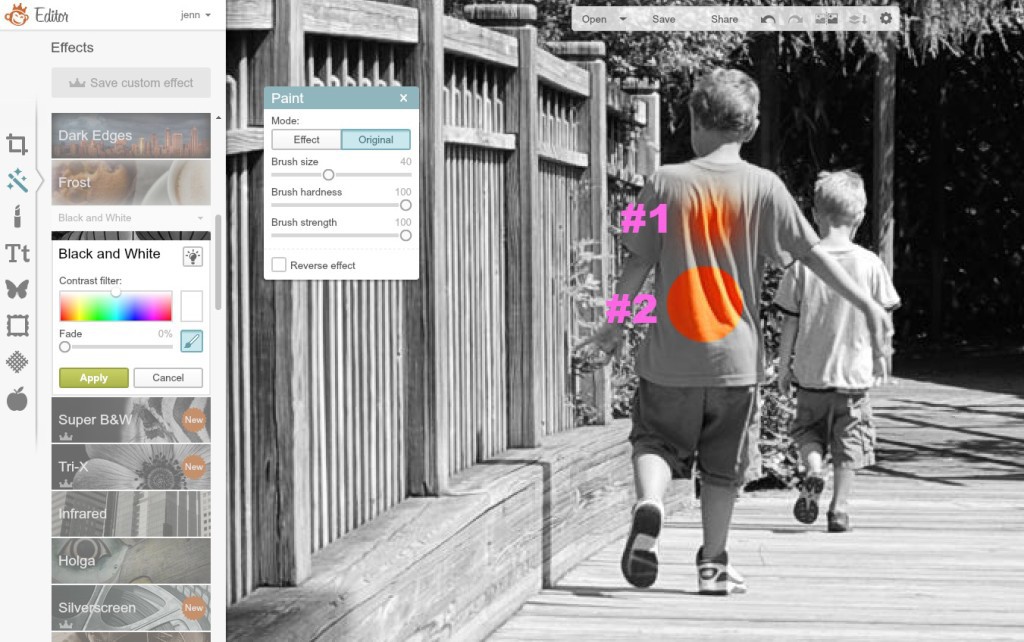
(Hardness basically just means how fuzzy the edges of the circle are. 100% hardness will give you a perfect, round circle, and 0% gives you kind of a round, fuzzy blob. In the picture above, both circles are made using the same size brush, but #1 is 0% hardness, and #2 is 100%. I recommend keeping the hardness at 0%, because as you can see, it’s a lot more forgiving.)
Play around with the brush size until you find a size that works for your subject. The easiest way to do it is to start with a larger brush and get the bulk of your subject and then switch to a smaller brush to finish it up.
Step 4
Once you find an appropriate brush size, just hold down your mouse button and move your brush around to start “painting” the color back in!
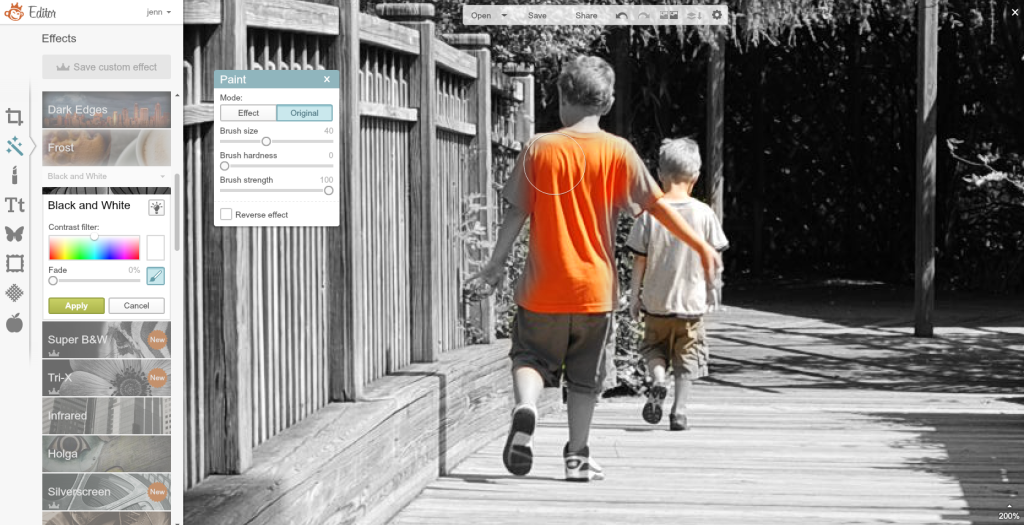
If you make a mistake and paint something besides your subject, don’t panic. Just click “Undo” at the top of the screen and try again! (For this reason, it is a good idea to color in small sections at a time. If you do the entire thing at once and then make a mistake, clicking undo will undo all your hard work!)
If you weren’t able to get the whole subject on the screen at once or you need to move to a new area of the photo, you can hold down the space bar and click and drag to the new section.
Once you’ve painted the color back into your subject, click “Apply” and you’re done!

That’s it!
Do you have a photo that you want to use for this technique?
For more PicMonkey tutorials, don’t miss these posts!
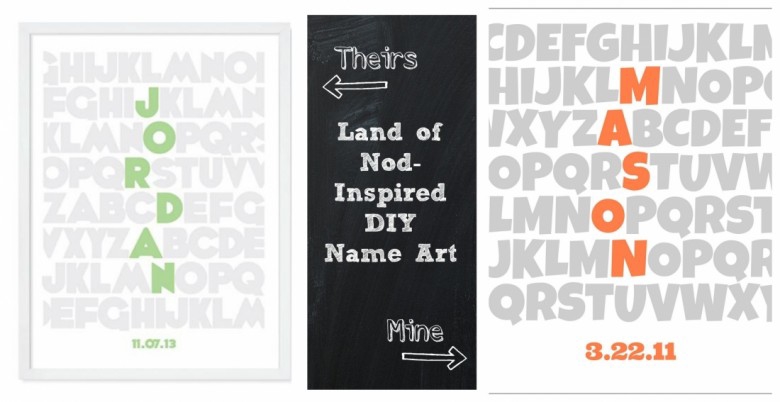
Land of Nod-Inspired DIY Name Art
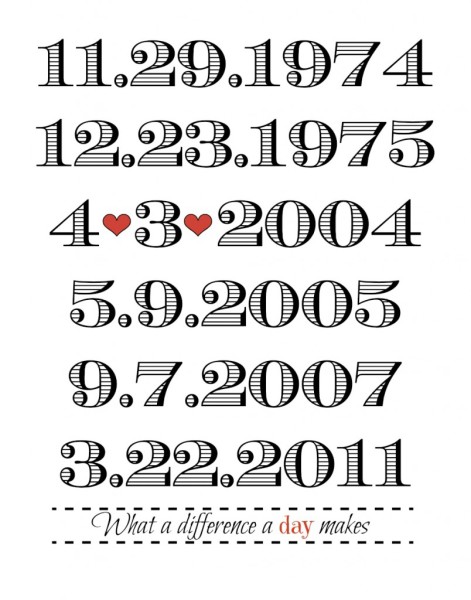
What a Difference a Day Makes Print
[…] How to Partially Color a B&W Photo – 1 freebie(s)? […]