Pretty much everyone knows about charcuterie boards, but have you heard of a dessert charcuterie board? While the perfect addition to any party, you certainly don’t need a special occasion to create a dessert charcuterie board.
This post may contain affiliate links, which means I’ll receive a commission if you purchase through my link, at no extra cost to you. You can read our full disclaimer here.
Creating a dessert charcuterie board can seem intimidating, but I’m going to show you some tricks to make it easy. Once you’re done, you’ll want to put one together every weekend.
In this post, you will get some ideas of different platters you can use, and you will see where you can get the most gorgeous charcuterie boards you’ve ever seen. You’ll also see examples of several different sizes of dessert charcuterie boards, so you can recreate them no matter what supplies you have at home. Finally, you will be able to download a pdf with over 100 different items you could use (plus some bonus tips!) to put your dessert charcuterie board together.
After learning how to create a dessert charcuterie board, you will have so much fun experimenting with different candies, cookies and treats!
This post is all about how to create a dessert charcuterie board.
What is a dessert charcuterie board?
Technically, the term “dessert charcuterie board” isn’t really accurate, because the word “charcuterie” refers to the cold cooked meats that are typically found on a charcuterie board. The more accurate term would be “grazing board”, which refers to a big ol’ platter with a crap ton of random foods on it. But for this post, we’re going to be improper (not for the first time) and just stick with saying dessert charcuterie board.
Regardless of what you call them, dessert charcuterie boards are pretty much exactly what they sound like: a big display of sweet treats usually beautifully arranged on a platter or board of some kind. They can include anything you want: hard candy, chocolate, gummies, cookies, fruit (which I highly recommend, because as soon as you add fruit to something, it automatically makes it healthy)… if you think it sounds good, slap it on there.
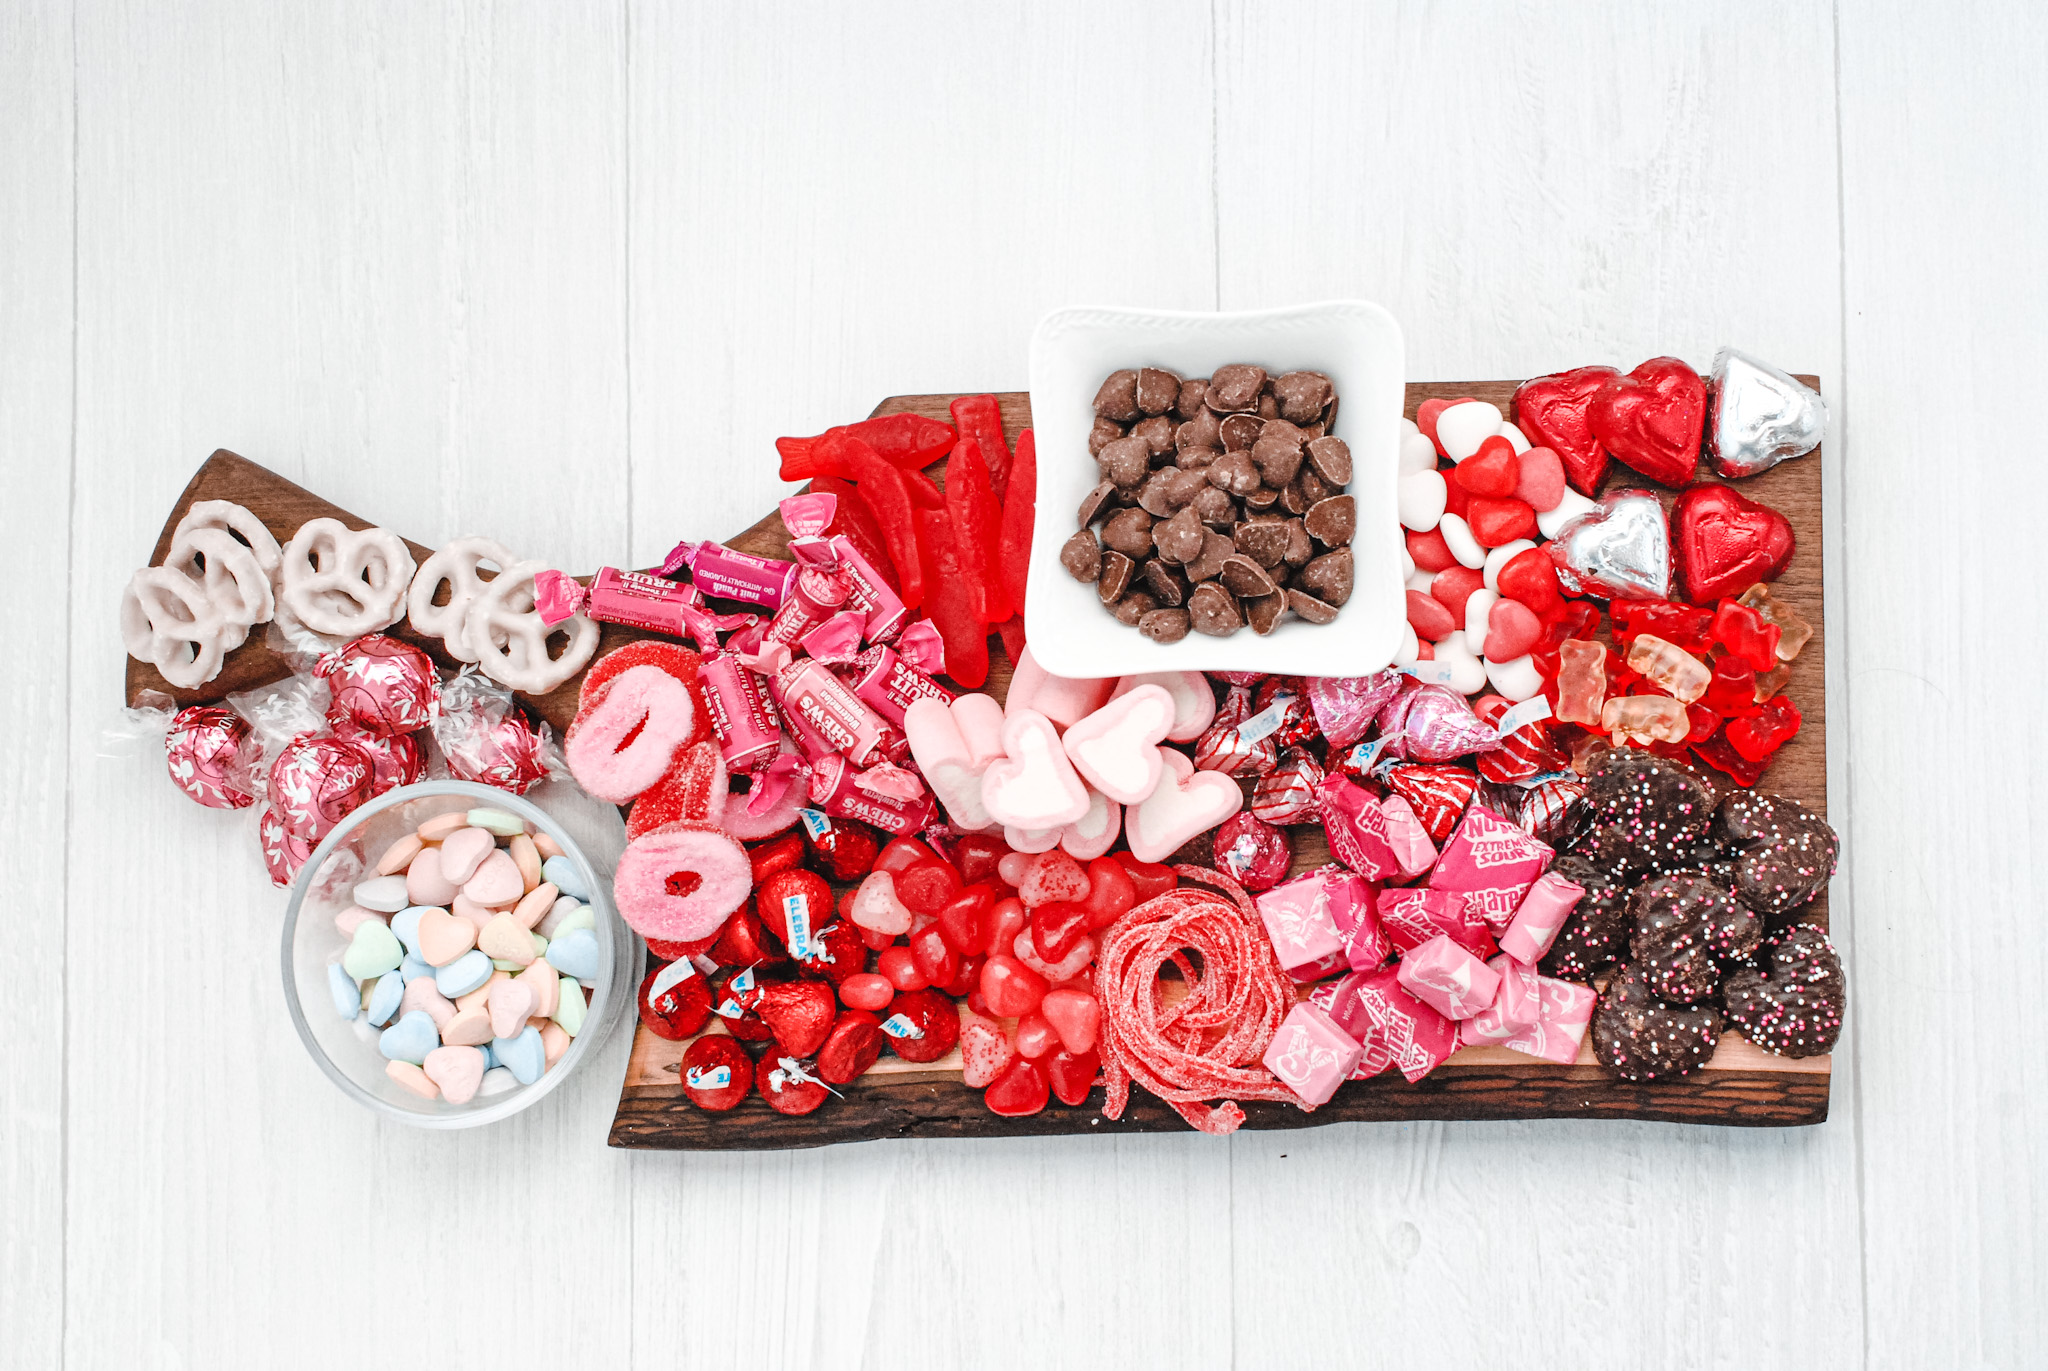
The best part is that if you don’t want to make anything yourself, you don’t have to! This is a great way to take a bunch of store-bought ingredients up to the next level.
If you’re stuck or need more ideas, you can download my free checklist that includes over 100 different items that you can include on a dessert charcuterie board!
What to use as a base
When building a charcuterie board of any kind the first thing you need to figure out is the board itself. What board you use will determine how big your finished display will be, and therefore how many things you’ll need to put on it. There are several different options, so let’s take a look at those now.
Charcuterie board
I know, your mind is blown, right? To make a charcuterie board, you can use… a charcuterie board?!? But some people don’t realize that there are actually boards that are specifically made for charcuterie.

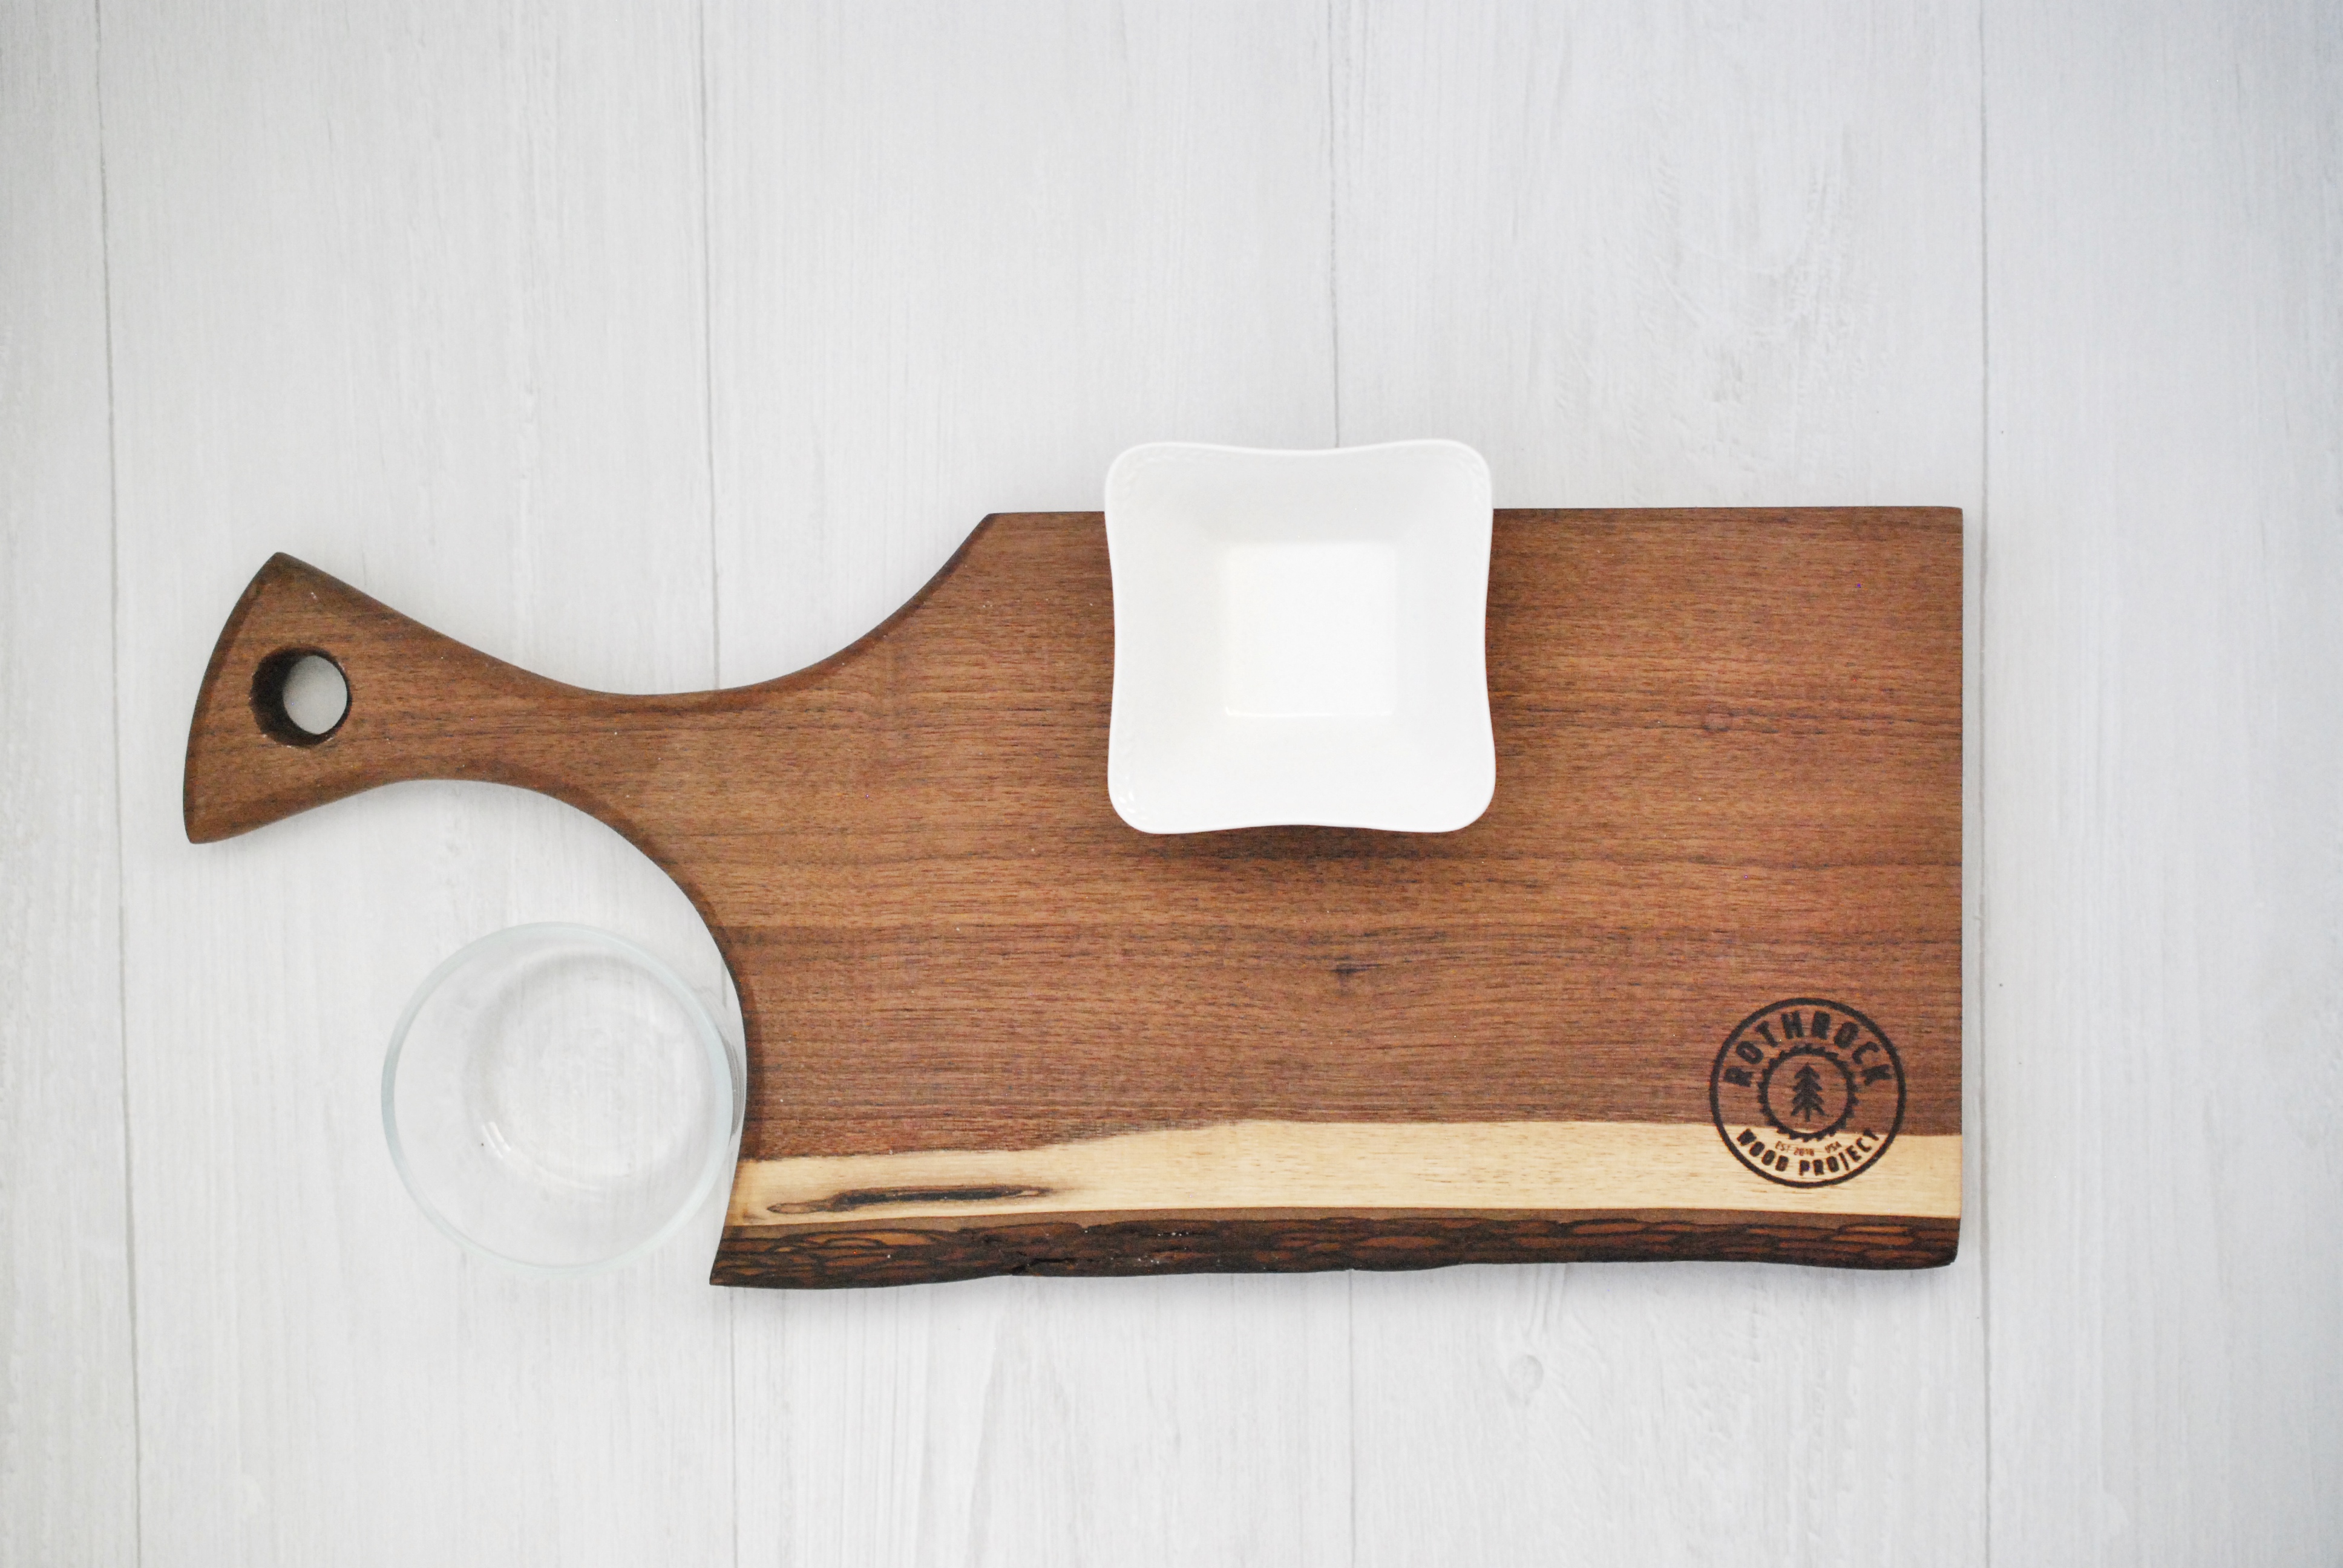
I get almost all of my boards from Rothrock Wood Project. It’s run by a good friend of mine, and all of the boards are handmade by him, often with wood from trees that fell naturally. They are absolutely gorgeous, and the quality is incredible. You can check them out here.
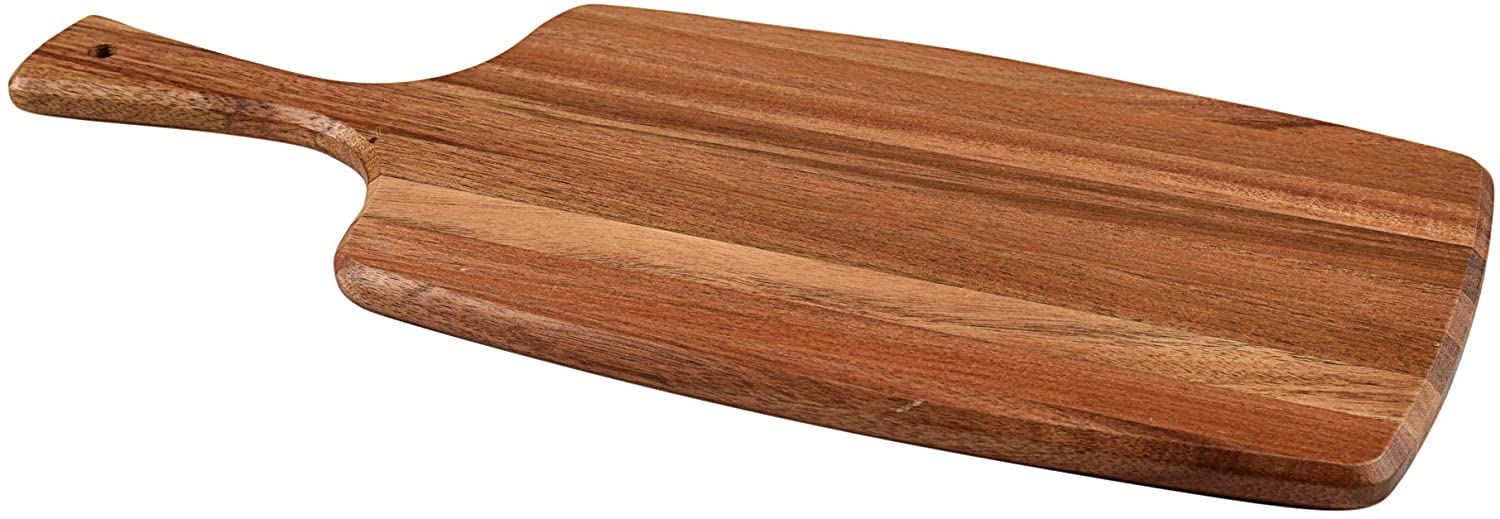
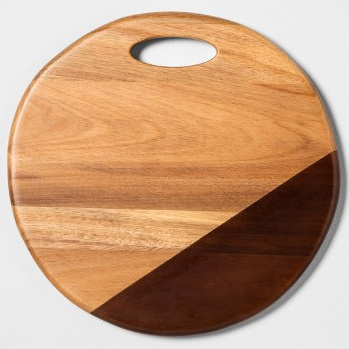
Wooden cutting board
While some people may interchange the words cutting board and charcuterie board, they are not necessarily the same thing. As a rule, charcuterie boards are not meant to be cut on with sharp knives. But that doesn’t mean you can’t use an inexpensive wood cutting board as a base for your dessert charcuterie board.
TJMaxx and HomeGoods are great for inexpensive wooden cutting boards like this, but you can find inexpensive options at Amazon and Target as well.
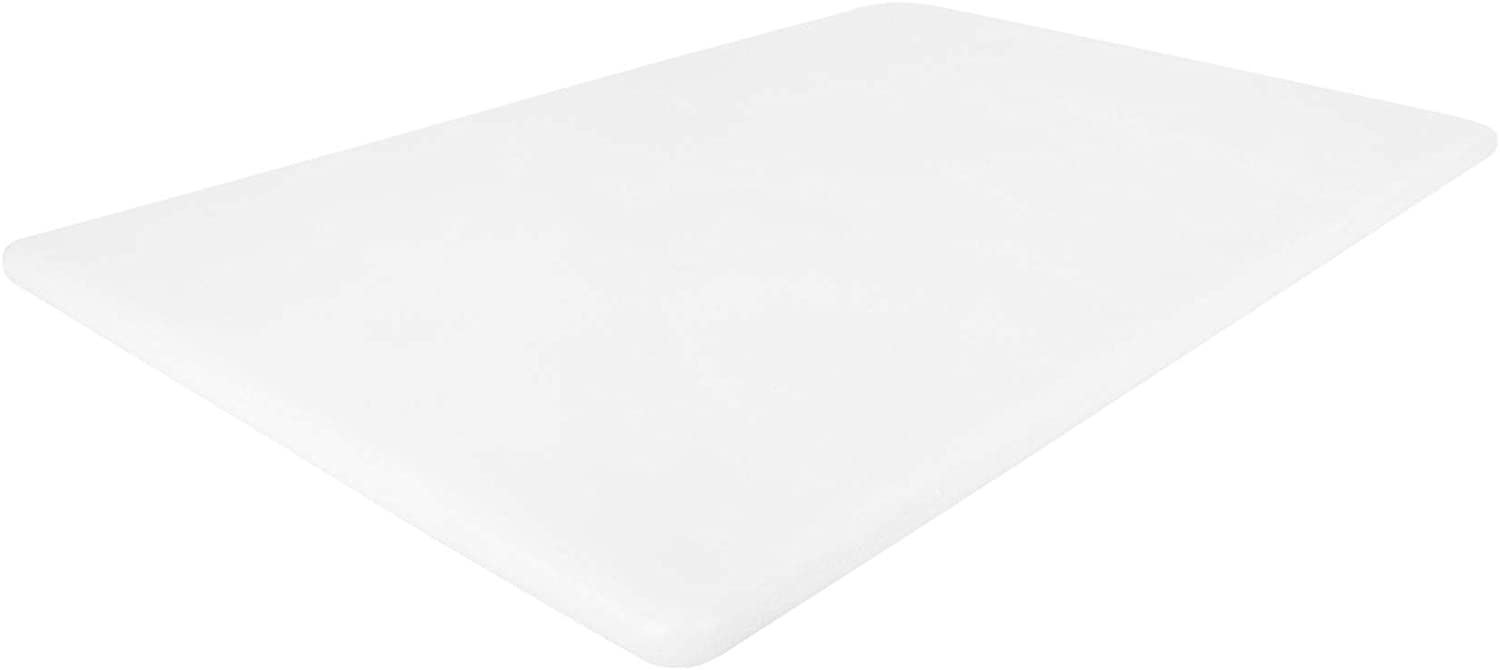
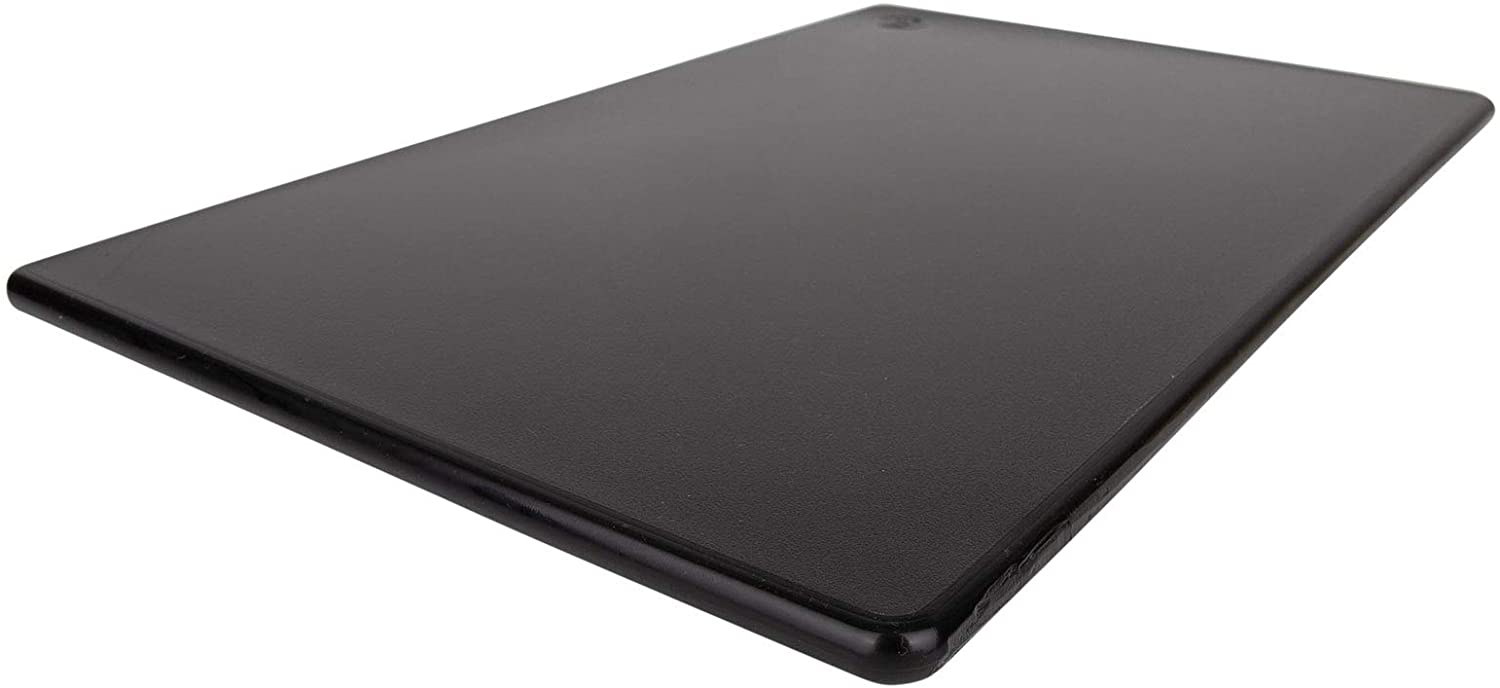
Plastic cutting board
Charcuterie boards are traditionally wood, but they don’t need to be. Plastic cutting boards are inexpensive and easy to find, but can come in all different colors and styles. I would recommend using one without a handle cut out, but a handle can be covered up if necessary.
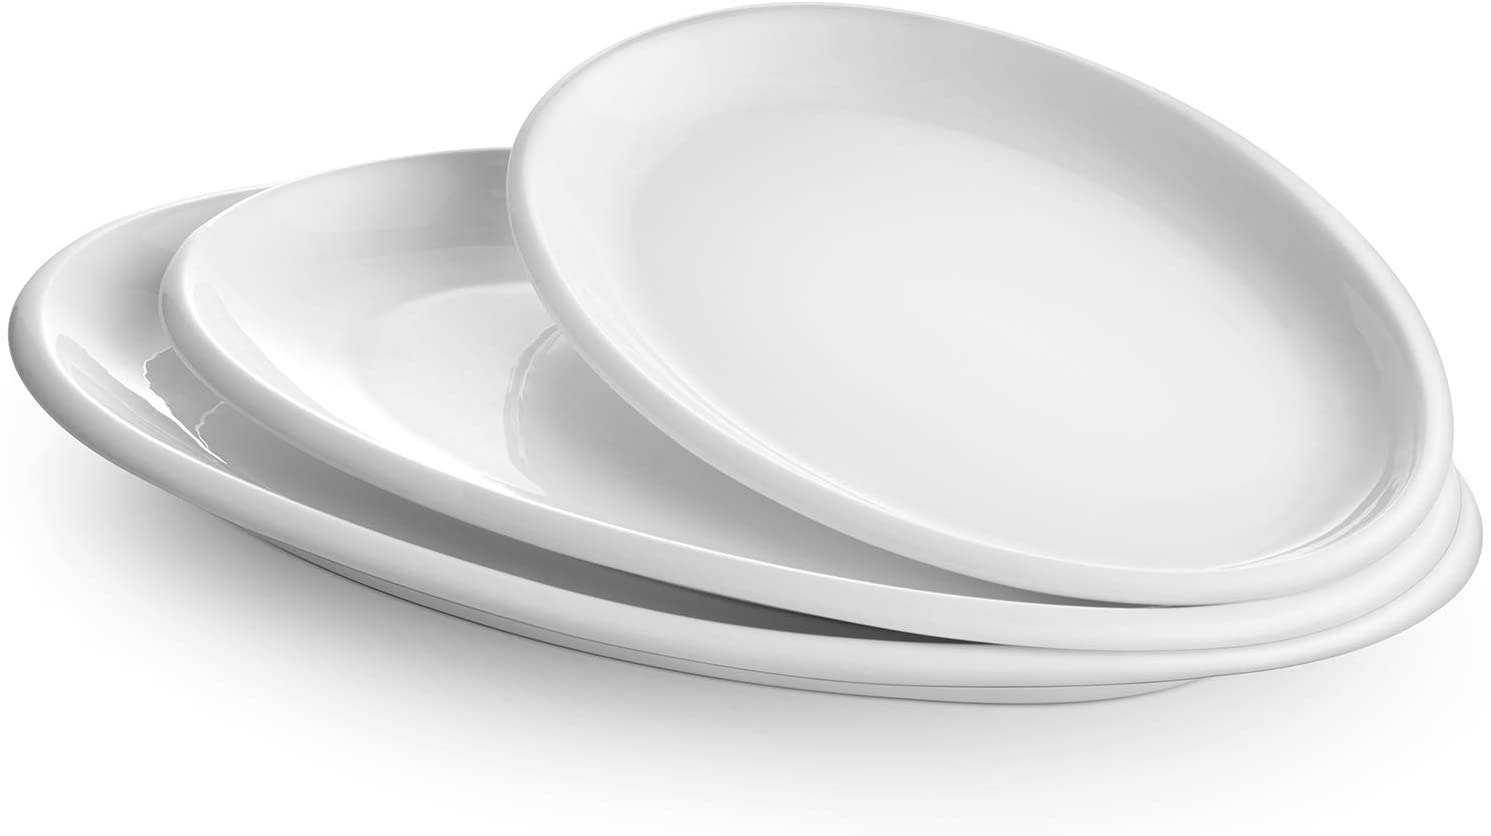
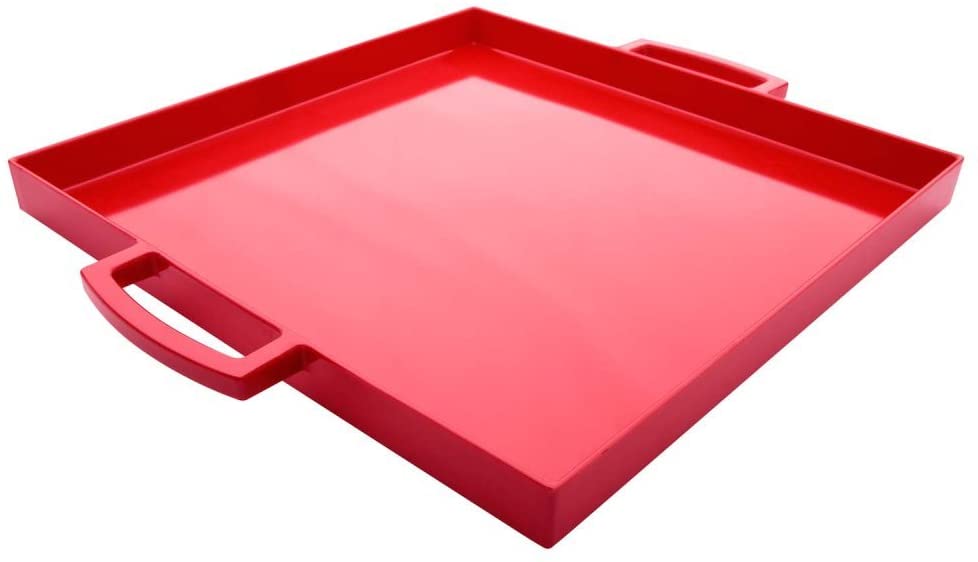
Serving platter
Charcuterie boards are traditionally wood, but that doesn’t mean that you can’t use whatever serving platter you may have on hand. Round, oval, square, rectangular, or other shaped serving platters can all be used and can create different looks for your dessert charcuterie board. I would recommend, however, using a solid color platter so the design doesn’t compete with your treats.
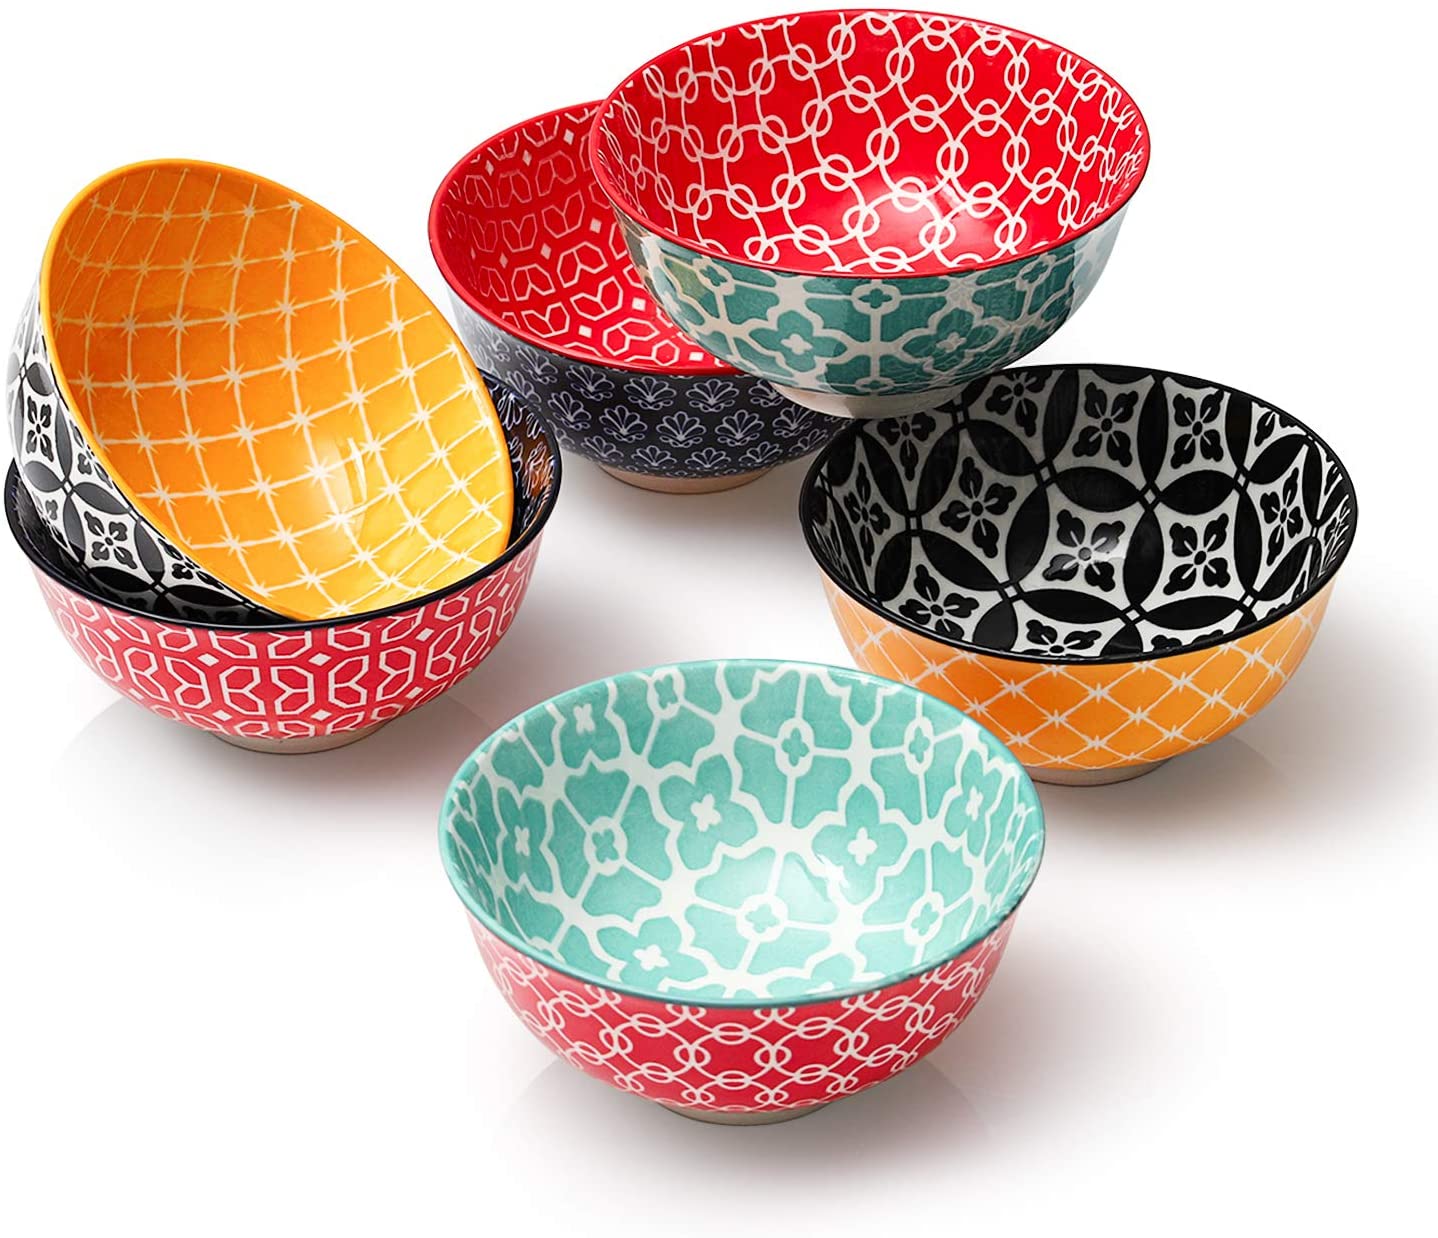
Small dishes
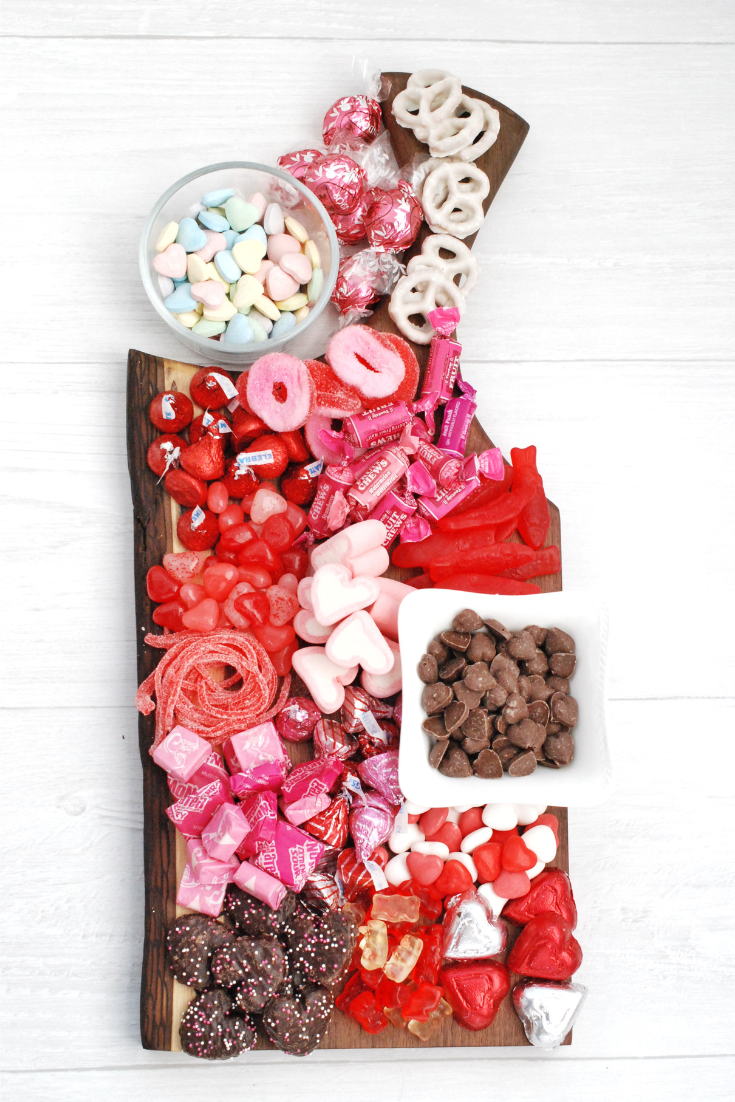
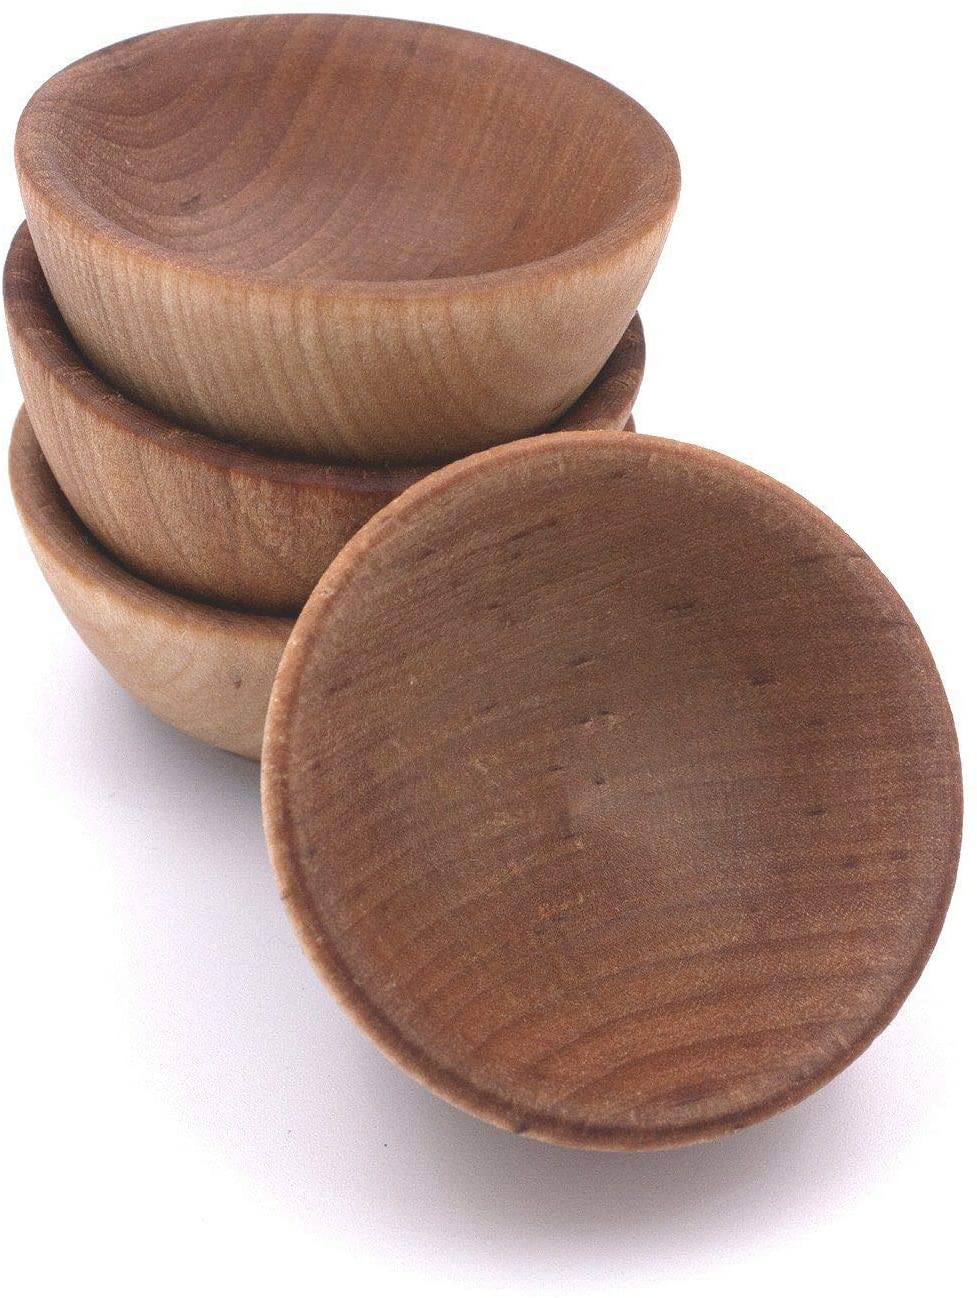
In addition to the base, you will need a few small dishes to break up the space on the board and corral some of your smaller items. I have a small obsession with little bowls and tend to pick one up every time I go to HomeGoods. (I got the little square one I used in the board for this post for $1.99 at HomeGoods!)
Other places to find small dishes like this include the dollar store (no one will notice that your little ramekin is plastic when it’s loaded up with candy!), the grocery store (Trader Joe’s often has tiny little wooden bowls that work perfectly in this situation), Walmart, Target, and Amazon.
What to put on a dessert charcuterie board
Now that you’ve figured out what you’re going to use, now comes the fun part: actually making it!
The easiest way to get started is to pick a color scheme or theme. You don’t have to stick to it 100%, but it will help you focus a bit when you’re collecting stuff to put on your board. The possibilities here are endless, so have fun with it!
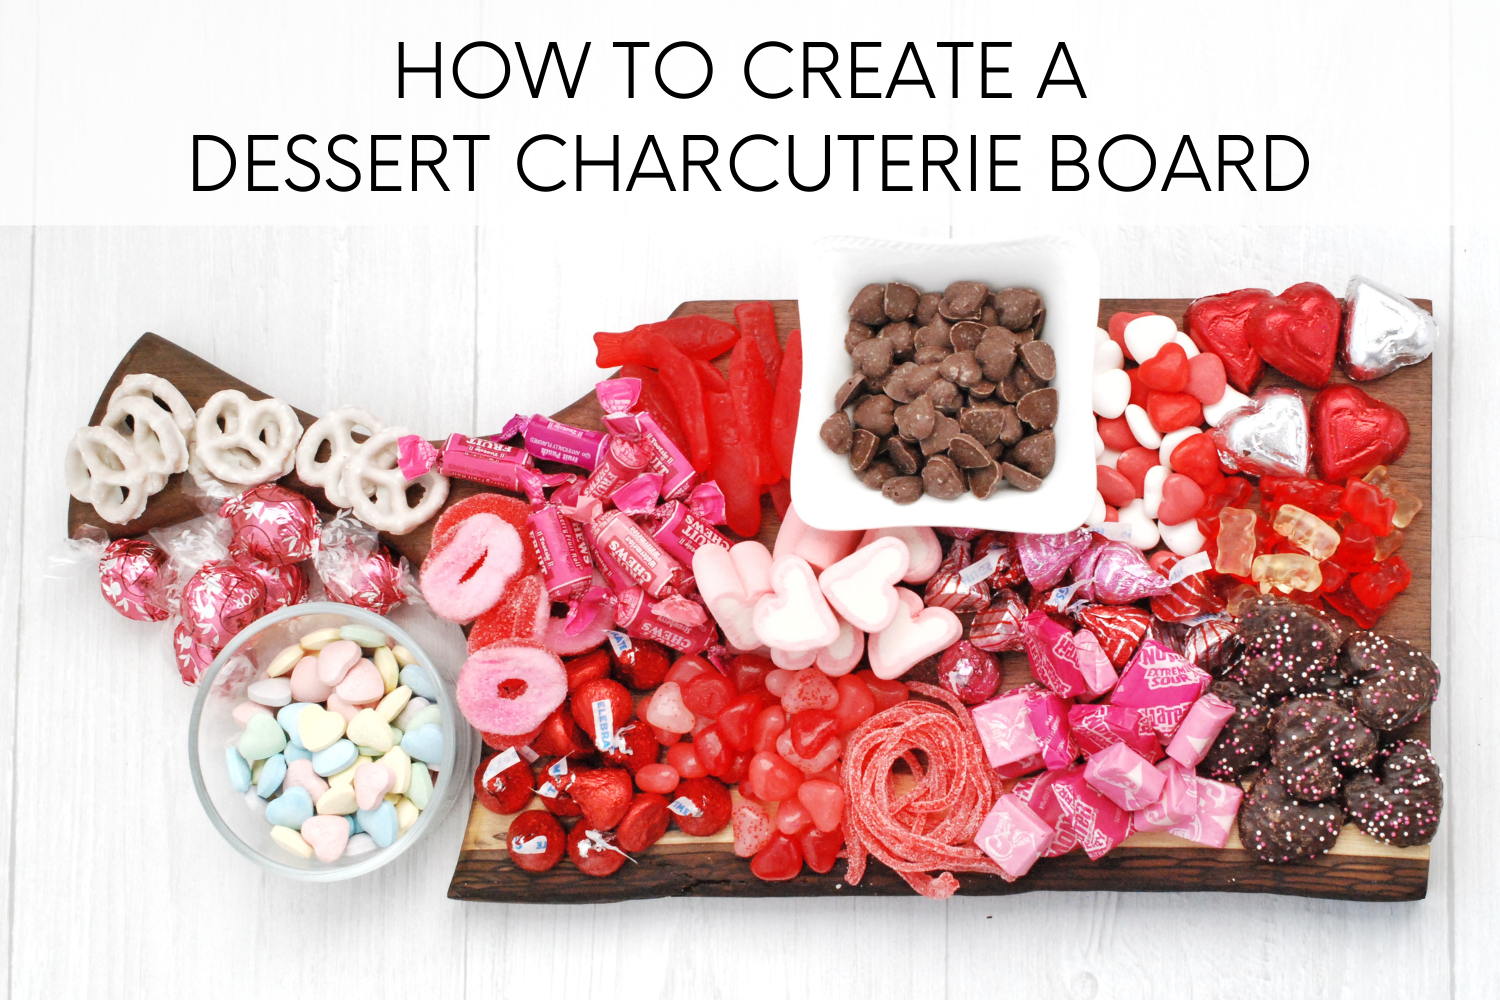
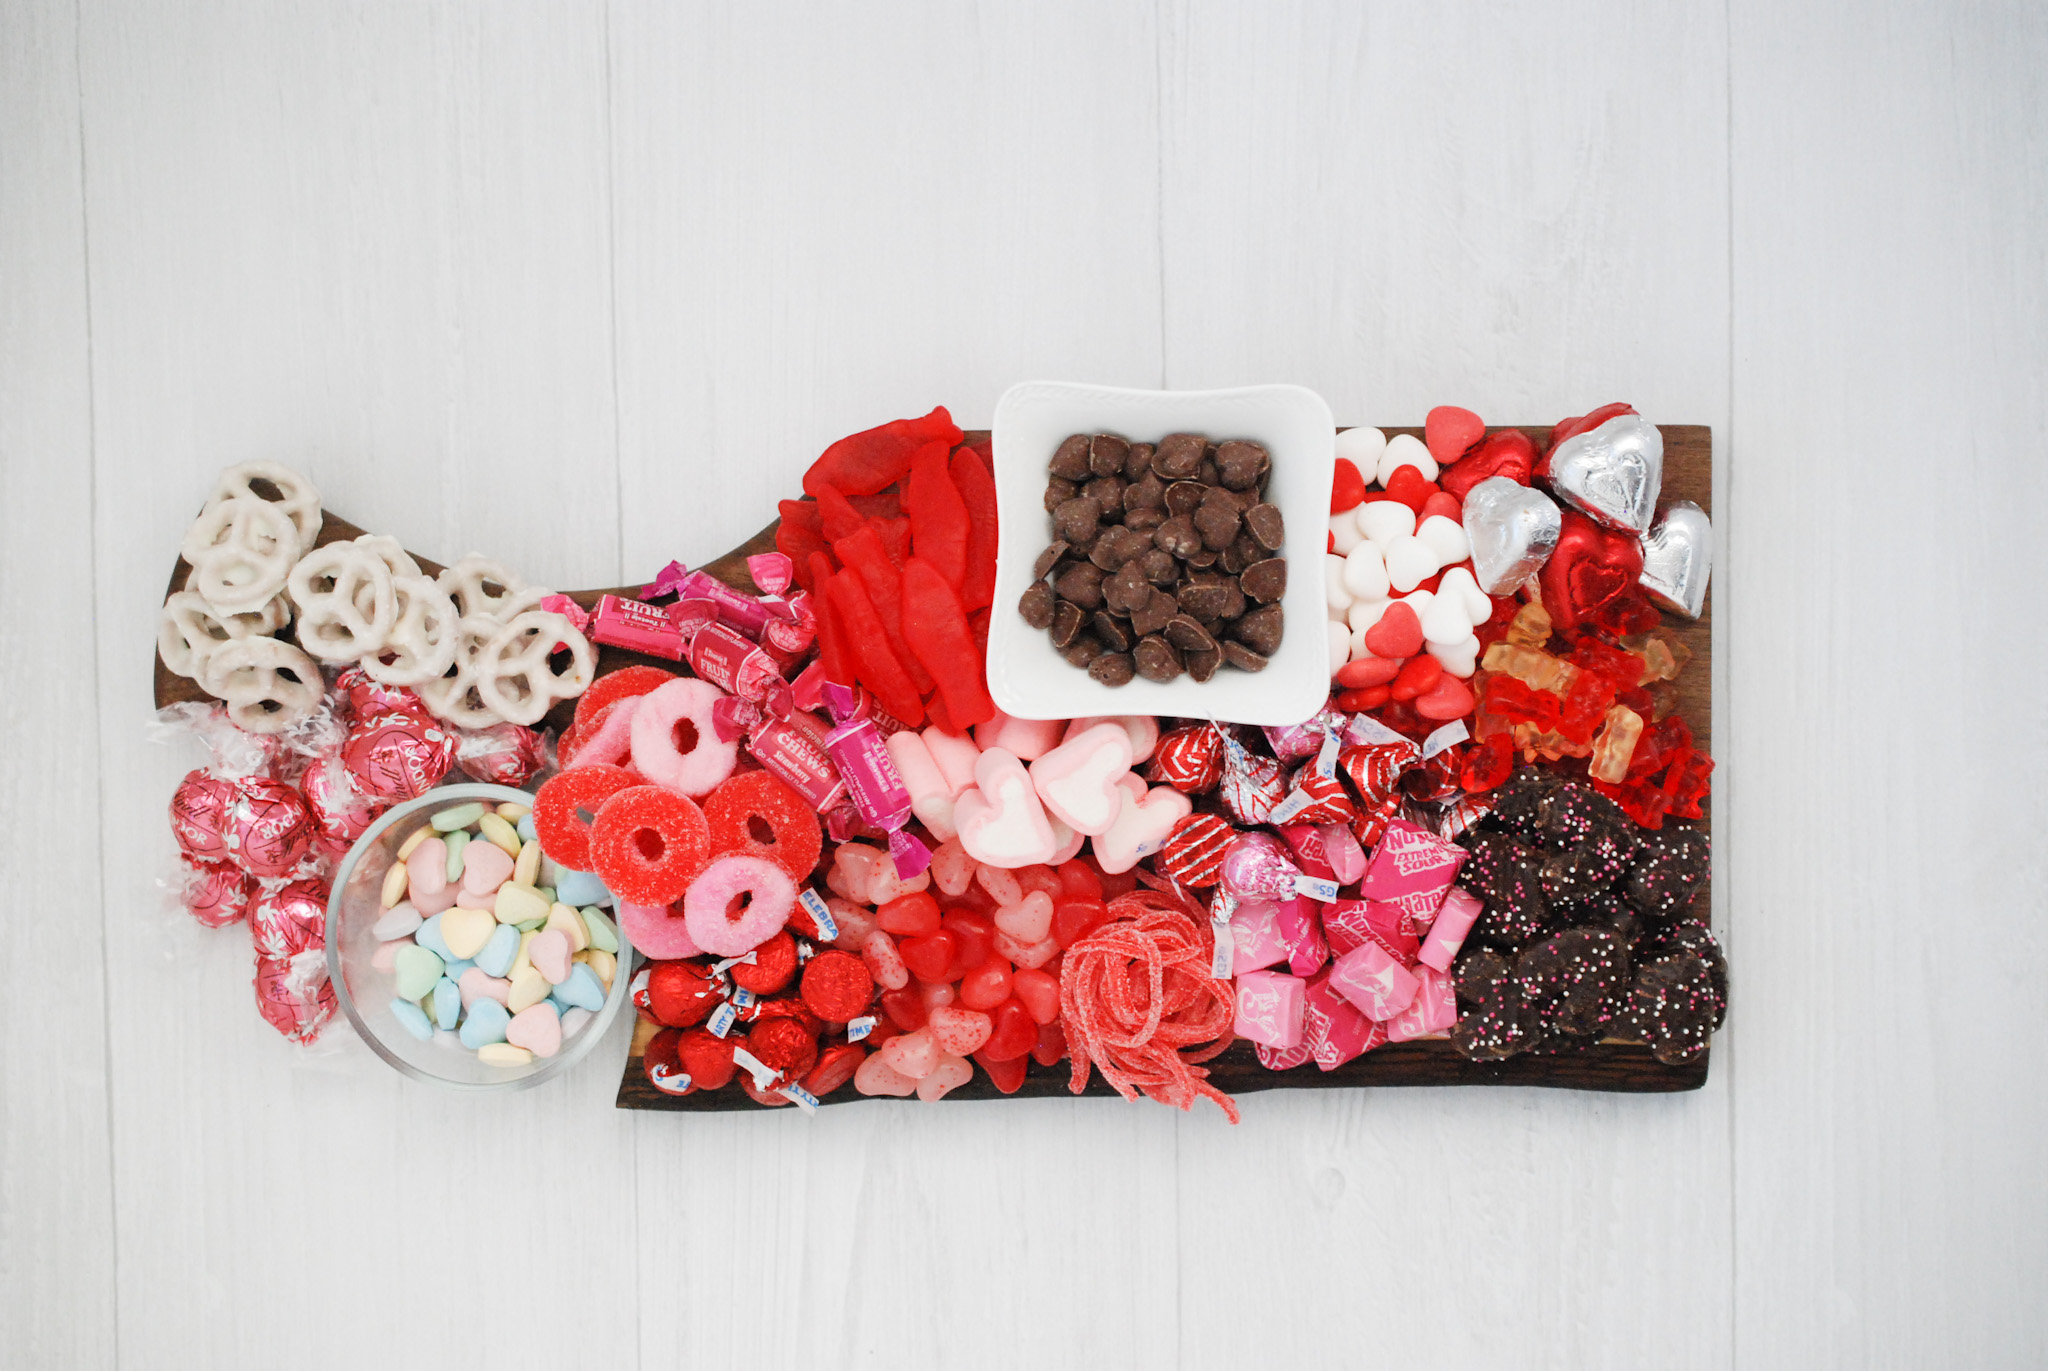
For this board, I chose a Valentine’s Day theme, only because I was making this in January, so it was easy to find red, pink, and heart-shaped treats. Plus, it’s just plain cute.
Ideally, I would have gone to the bulk foods section at Wegmans to get most of my candy, but that has been significantly reduced due to Covid, so I went elsewhere. I got a lot at Dollar Tree, but I also just kept this board in mind for a few days as I did other shopping at places like Walmart, Target and HomeGoods, and when I saw something that would work, I grabbed it.
[convertkit form=1989752]
You want to have a variety of different items on your board. Think about it: a plate full of M&Ms certainly will not get the same “wow” reaction as a platter covered with M&Ms, gummy bears, raspberries, popcorn, chocolate covered pretzels, conversation hearts and lollipops.
Like I said before, fruit is also a great addition to a dessert board, as are sweet dips. My Fluffy Brown Sugar Apple Dip, Raspberry Whipped Cream, and Reese’s Peanut Butter Cup Dip would both be perfect — and as a bonus, they’re all incredibly easy to make!
Here are several more of my recipes that would be ideal on a dessert charcuterie board:
- No-Bake S’mores Cookie Dough Bars
- Caramel Corn
- S’mores Popcorn
- Cookies ‘n Cream Snack Mix
- S’mores Pops
- Mini Ice Cream Cone Cake Pops
- White Chocolate Macadamia Nut Popcorn
- Cake Batter Bark
Tips for arranging your board
1. Start with dishes
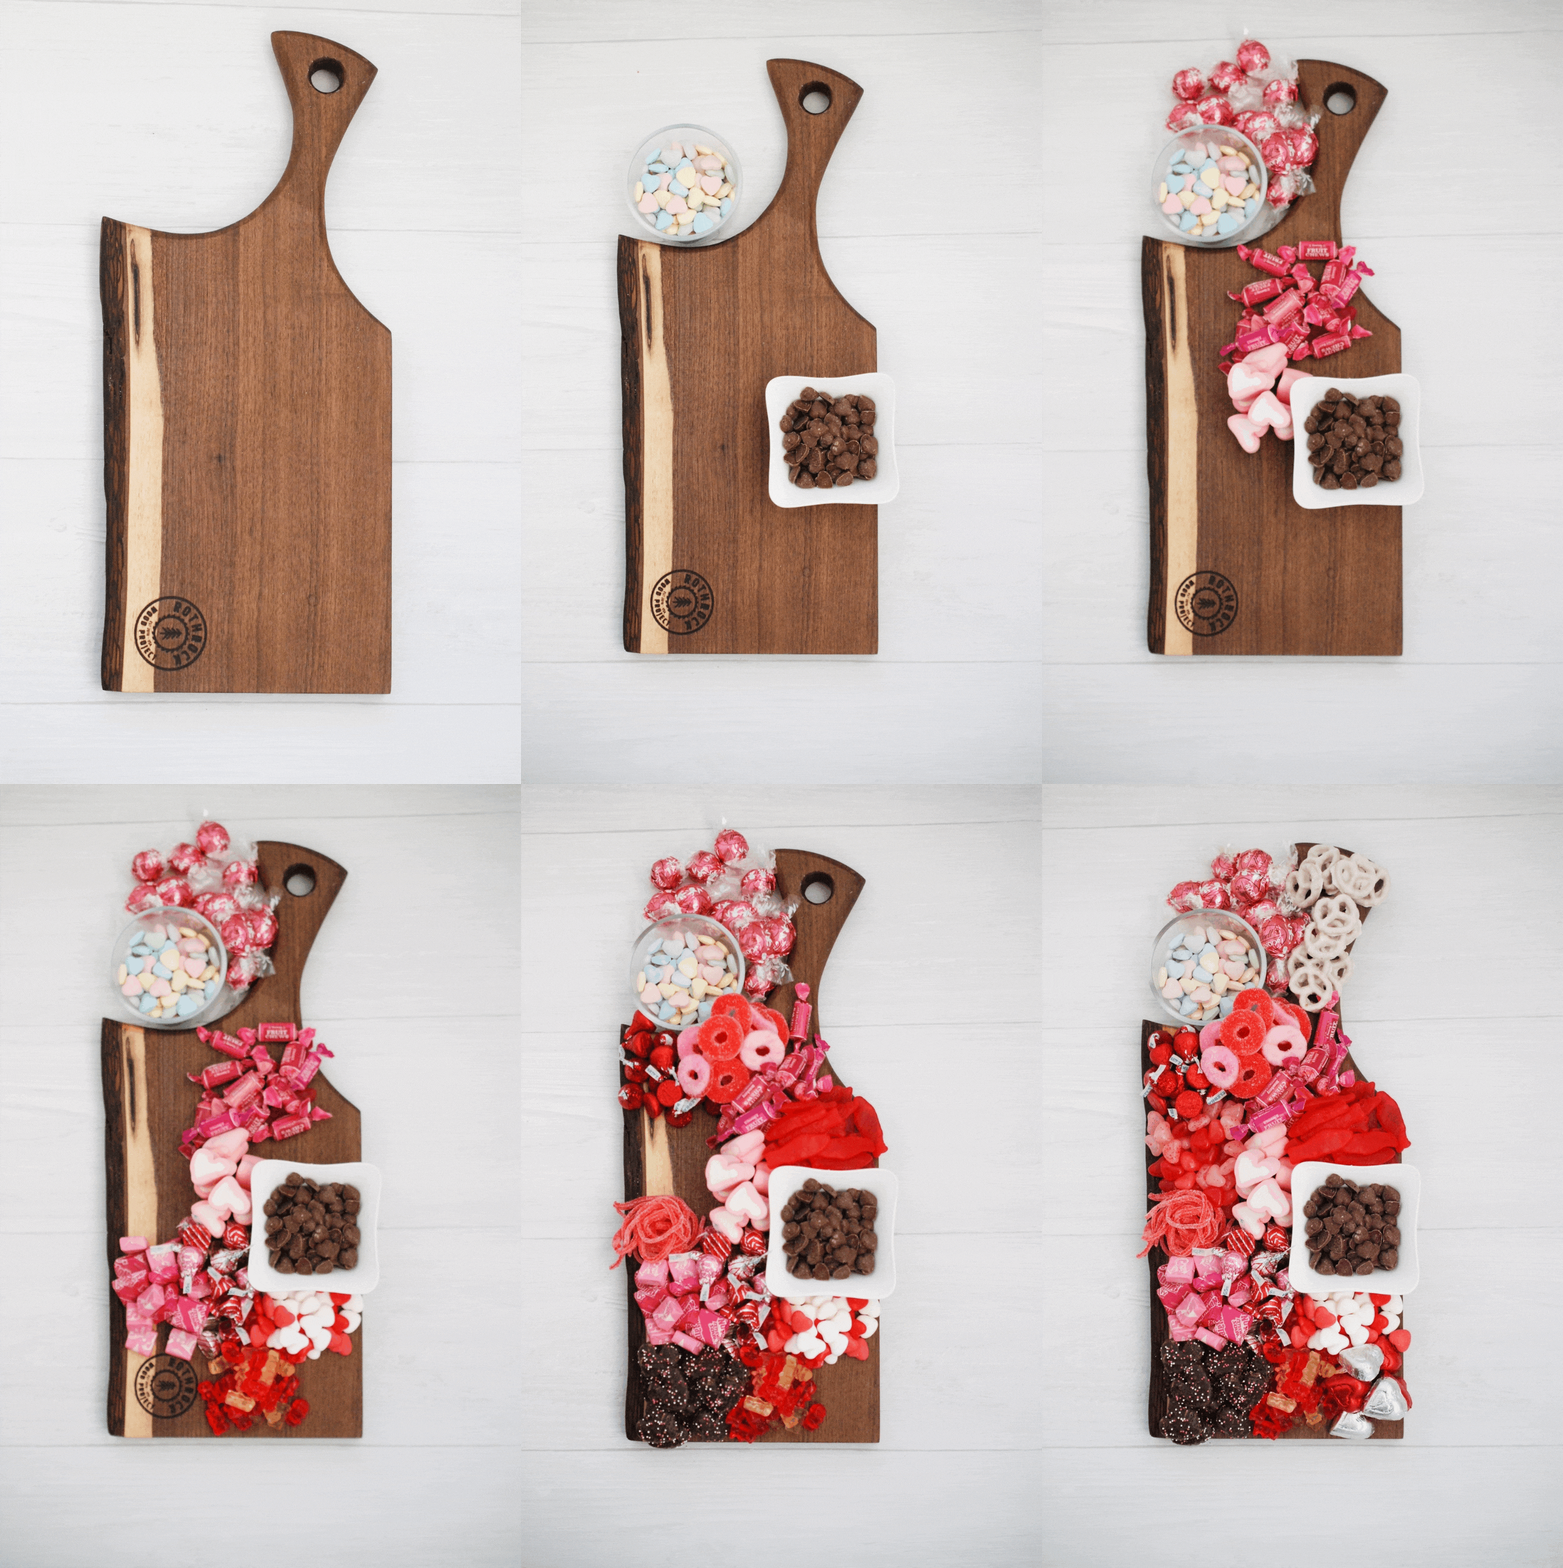
The easiest way to begin assembling your dessert charcuterie board is to place a few small dishes on your base. Fill them with small items such as M&Ms, Skittles, conversation hearts, chocolate chips, etc. You can then begin to add the rest of your items around them.
2. Add your largest candies first
Once you’ve added your dishes, place your largest candies on the board in various places. If you have long pieces of candy, such as licorice whips or sour straws, you can either cut them into smaller pieces or tie them in a knot.
3. Have a variety of items
As I said previously, a variety of different shapes, sizes, and colors (depending on your theme, of course) of items is going to give your board more visual interest. Also be sure to spread items of similar color or size throughout the board; i.e., don’t place all of your red candies in one spot and all of your pinks somewhere else.

If you need some ideas, click here to download my dessert charcuterie board checklist that includes over 100 ideas for items you can include!
4. Don’t skimp on ingredients
One of the main keys to a board that will blow people’s minds is this: when in doubt, overfill. Your board will look so much better with stuff all piled up, rather than in just one even layer.
5. Keep extras on hand for refills
If you’re serving your dessert charcuterie board at a party, keep a few extras back so you can fill in any spots as people snack and the board starts looking a little lean.
6. Provide scoops and/or tongs
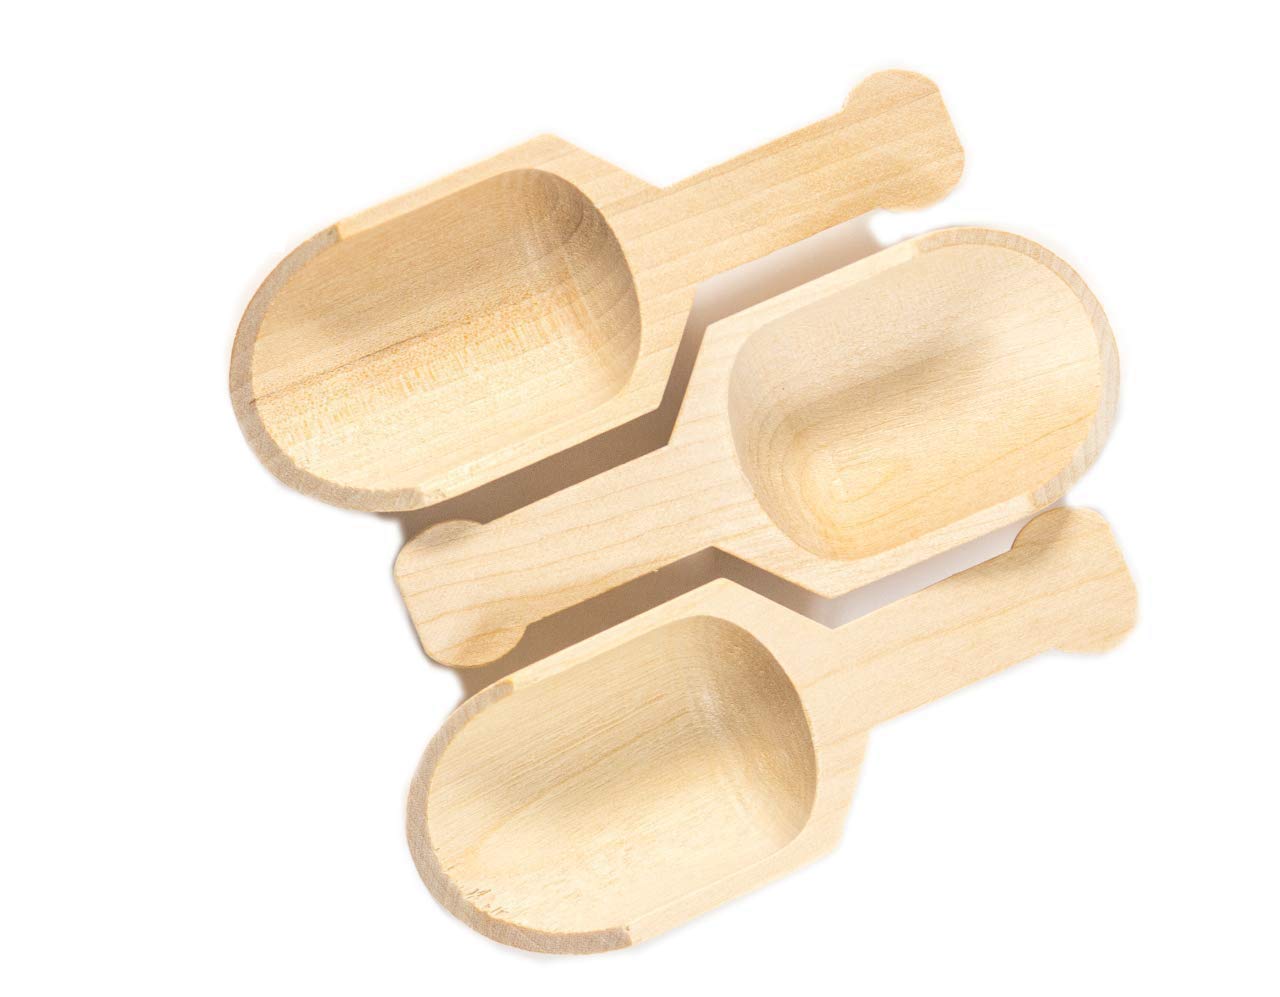
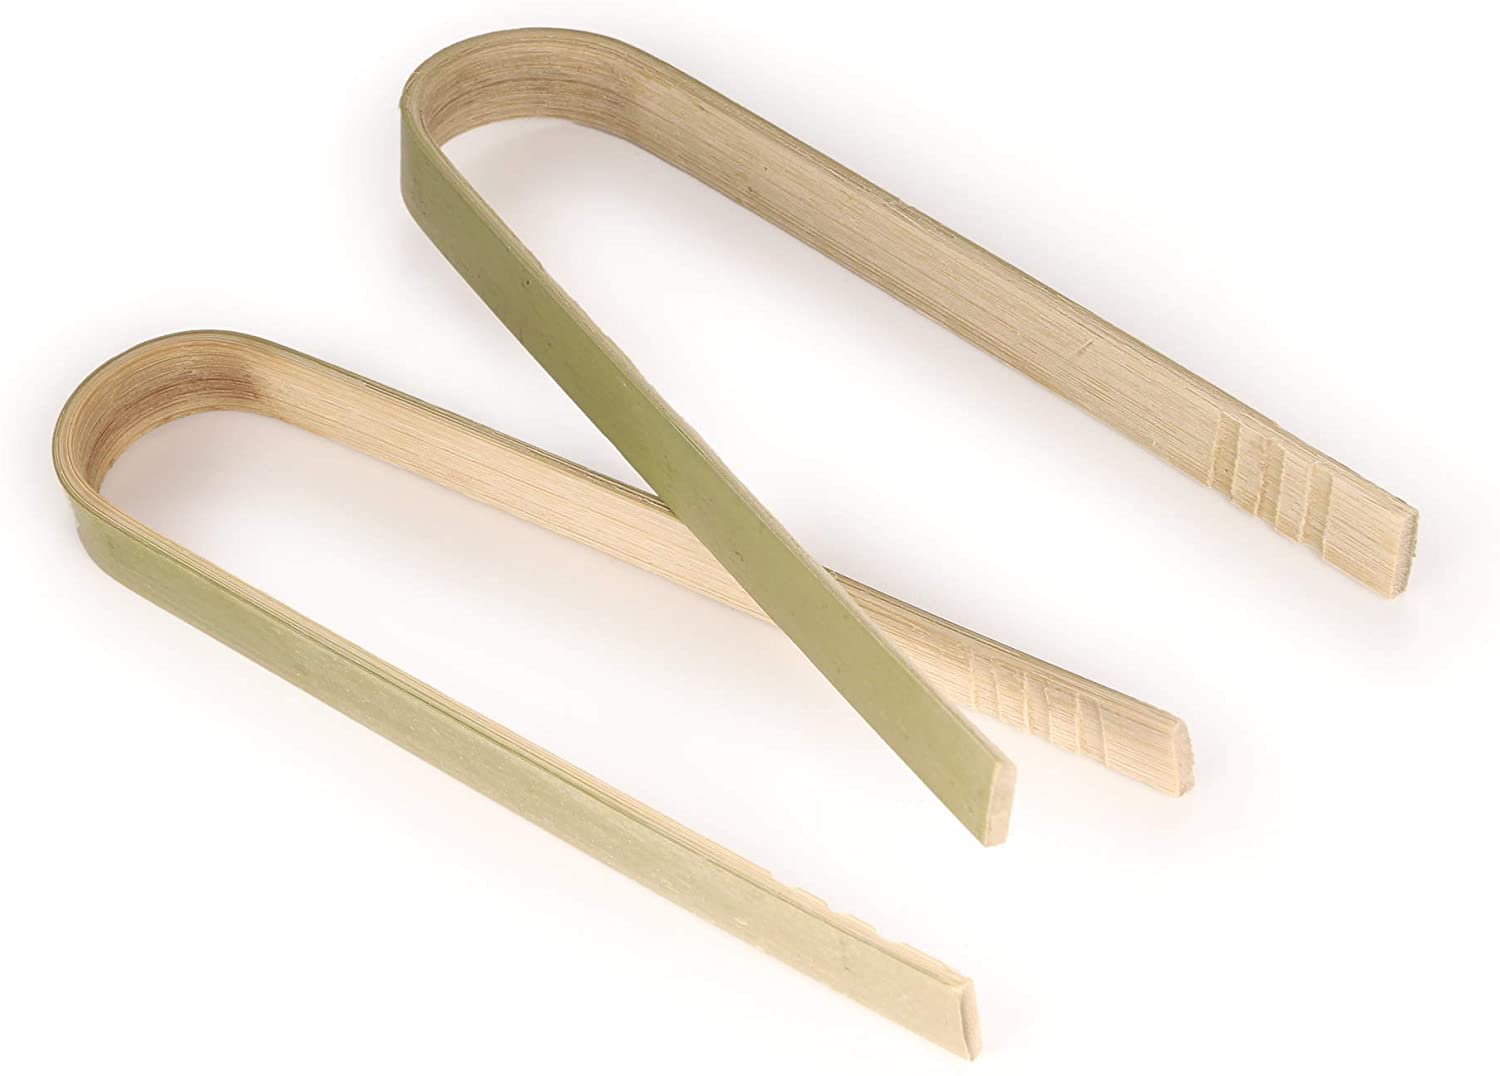
You certainly don’t want to encourage people to touch all of the candy with their hands, so give them small scoops and/or tongs to make choosing their candy a bit easier (and more sanitary!).
Be sure to download your free pdf with over 100 different items you could use to create your dessert charcuterie board (along with some bonus tips
There you have it! Hopefully you have learned all of my tips and tricks for creating a dessert charcuterie board that will blow people’s minds.
