I am a member of the Collective Bias® Social Fabric® Community. This shop has been compensated as part of a social shopper amplification for Collective Bias and its advertiser.
Spring.
At this point in my life, it feels as real as unicorns and fairies. We are in the midst of what seems to be a Game-of-Thrones-style winter, with no end in sight. But despite the fact that the temperature right now is 21, with a real feel of -5 {seriously. Minus 5. Shoot me now.} and 30+ mph wind gusts that are blowing our patio furniture all over creation, it will actually be March in two days. So realistically, this awful weather has to end sometime, right?? {Just agree with me so I don’t have a nervous breakdown, ‘kay?}
So I said, “To heck with you, winter!” {there is a slight possibility that I used somewhat stronger language than that}, and I decided to show you how to make a springtime wreath today.
And you know the best part?
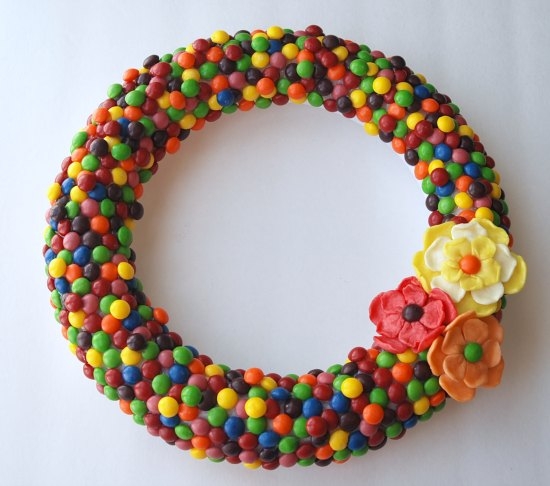
It’s made entirely out of candy. Seriously. A springtime candy wreath. How much fun is that?
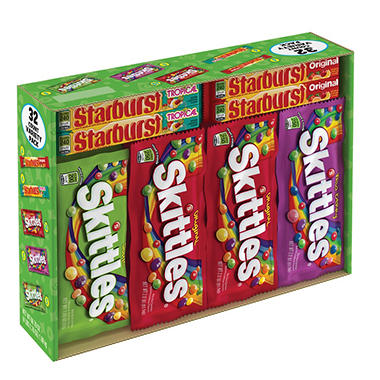
I was at Sam’s Club this past weekend stocking up on lunchbox snacks, and I stumbled upon this bad boy: the Skittles & Starburst 30 piece Variety Pack.
This wreath is nothing if not fun.
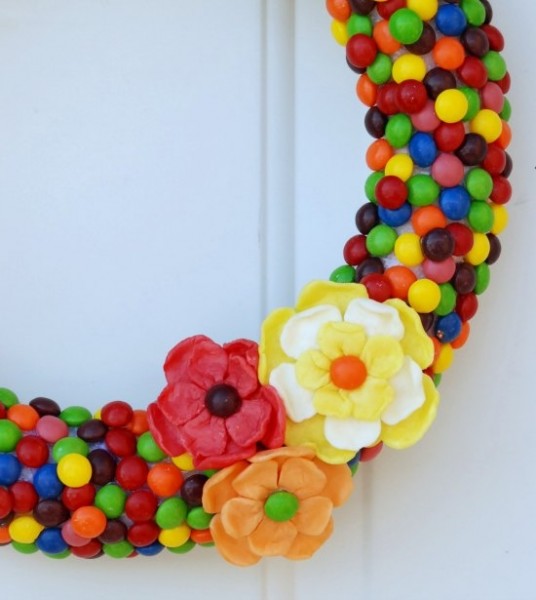
Check out those flowers. They’re made from Starbursts. Seriously. And they’re way, way, easier than you’d think.
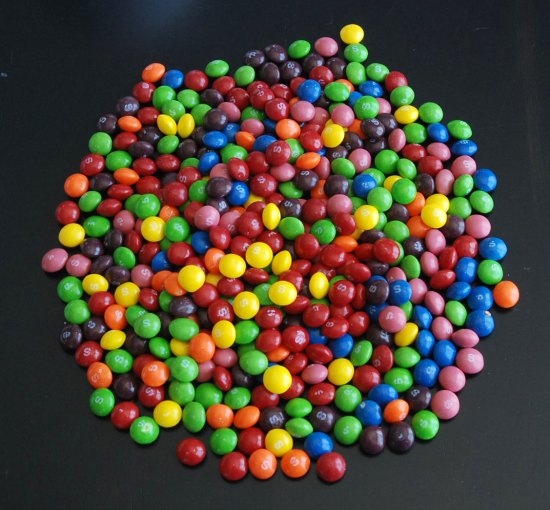
But we’ll get to those in a minute. Let’s start with the wreath itself. I used a 12″ white wreath form that I got at Joann fabrics for about $4. I originally thought I was going to make a cool striped pattern with the Skittles, but when I opened up the bags and dumped them out, they looked like this:
They looked so fun and pretty and colorful that I decided to just slap them on there, all random-like. And I’m so glad I did, because I love how it turned out. I also loved that the multipack included several different flavors, so there were tons of colors!
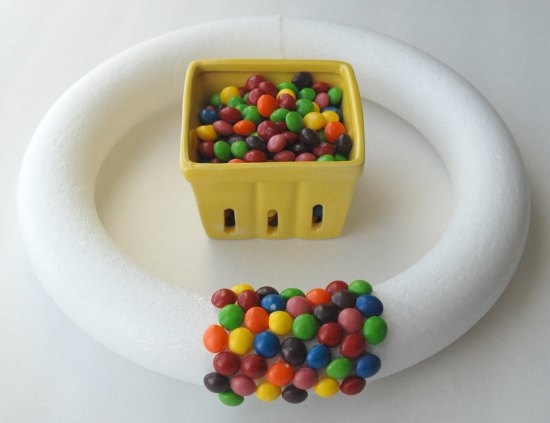
To get started, just go ahead and start gluing! I recommend using hot glue, because it holds well and dries quickly. Because of the quick-drying, though, be sure to work in small sections. Also, because I am a crazy person, I made sure that all the “S”s were facing down, so you can just see the plain side of the candy.
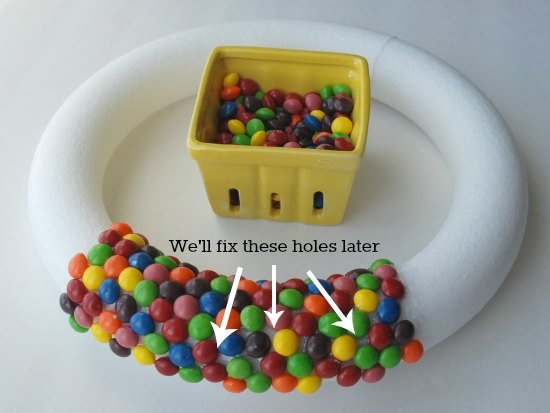
It helps if you stagger the candies a little bit so that there aren’t any big gaps, but don’t worry if you do have a few spots where you can see through to the wreath form. You can go back at the end and fill those in.
Once you have your candies all glued on, go back and glue some more on top of any holes you may have. You want to leave one section flat, though, to make it easier to glue on the flowers. It won’t matter if there are holes there, because they’ll be covered up by the flowers.
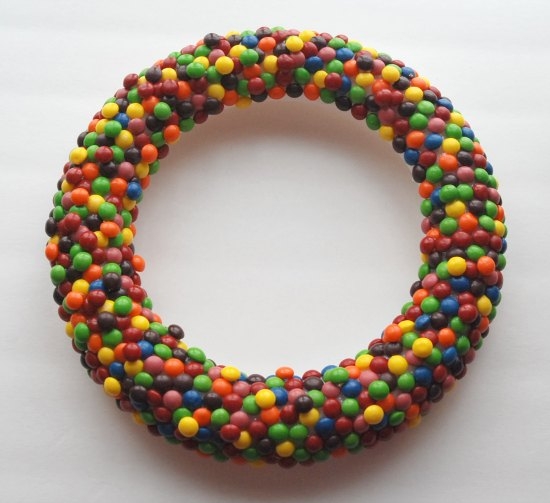 You can see in the above picture that my flat section is on the upper right-hand part of the circle.
Now set that sucker aside and let’s get started on my favorite part: the flowers!
When I first came up with the idea of doing a wreath with the Skittles, I started trying to figure out how I could incorporate the Starbursts. I was sitting there thinking about trying to make a flower out of the Starburst wrapper, and then it hit me: why not try to make a flower out of the Starburst itself??
So I sat down and tried to figure out how to do it. And it actually turned out even better than I thought. {Also better than Dave and David thought, because they both said, “WHOA! You made that?!? That’s way better than I thought it was going to be.” Thanks for the vote of confidence, fellas.}
Again, these are seriously way easier than they look.
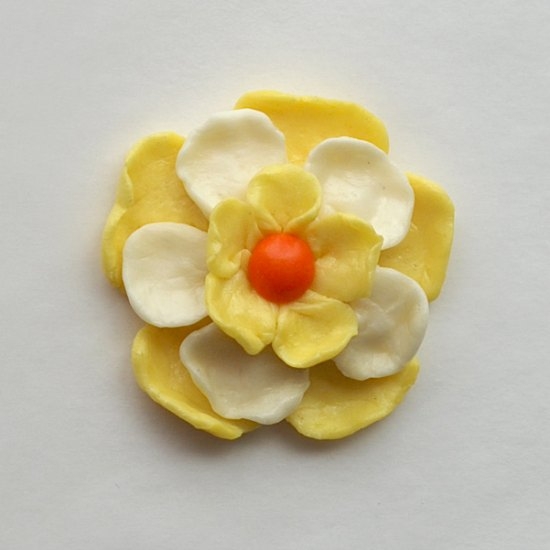
You’ll need some Starbursts {the yellow one is made from Pina Colada and Lemon flavors, the orange is from Mango Melon, and the red one is Cherry}, some kitchen scissors, a small piece of cardboard {I used a piece of a Diet Coke 12-pack}, hot glue, and a Skittle for the center. I also kept a little bowl of water and a paper towel handy, because your fingers can get a little sticky. For a three-layer flower, you’ll need a total of 8 Starbursts.
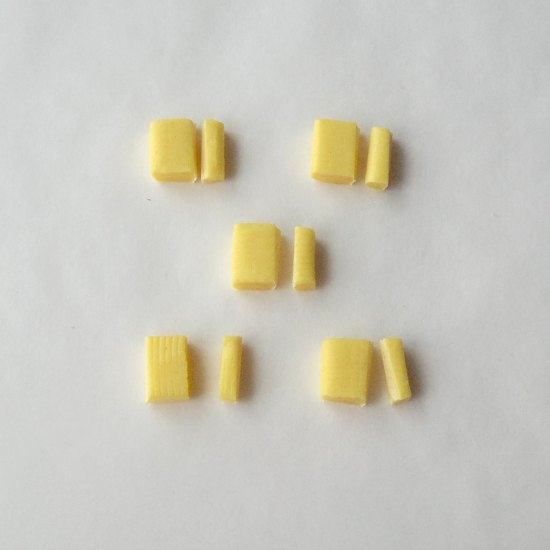
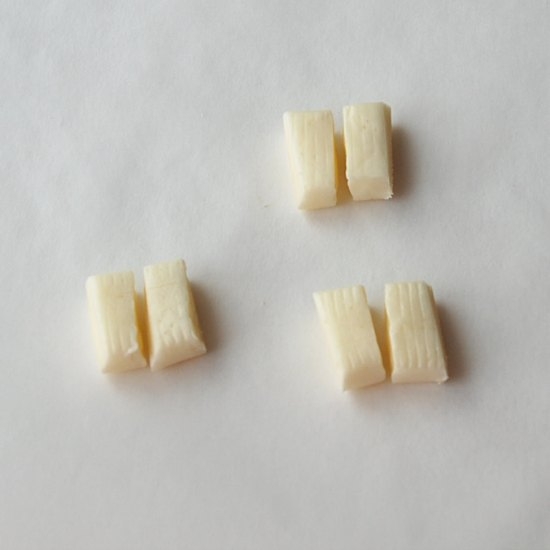
To start, cut about 1/8″ off of each side of 5 Starbursts. Set the smaller pieces aside for now; you’ll be using those to make the top layer of the flower.
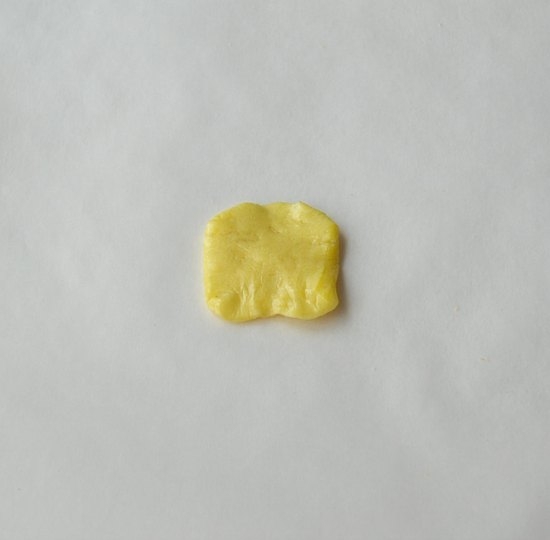
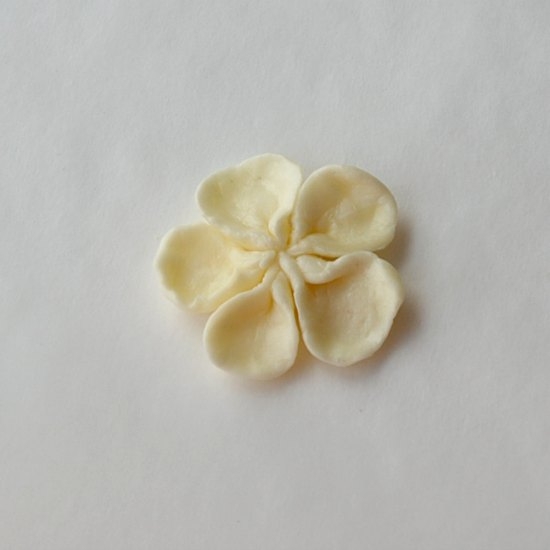
All you need to do is flatten the larger piece of the Starburst and shape it into an oval-ish shape. {If the candies are too hard, you can stick them in the microwave for 5 seconds to soften them up.} Don’t worry about making it look perfect — flower petals aren’t perfect, and I think these ones look better when they’re a little funky anyways.
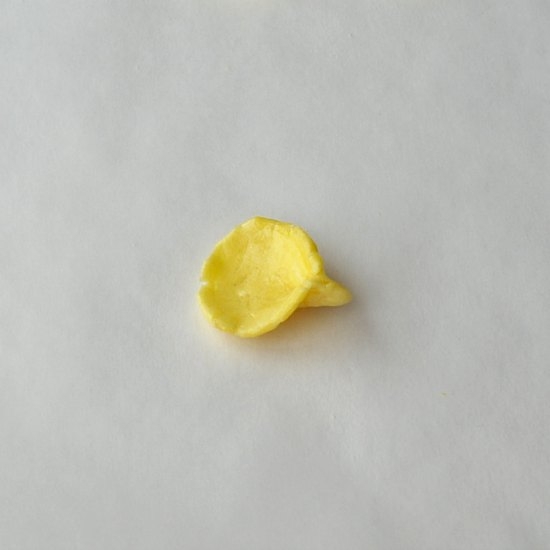
Next, pinch the bottom edge together. You just made one petal!
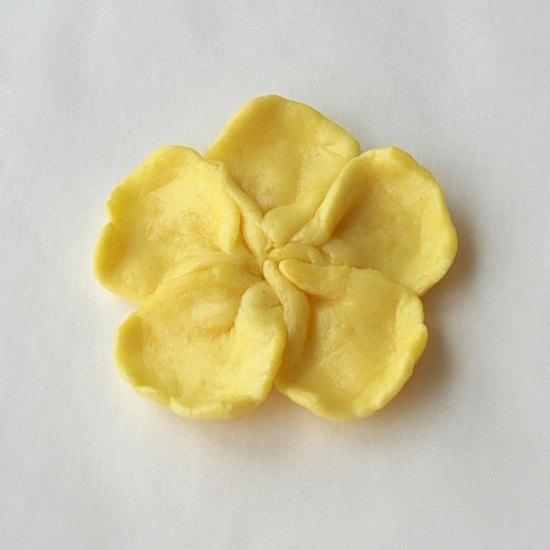
Repeat this step for all five of your petals. Once you have five petals made, smoosh them all together in the center to form a flower. This is your bottom layer.
For the middle layer, cut three Starbursts in half. {Bonus: you only need 5 of those pieces, so: snack time!}
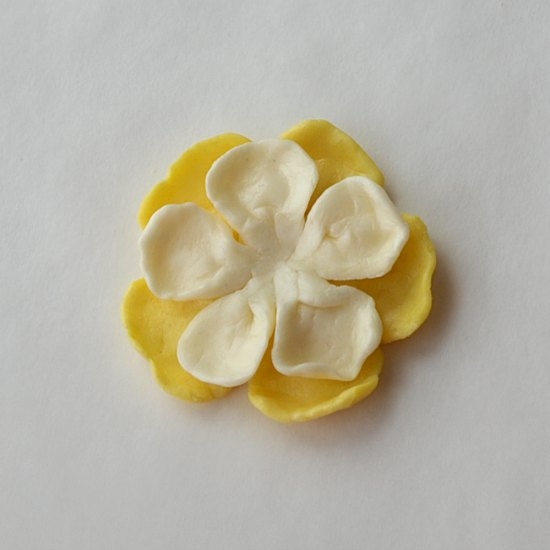
Repeat the above steps to create five petals and again smoosh them together to form a flower. This is your middle layer.
Place a small amount of hot glue in the center of your bottom layer and attach the middle layer you just made. Press down in the center to adhere the layers together.
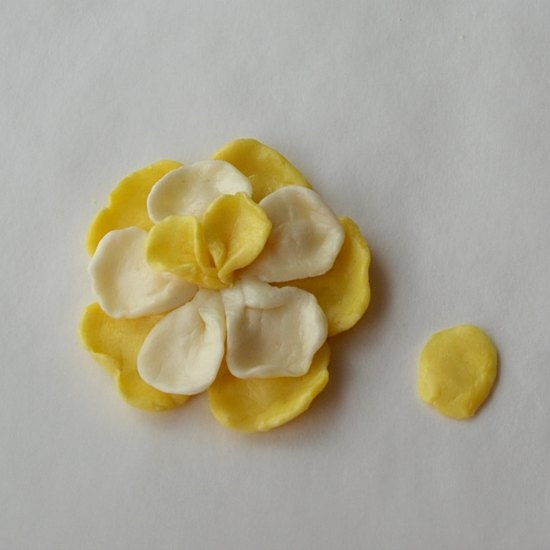
For the top layer, cut two Starbursts into quarters. {Snack time again, since you only need five quarters!} Repeat above steps to create petals. For this layer, it’s easiest to glue each petal down individually, since they’re so small.
Press down the middle of the flower and glue on a Skittle for the center. That’s it!!
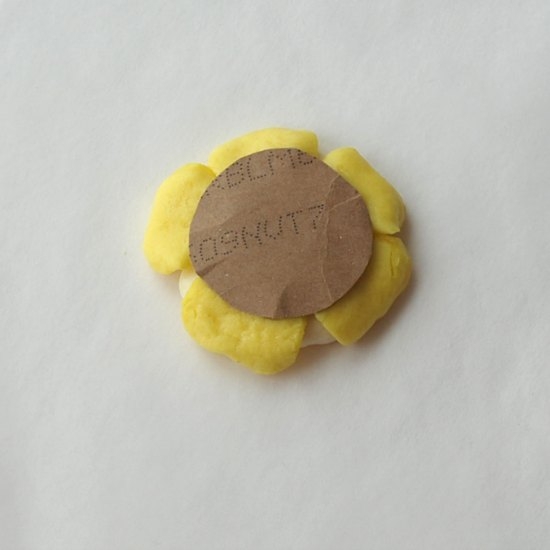
Flip the flower over and glue on a small cardboard circle to make the flower a little sturdier.
Repeat these steps with two different color Starbursts. I wanted the other two flowers to be slightly smaller, so I only used two layers on those.
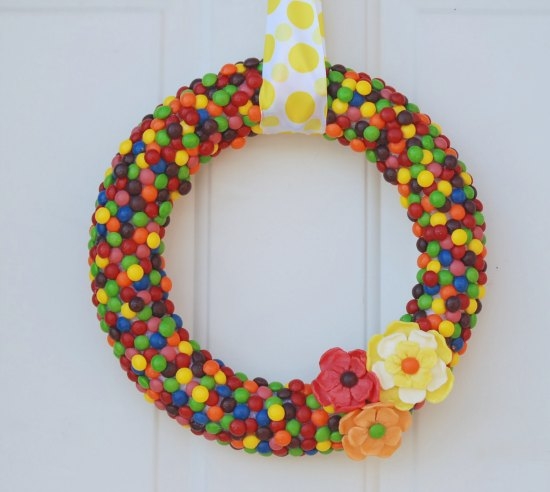
Then, just glue the flowers on your wreath, stand back and admire your candy creation!!
I really could not have been happier with the way this turned out!
Disclosure of Material Connection: Some of the links in the post above may be affiliate links. Among others, we are a participant in the Amazon Services LLC Associates Program, an affiliate advertising program designed to provide a means for us to earn fees by linking to Amazon.com and affiliated sites. As an Amazon Associate I earn from qualifying purchases. This means if you click on the link and purchase the item, I will receive an affiliate commission. Regardless, I only recommend products or services I use personally and believe will add value to my readers. I am disclosing this in accordance with the Federal Trade Commission’s 16 CFR, Part 255: “Guides Concerning the Use of Endorsements and Testimonials in Advertising.”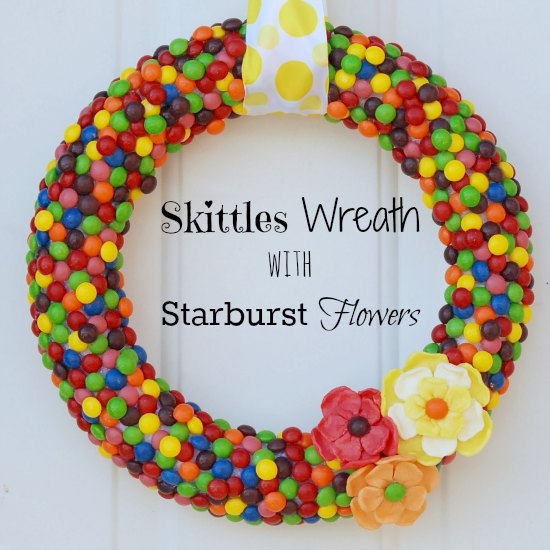
WOW! You are super creative. I would’ve never thought of this. I love it!
whaaat. Those flowers, though… I’m soooo making those! I’m pinning this for Easter ideas! 😀 Thank you for sharing and I love your photos–they really help with understanding how to make the flowers (for the wreath) on my own.
How cute! I probably would’ve ate all the skittles though, I’m a fiend.
I absolutely LOVE this!!! Way to think outside of the Skittles bag!! 🙂
Awesome wreath! I could use a little spring cheer myself.
I would keep this up all year round, but I definitely would have to weather coat it to keep myself from eating it!
Those flowers are awesome! They would be a great embellishment for a kids candy necklace!
Incredibly creative. Love it. So eyecatching.
Jenn, I totally laughed/sighed at how real that first paragraph was–this Polar Vortex of a winter seems infinite in the worst way possible! Luckily this wreath is here to cheer us all up 🙂
This is so creative! My jaw literally dropped when I saw the picture! I would love to make this, but I would need to buy double the needed amount- I would eat as I work ^.^
Hi! I love this wreath 🙂
I just wondered how long it lasted and if you got any discolouration? Thanks