Learn how to make a DIY wood vase for less than $6 using materials from Dollar Tree.
This post may contain affiliate links, which means I’ll receive a commission if you purchase through my link, at no extra cost to you. You can read our full disclaimer here.
Scandinavian and boho designs are so popular right now, and natural wood tones are everywhere.
You can find tons of wood vases on sites like West Elm, Etsy, and Pottery Barn, but they are generally quite expensive.
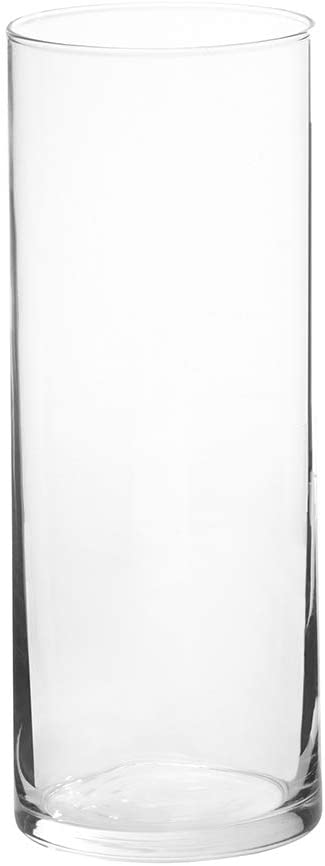
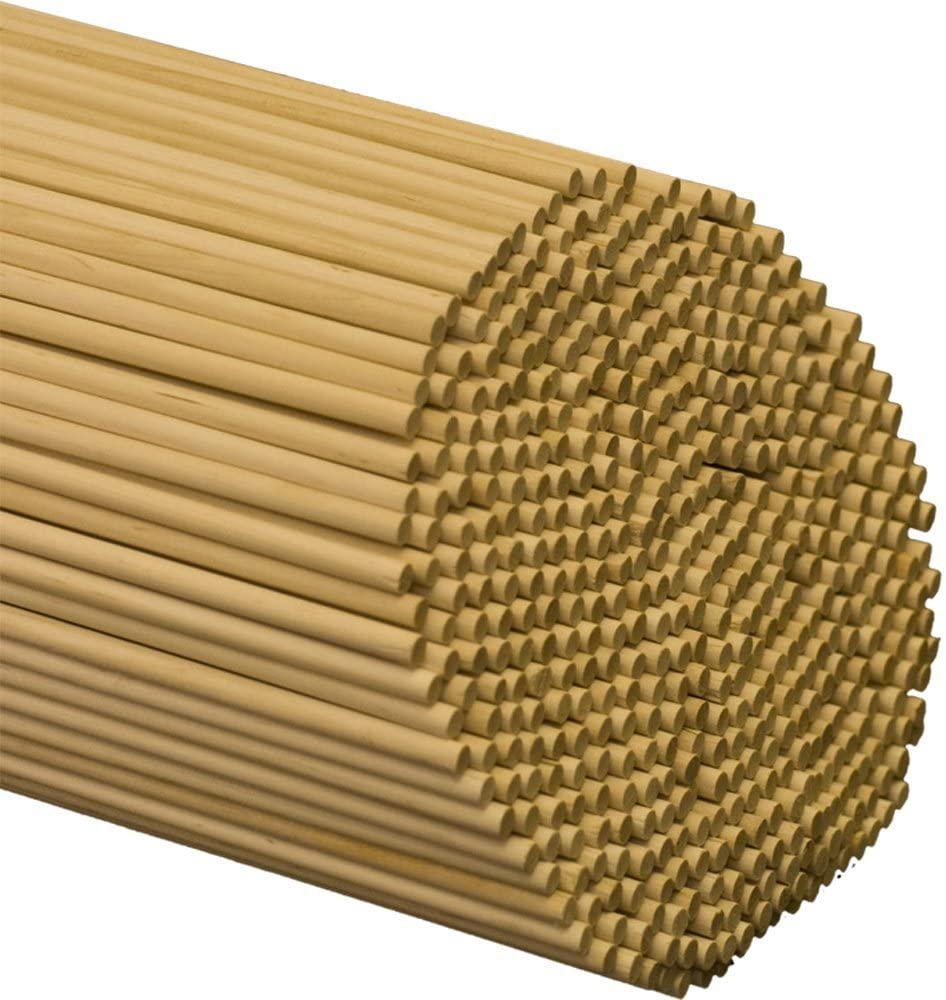
I was at Dollar Tree recently, and I found these great tall, cylindrical vases. I immediately grabbed a few, knowing that I could do all sorts of fun things with them. Then, in the craft section, I found some packs of dowels, and I knew exactly what I wanted to do.
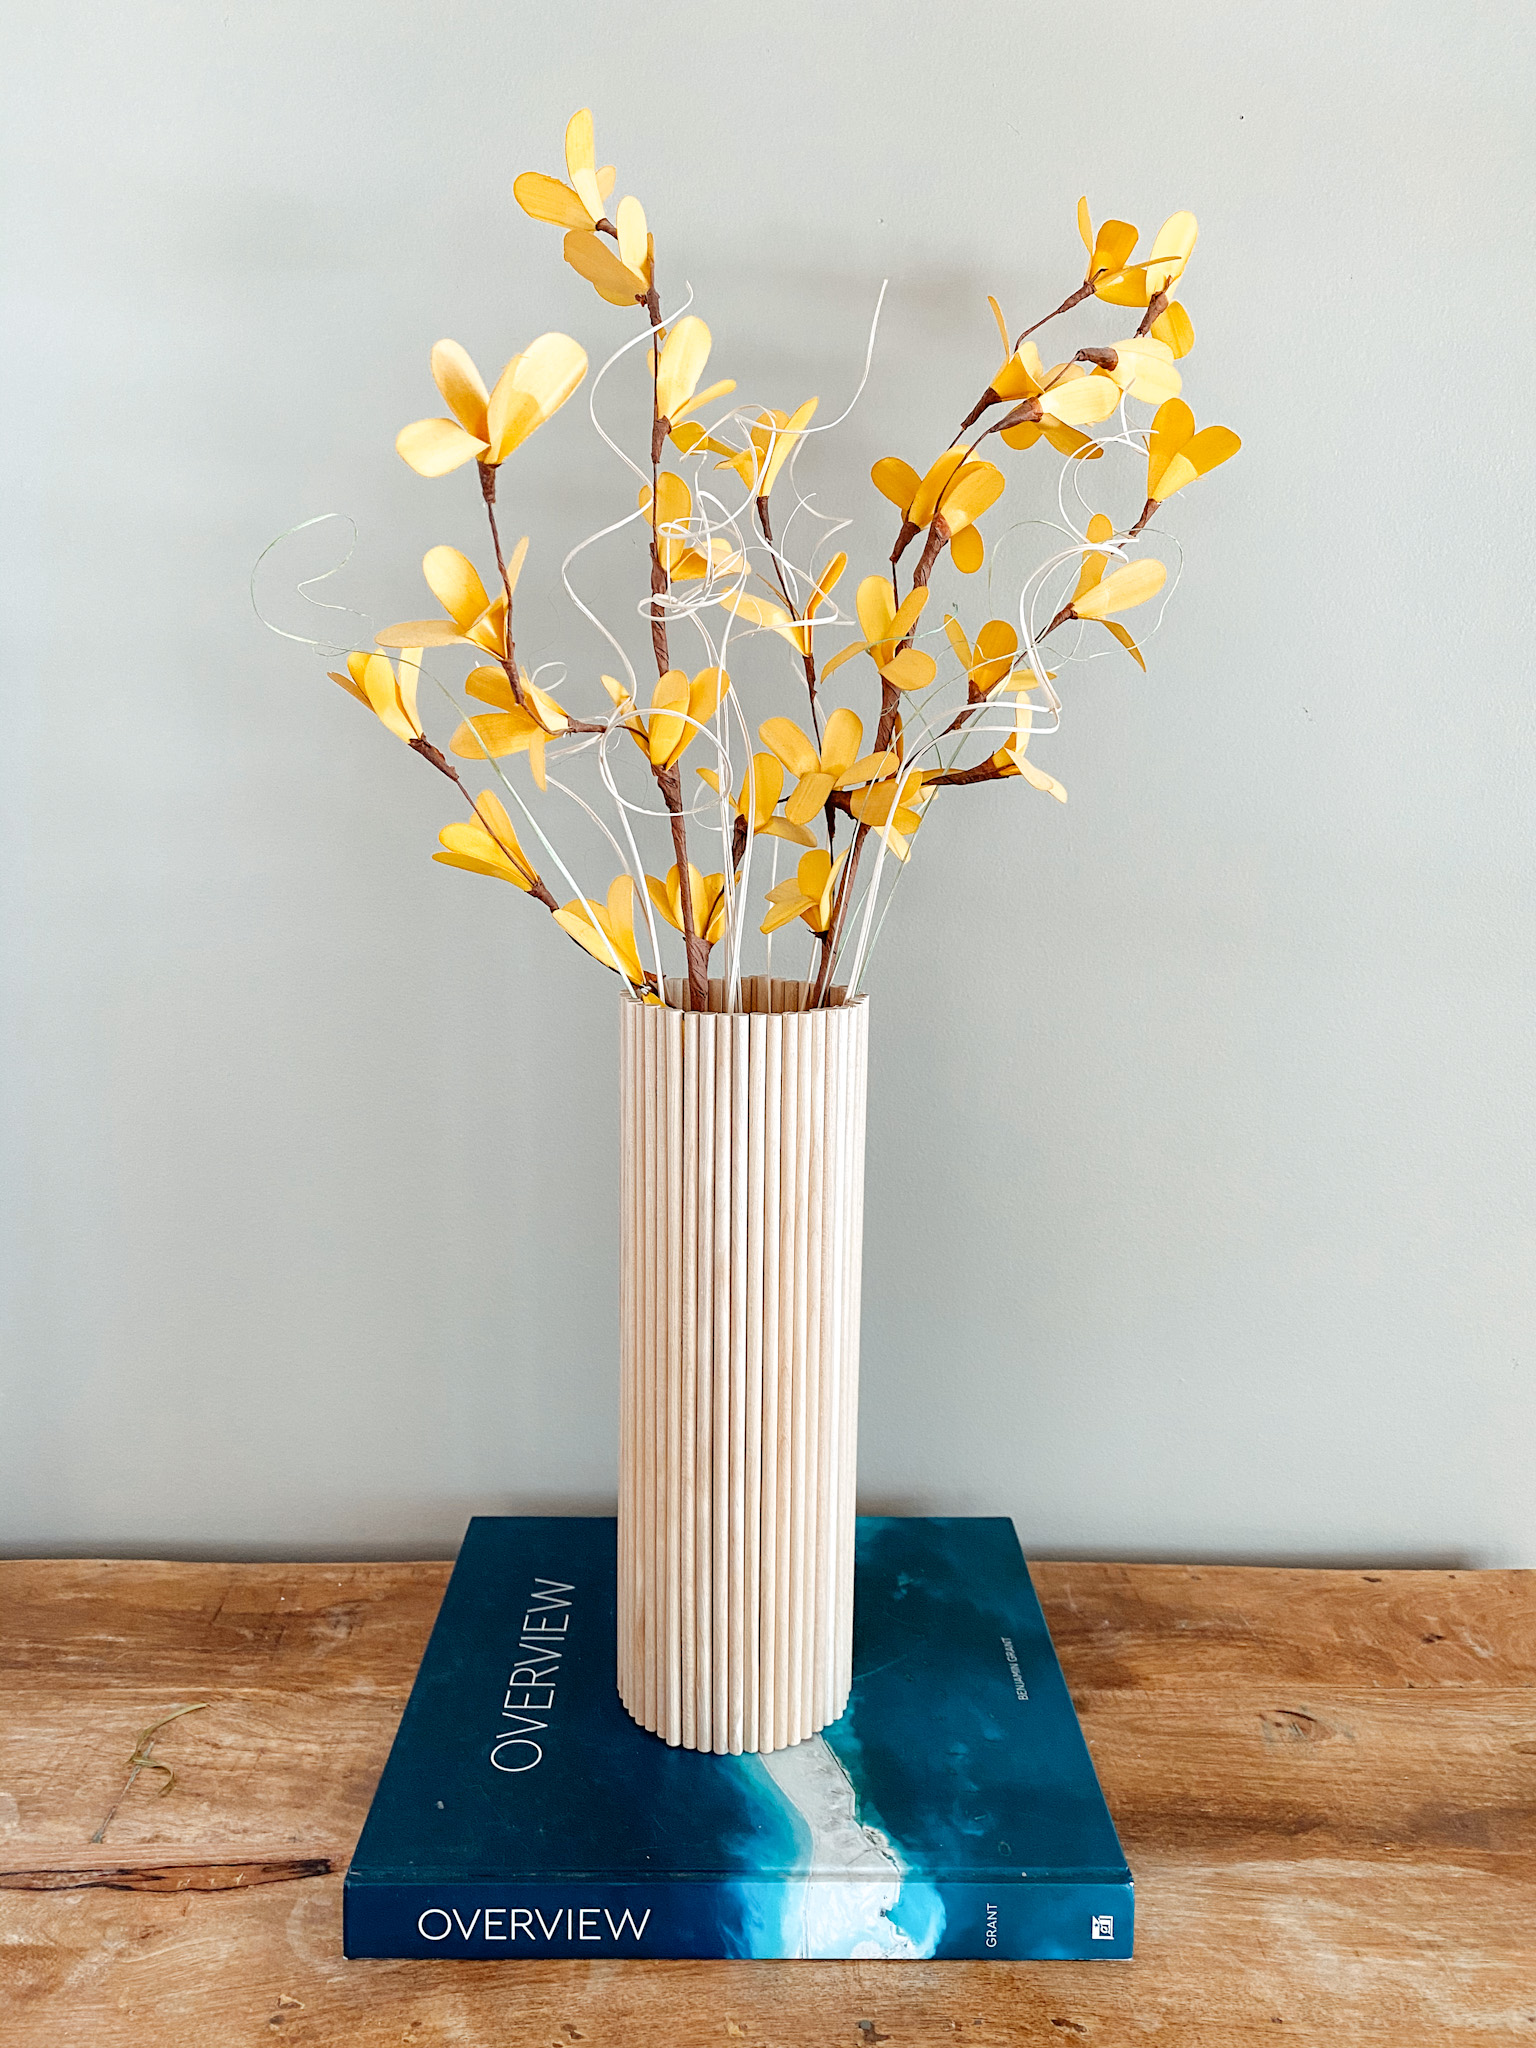
A DIY wood vase.
Now, here’s the thing. I’ve heard Pinterest called “the dream killer” because you’ll think of a project, convinced you’re the first person to ever think of this, ever, and then you’ll go on Pinterest and see that 200 people have done the exact same thing.
Guess what? TikTok is the new dream killer. Because I was so excited about this amazing idea I had, and then I went on TikTok, and BAM. I saw 50 videos of people doing this exact same thing with the Dollar Tree dowels and vases.
So, I will say this up front: I am clearly not the first person to do make a DIY wood vase like this. Regardless, I want to share this tutorial with you because I am in love with the way it turned out.
This post is all about how to make a DIY wood vase.
How to Make a DIY Wood Vase
To begin, you will need a cylindrical vase and some wooden dowels. Be sure that your vase is a perfect cylinder, because if it’s not, the dowels will not line up properly.
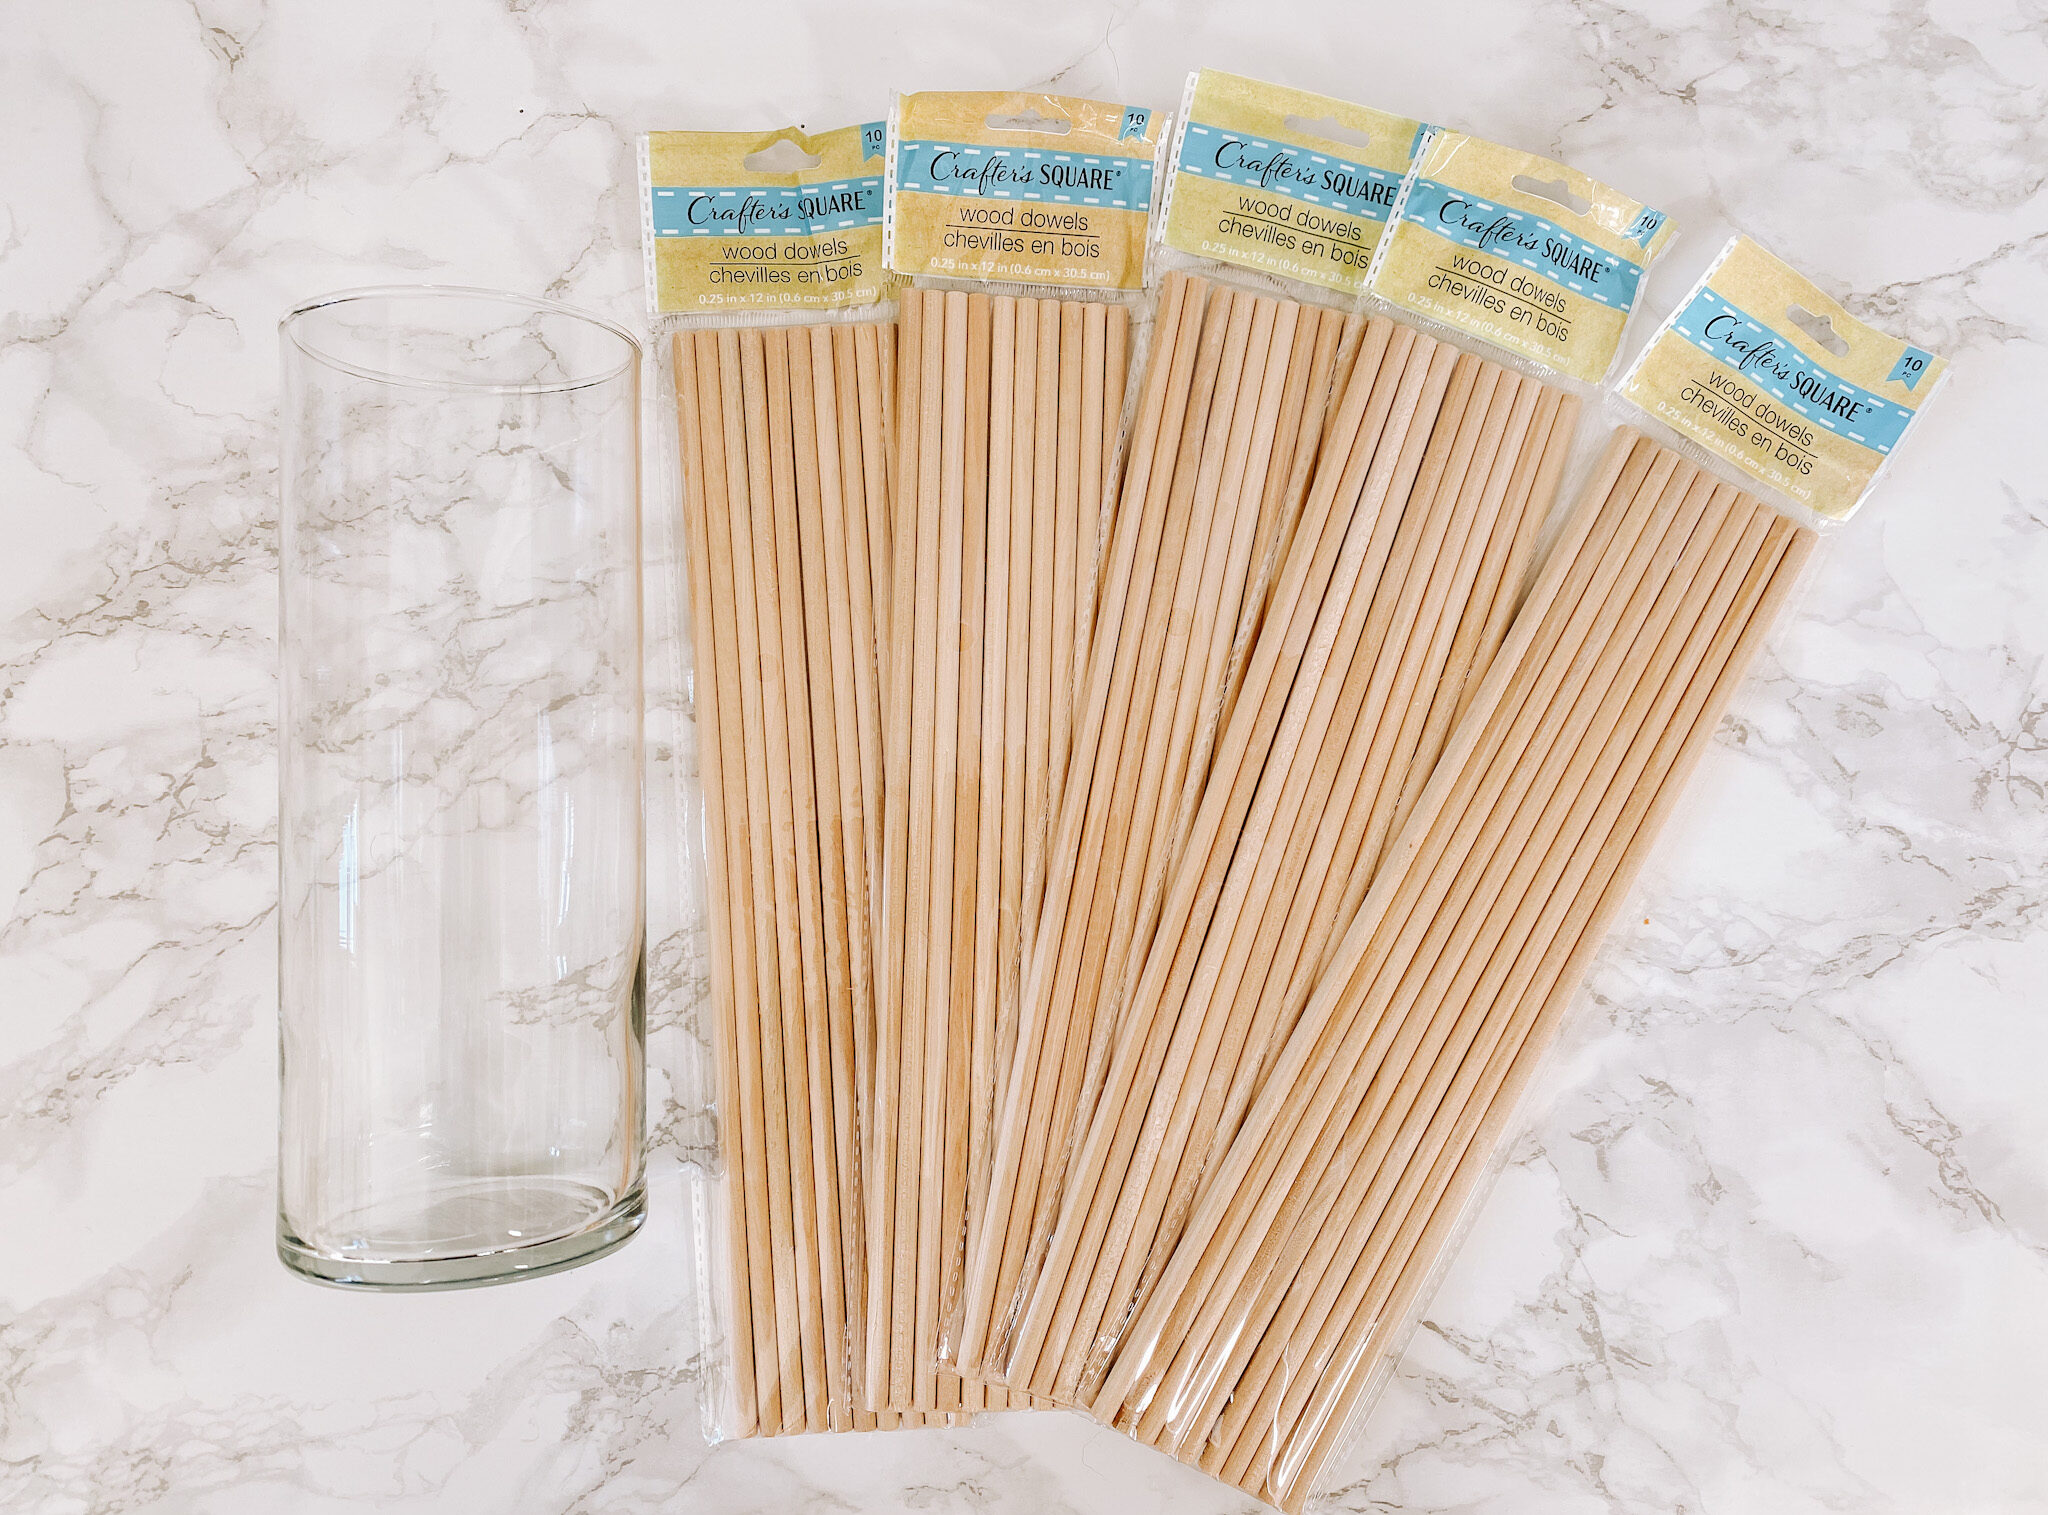
My vase was 9″ tall and 3.5″ in diameter, and the dowels are 1/4″ x 12″.
As I mentioned, I got all of my items at Dollar Tree, but I have linked some very similar Amazon items below.
I used 47 dowels for my vase. The ones from Dollar Tree come 10 to a pack, but I would recommend grabbing six packs if you get them there. A couple of mine were a little crooked, and one had a big chunk out of one end. Obviously Dollar Tree items are not always the highest quality, so for another $1, it’s probably best to have some extras on hand just in case.
You can also decide whether or not you want to trim down your dowels to fit your vase. I chose to leave mine full-length, but if you’d like to trim them so they’re closer to the size of the vase, you can feel free to do so. A hacksaw, hand saw, jig saw, or miter saw would all work well here. When trimming, it’s better for them to be a bit long than a bit short. If you do trim them, you also will want to do a quick sanding to eliminate any rough edges.
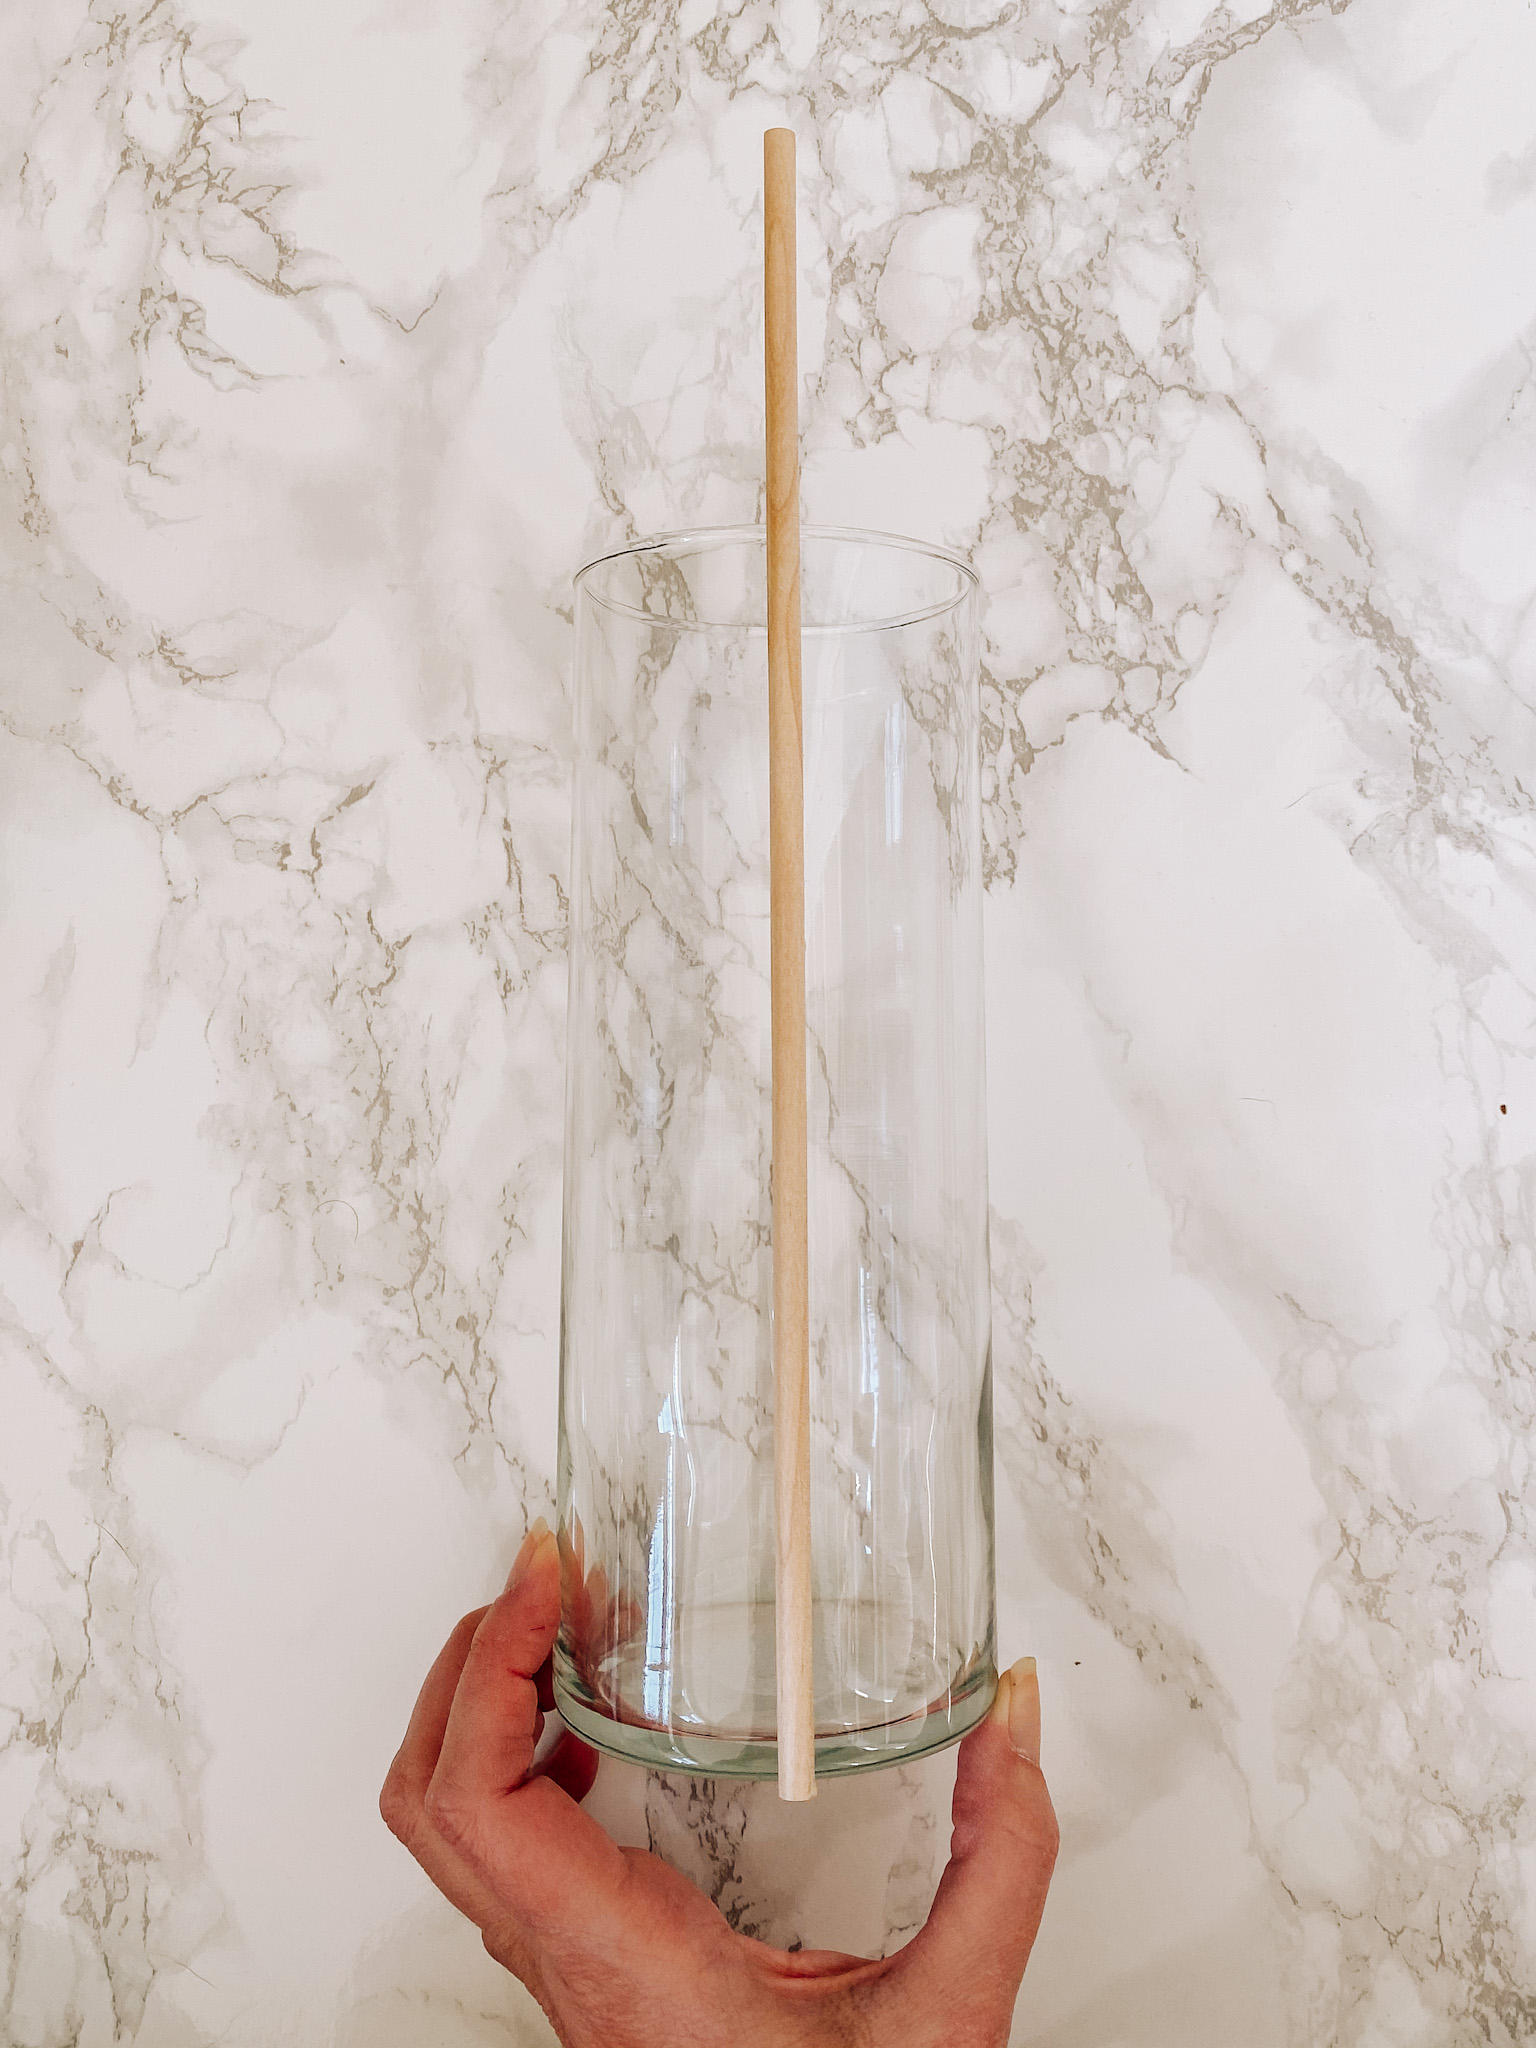
The first dowel you glue down is by far the most important. If this one isn’t straight, the rest of your dowels are going to get wonky as well, so you may want to use a level. You also want to make sure that the bottom of the dowel is even with the bottom of the vase, because if it’s too low, the vase won’t sit correctly.
Once you’re confident that you have your dowel positioned properly, just put a line of hot glue down the vase and add the dowel. If it’s crooked, just pull it off and peel off the hot glue while it’s still warm and try again.
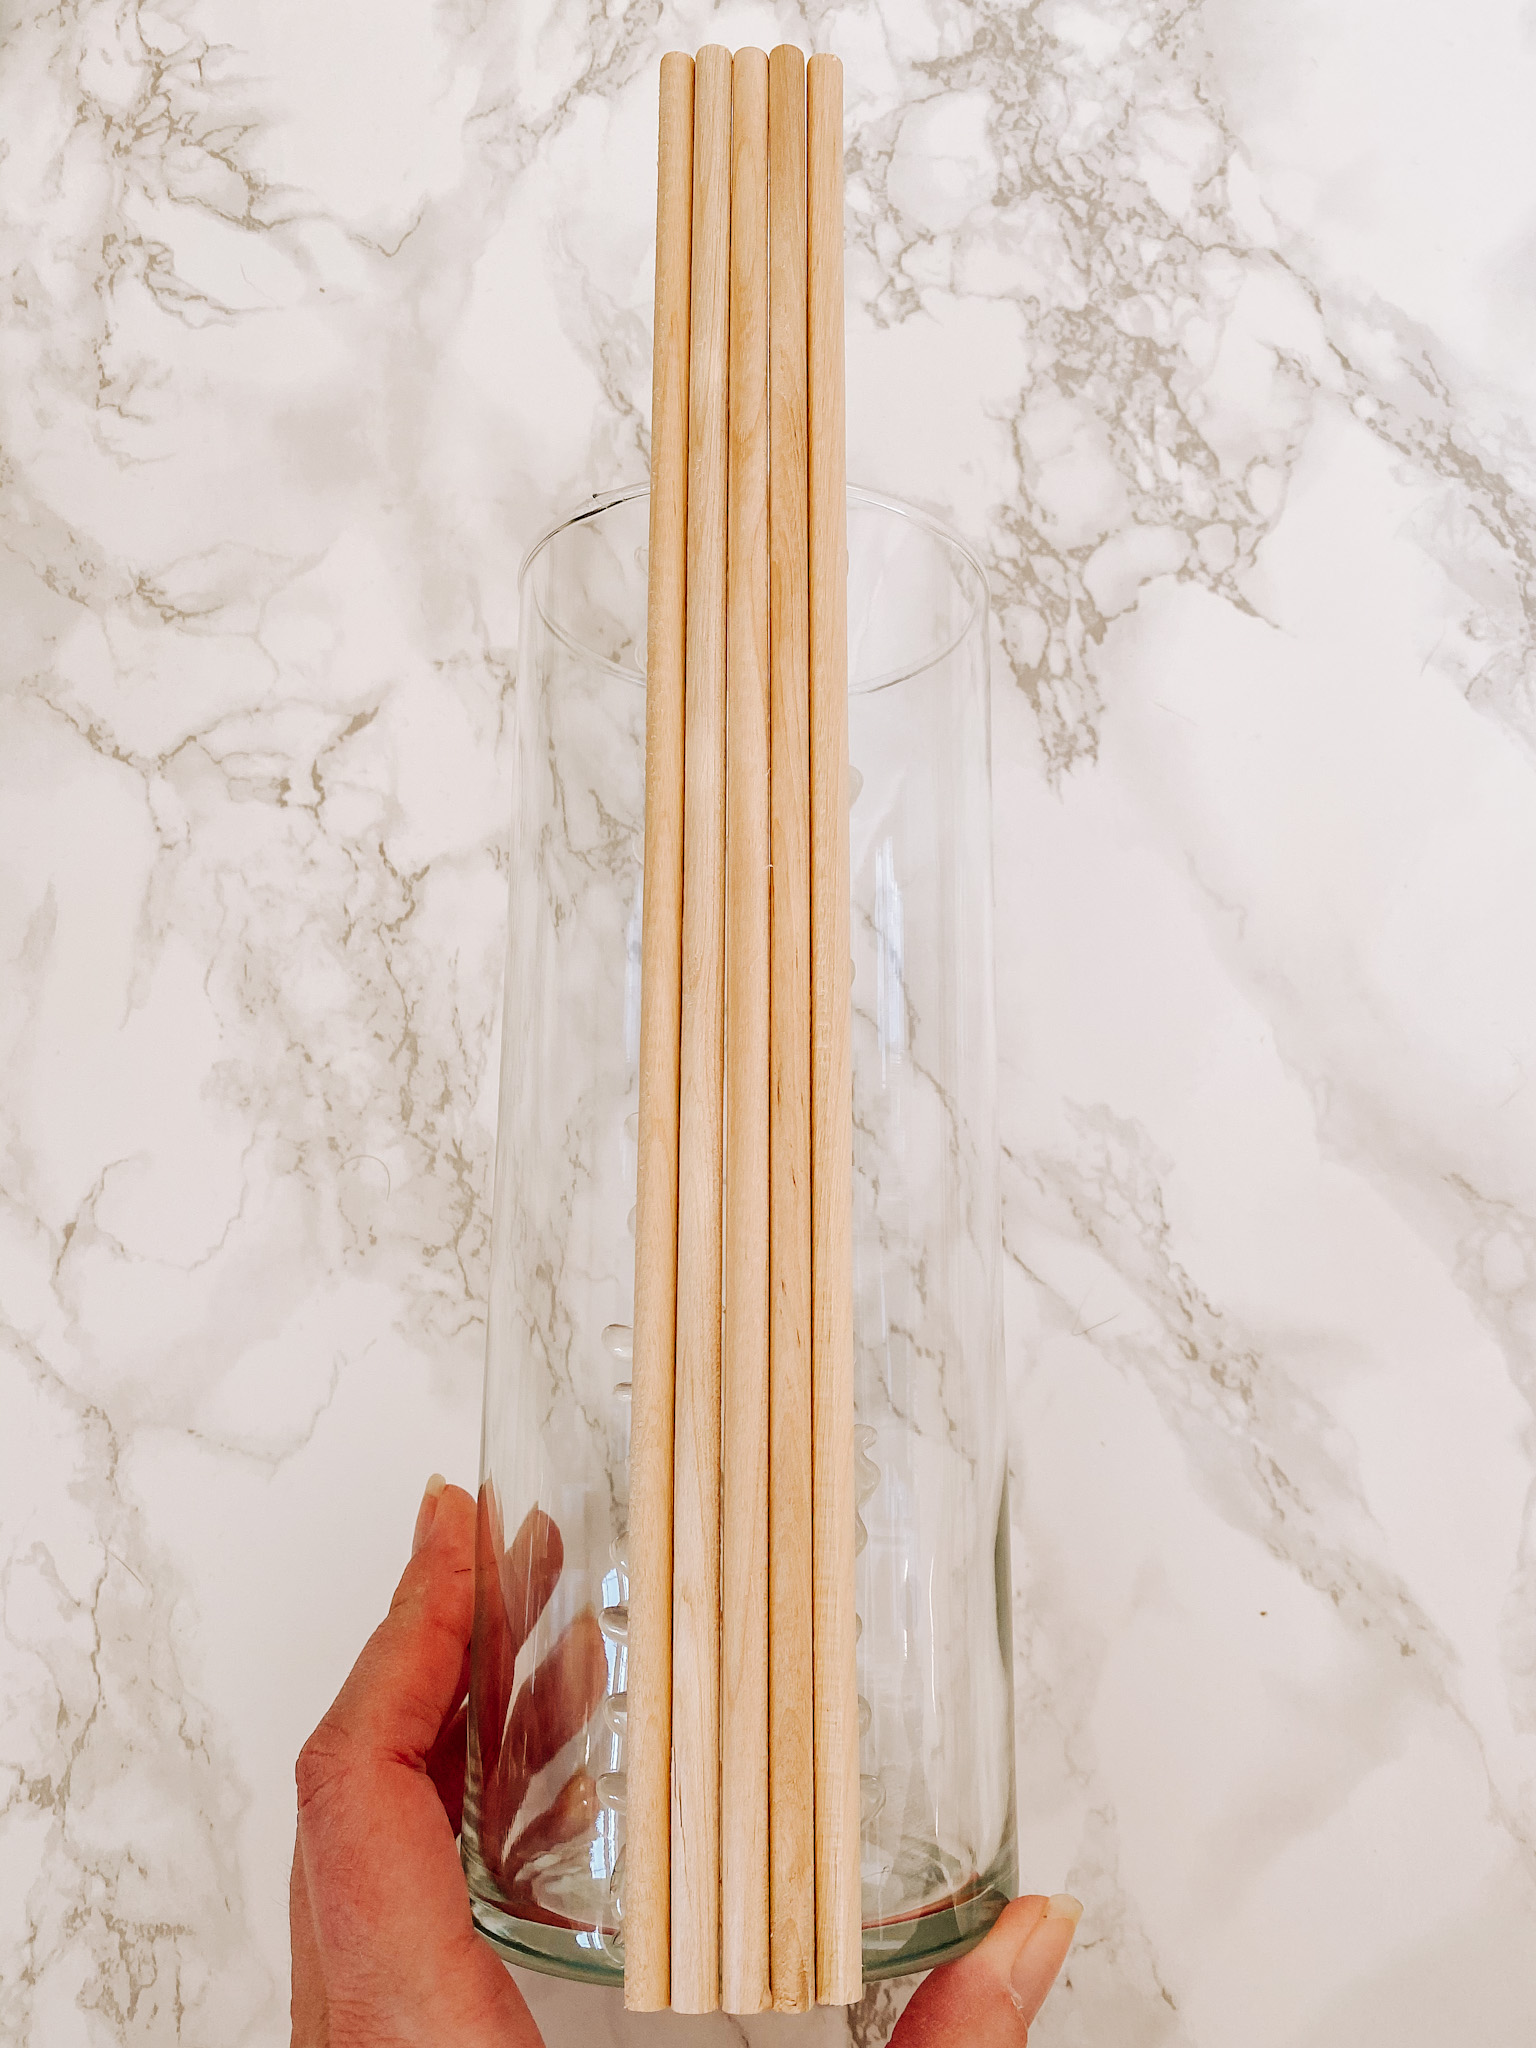
Now just start adding your other dowels. You’ll want to work outward on both sides of your initial dowel, because this will help keep everything straight. I did two at a time to speed things up a bit. Again, keep making sure the dowels aren’t hanging off the bottom edge and that they’re as straight as possible.
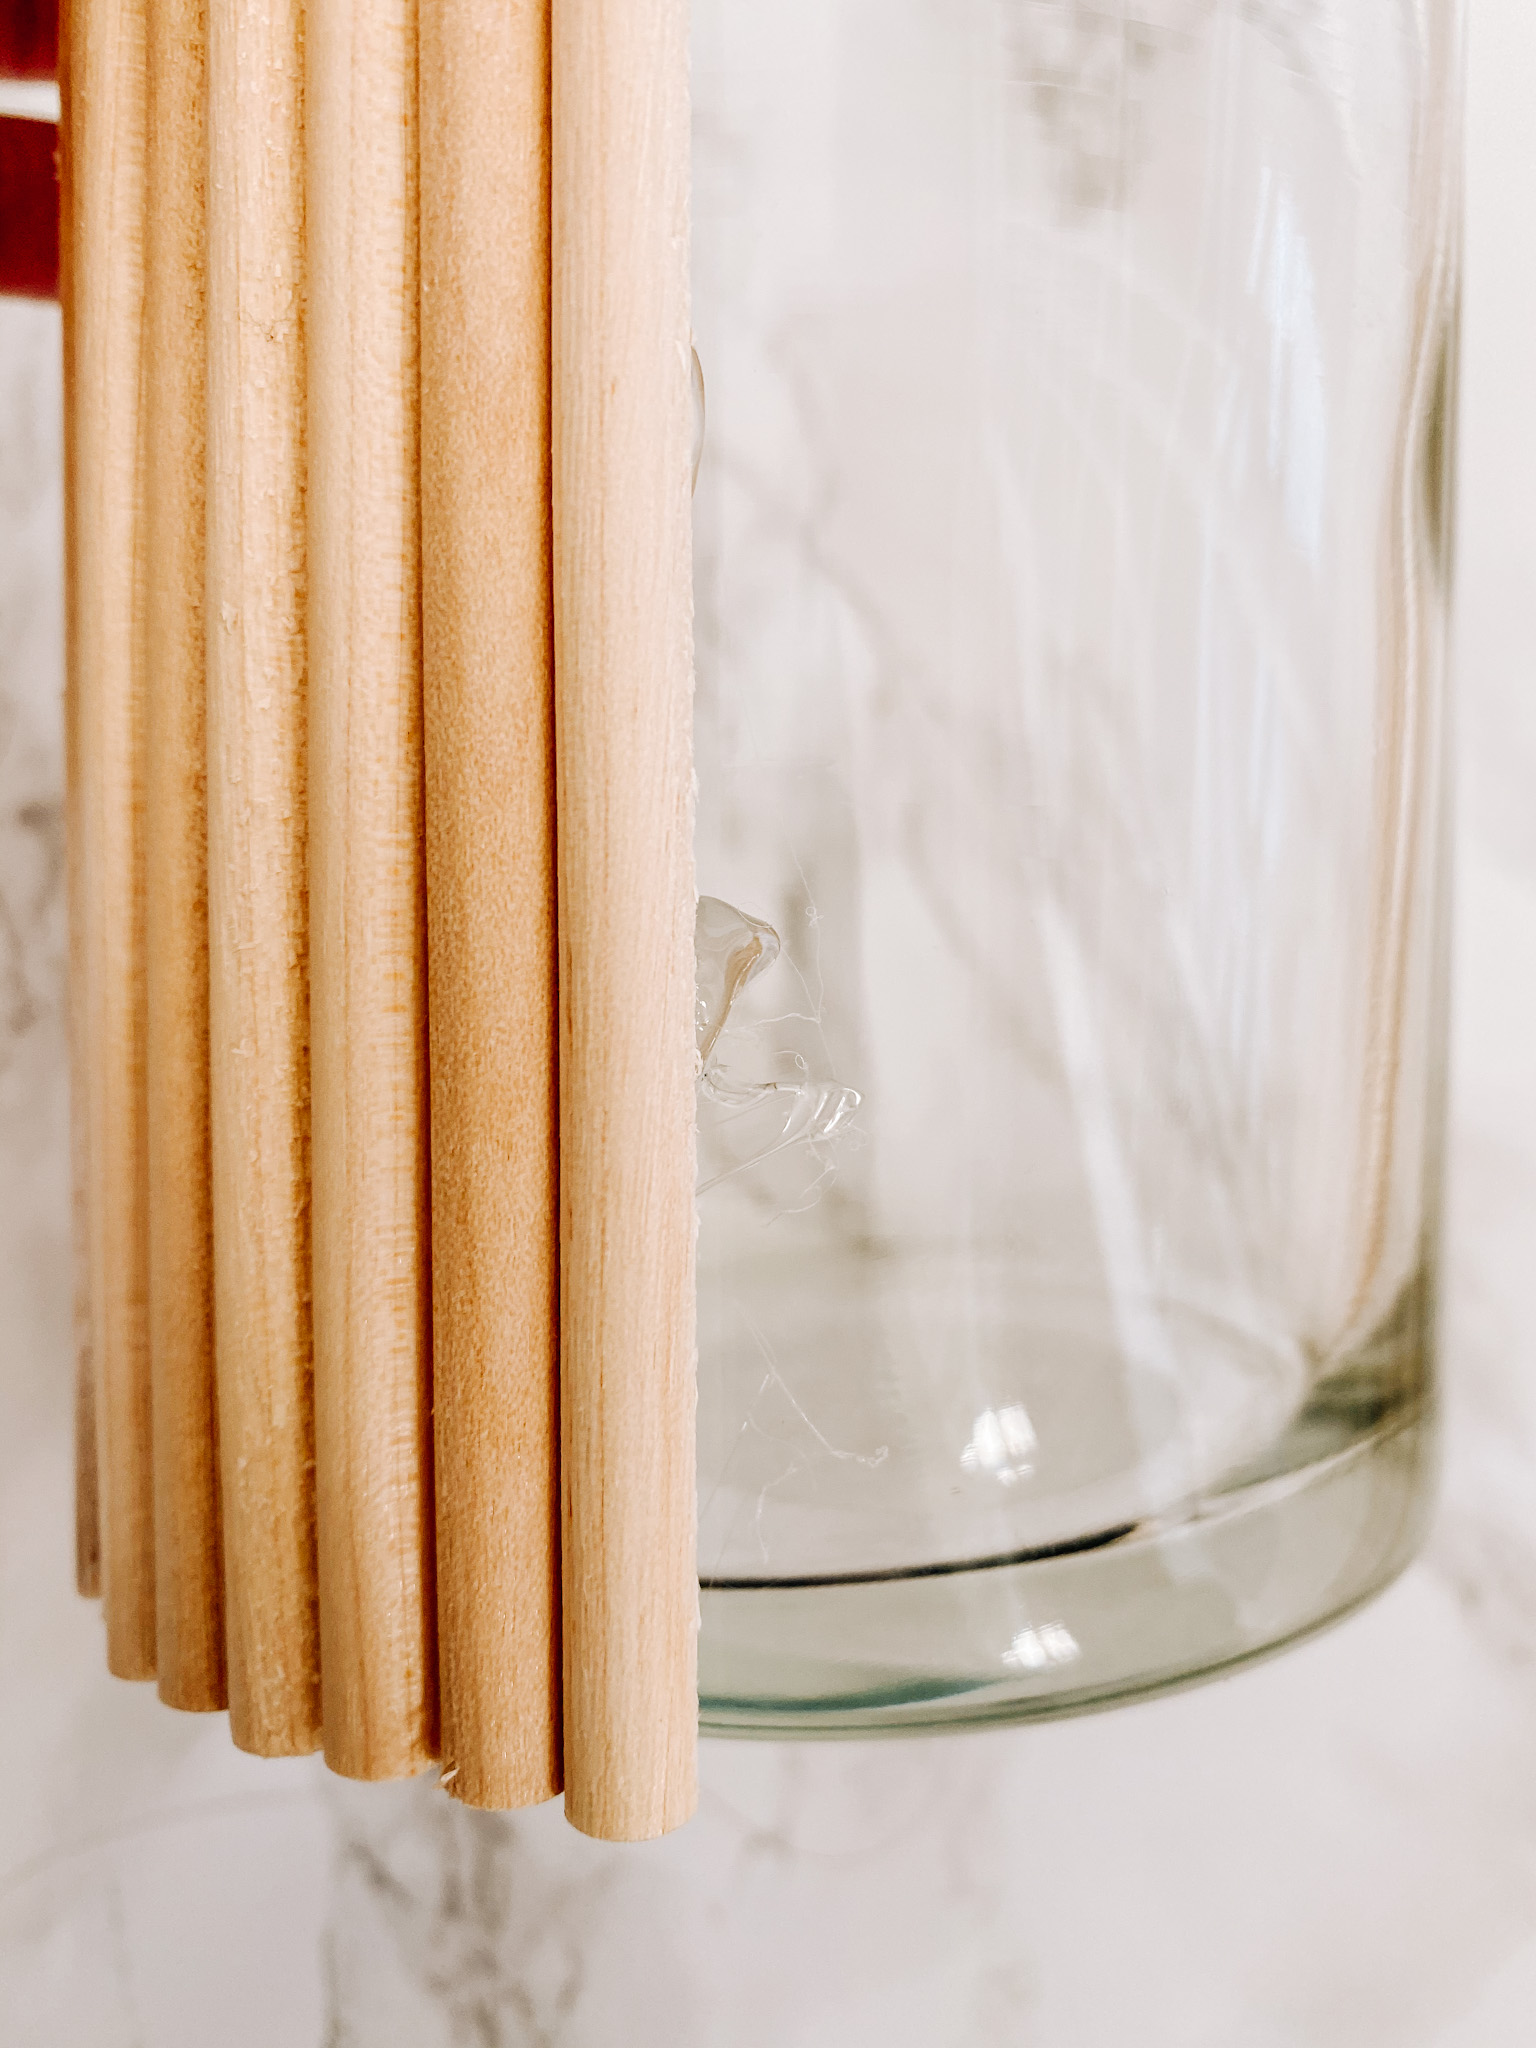
You want to keep your dowels as close to each other as you can. Try not to add too much glue like I did here, because your next dowel will not sit properly. If this happens, just use your fingernail or a butter knife or something similar to scrape the glue off while it’s still warm.
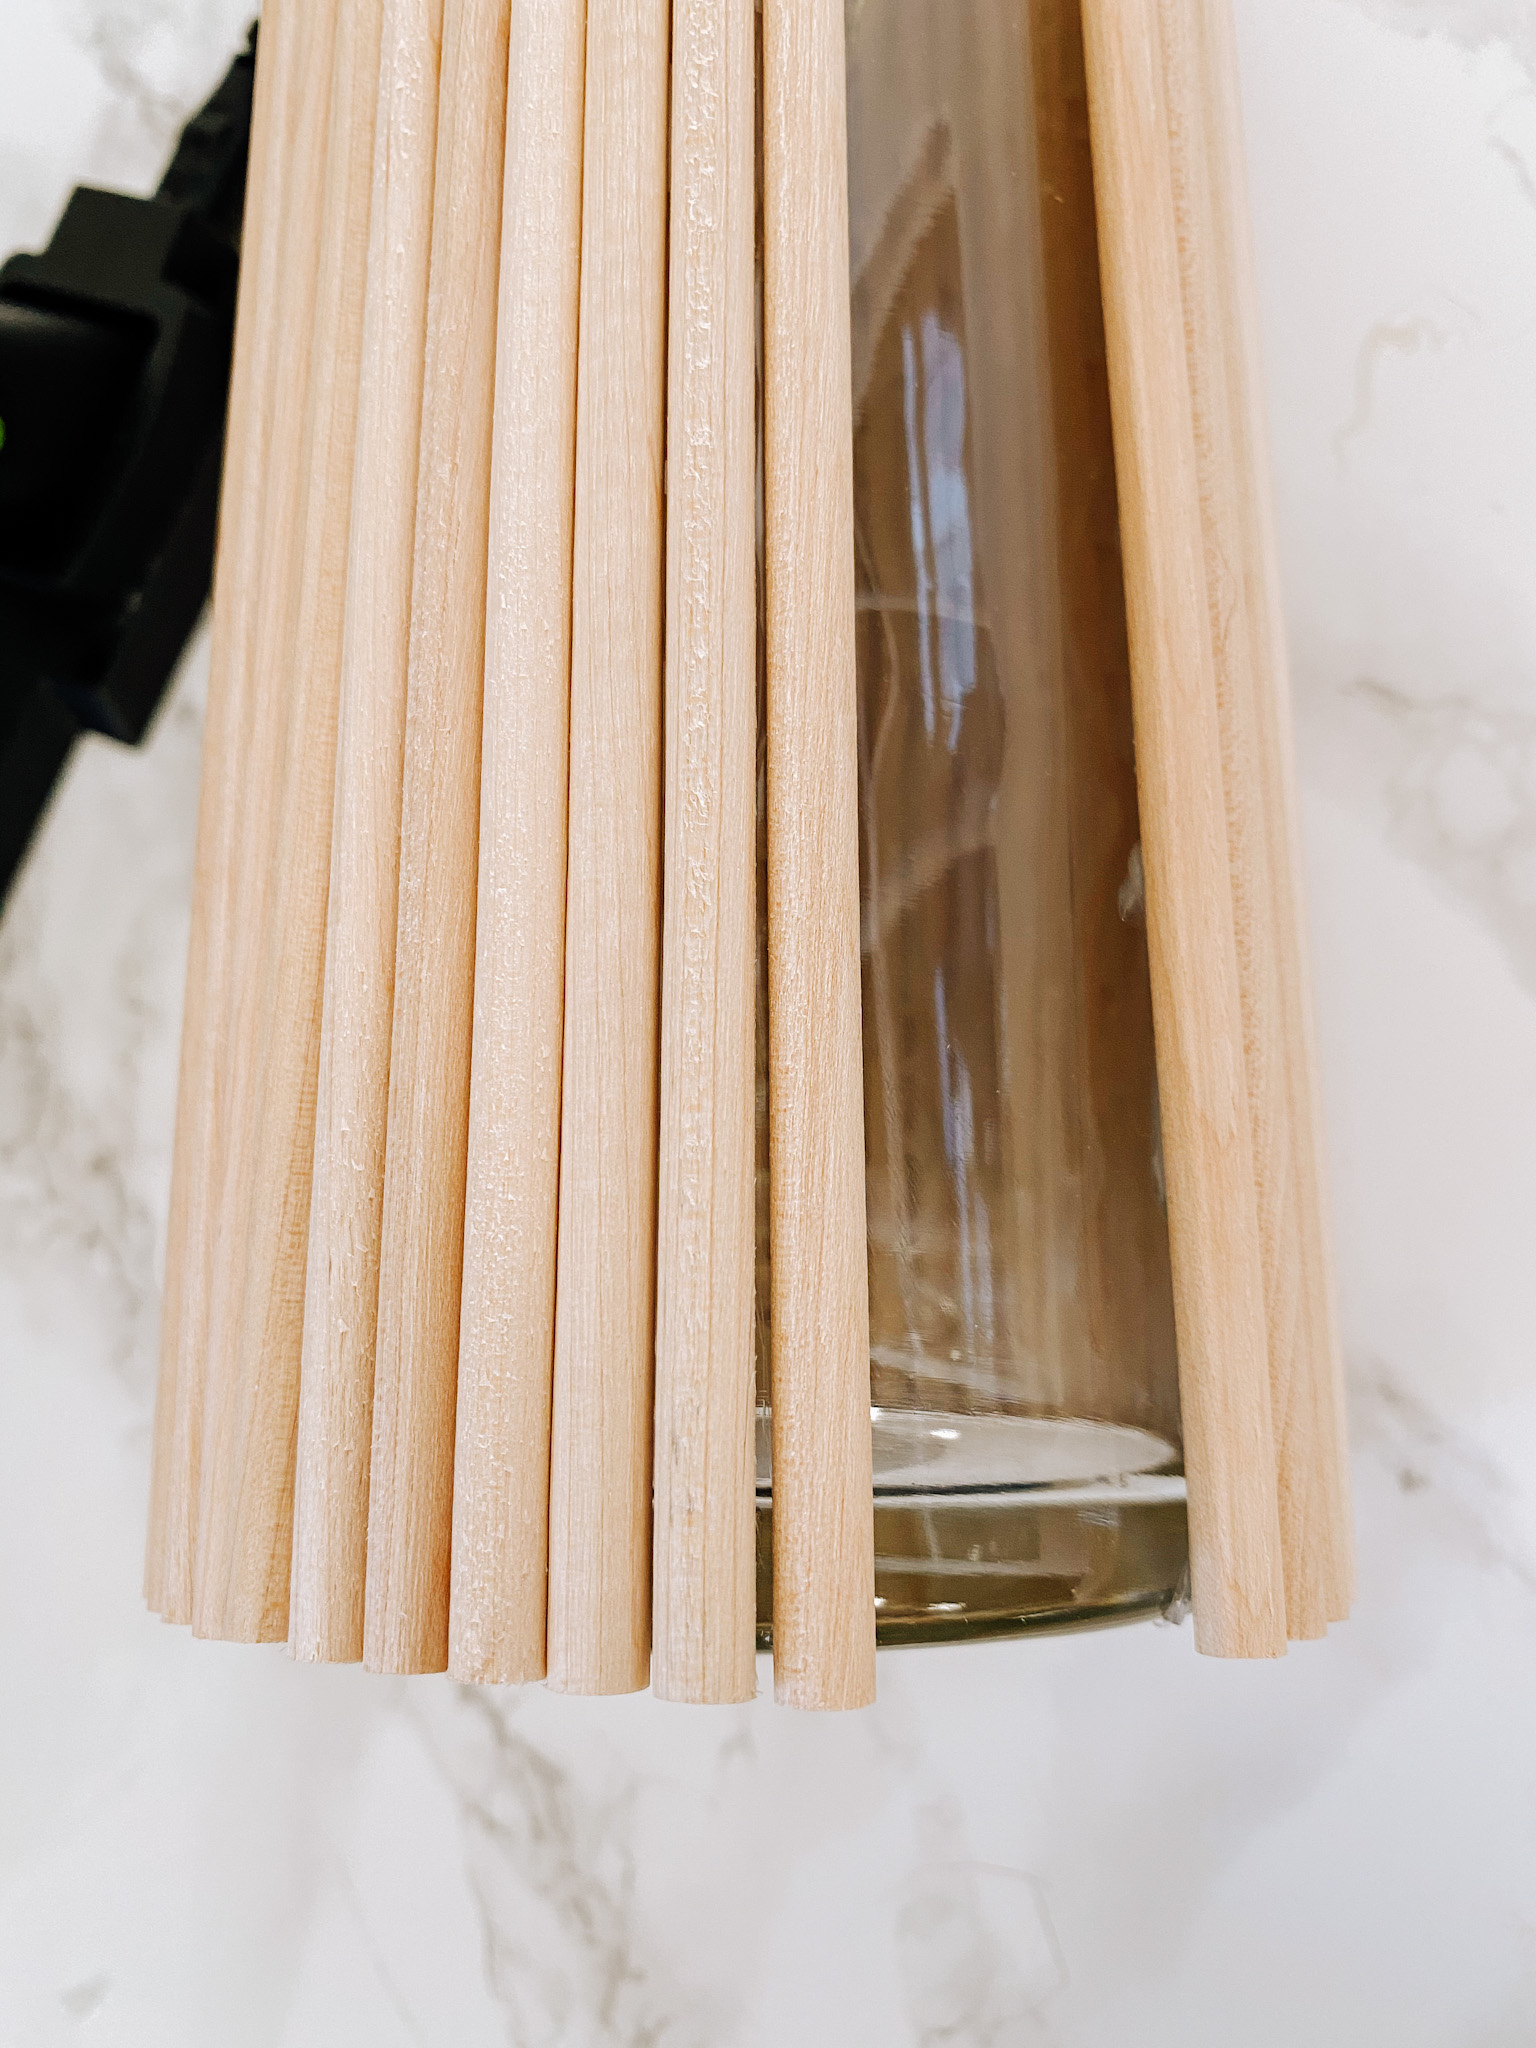
If you happen to place a dowel too far from the one next to it, you should be able to pull it off the vase while the glue is still warm. Then just peel off the line of glue. Once the glue cools and hardens, it will be much harder to remove.
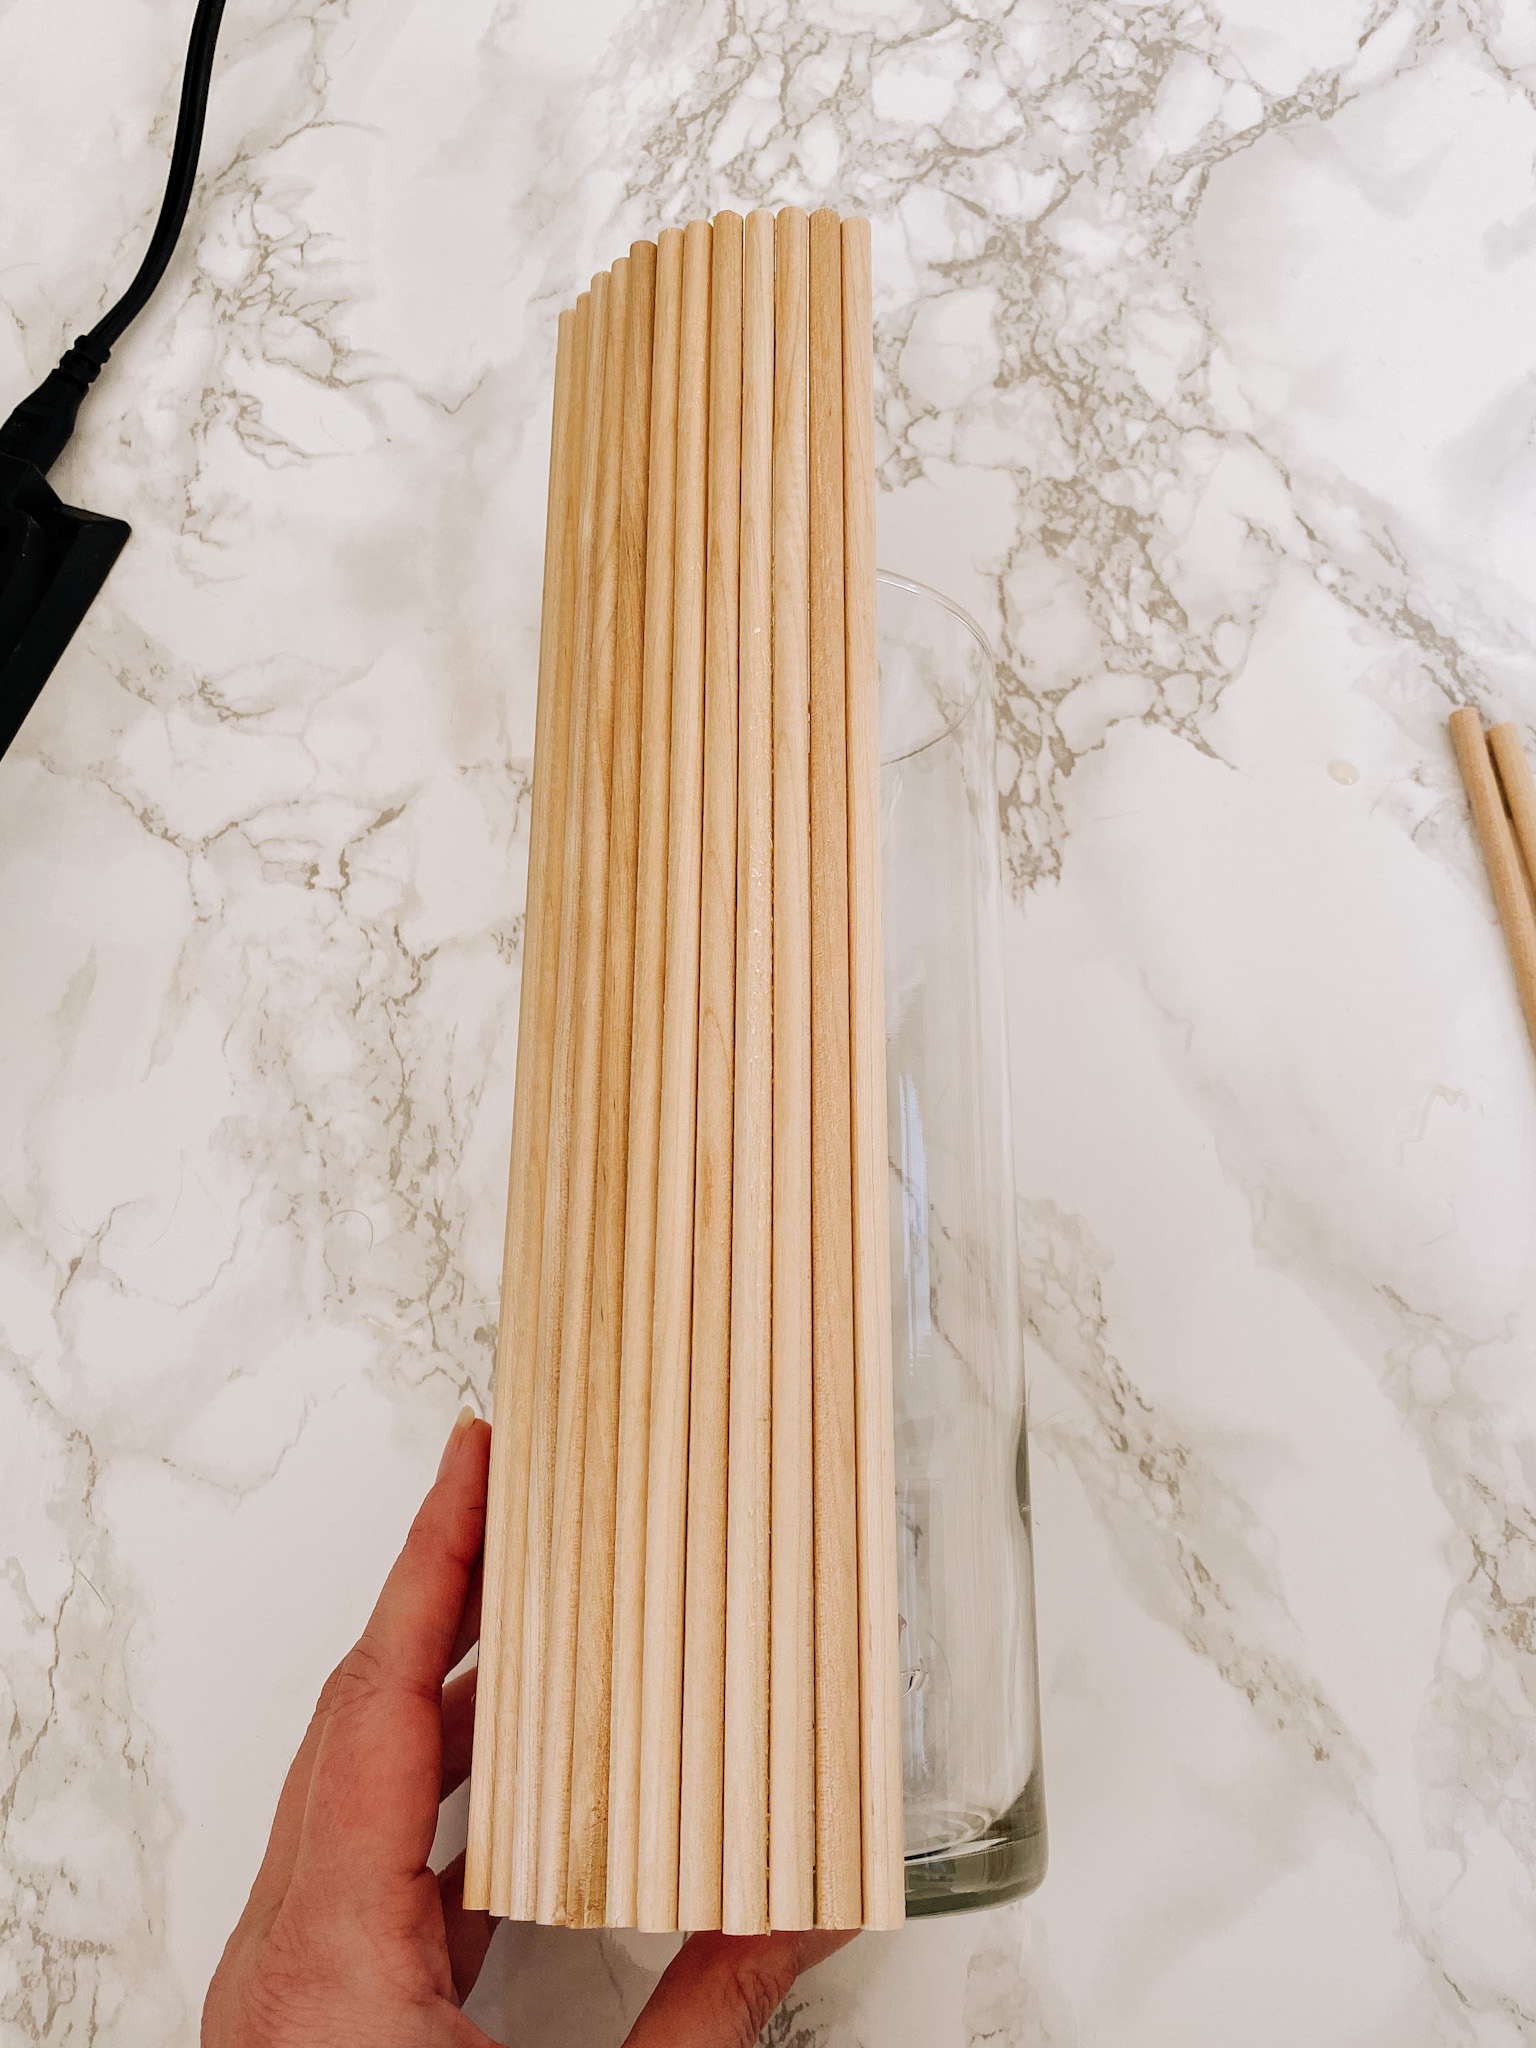
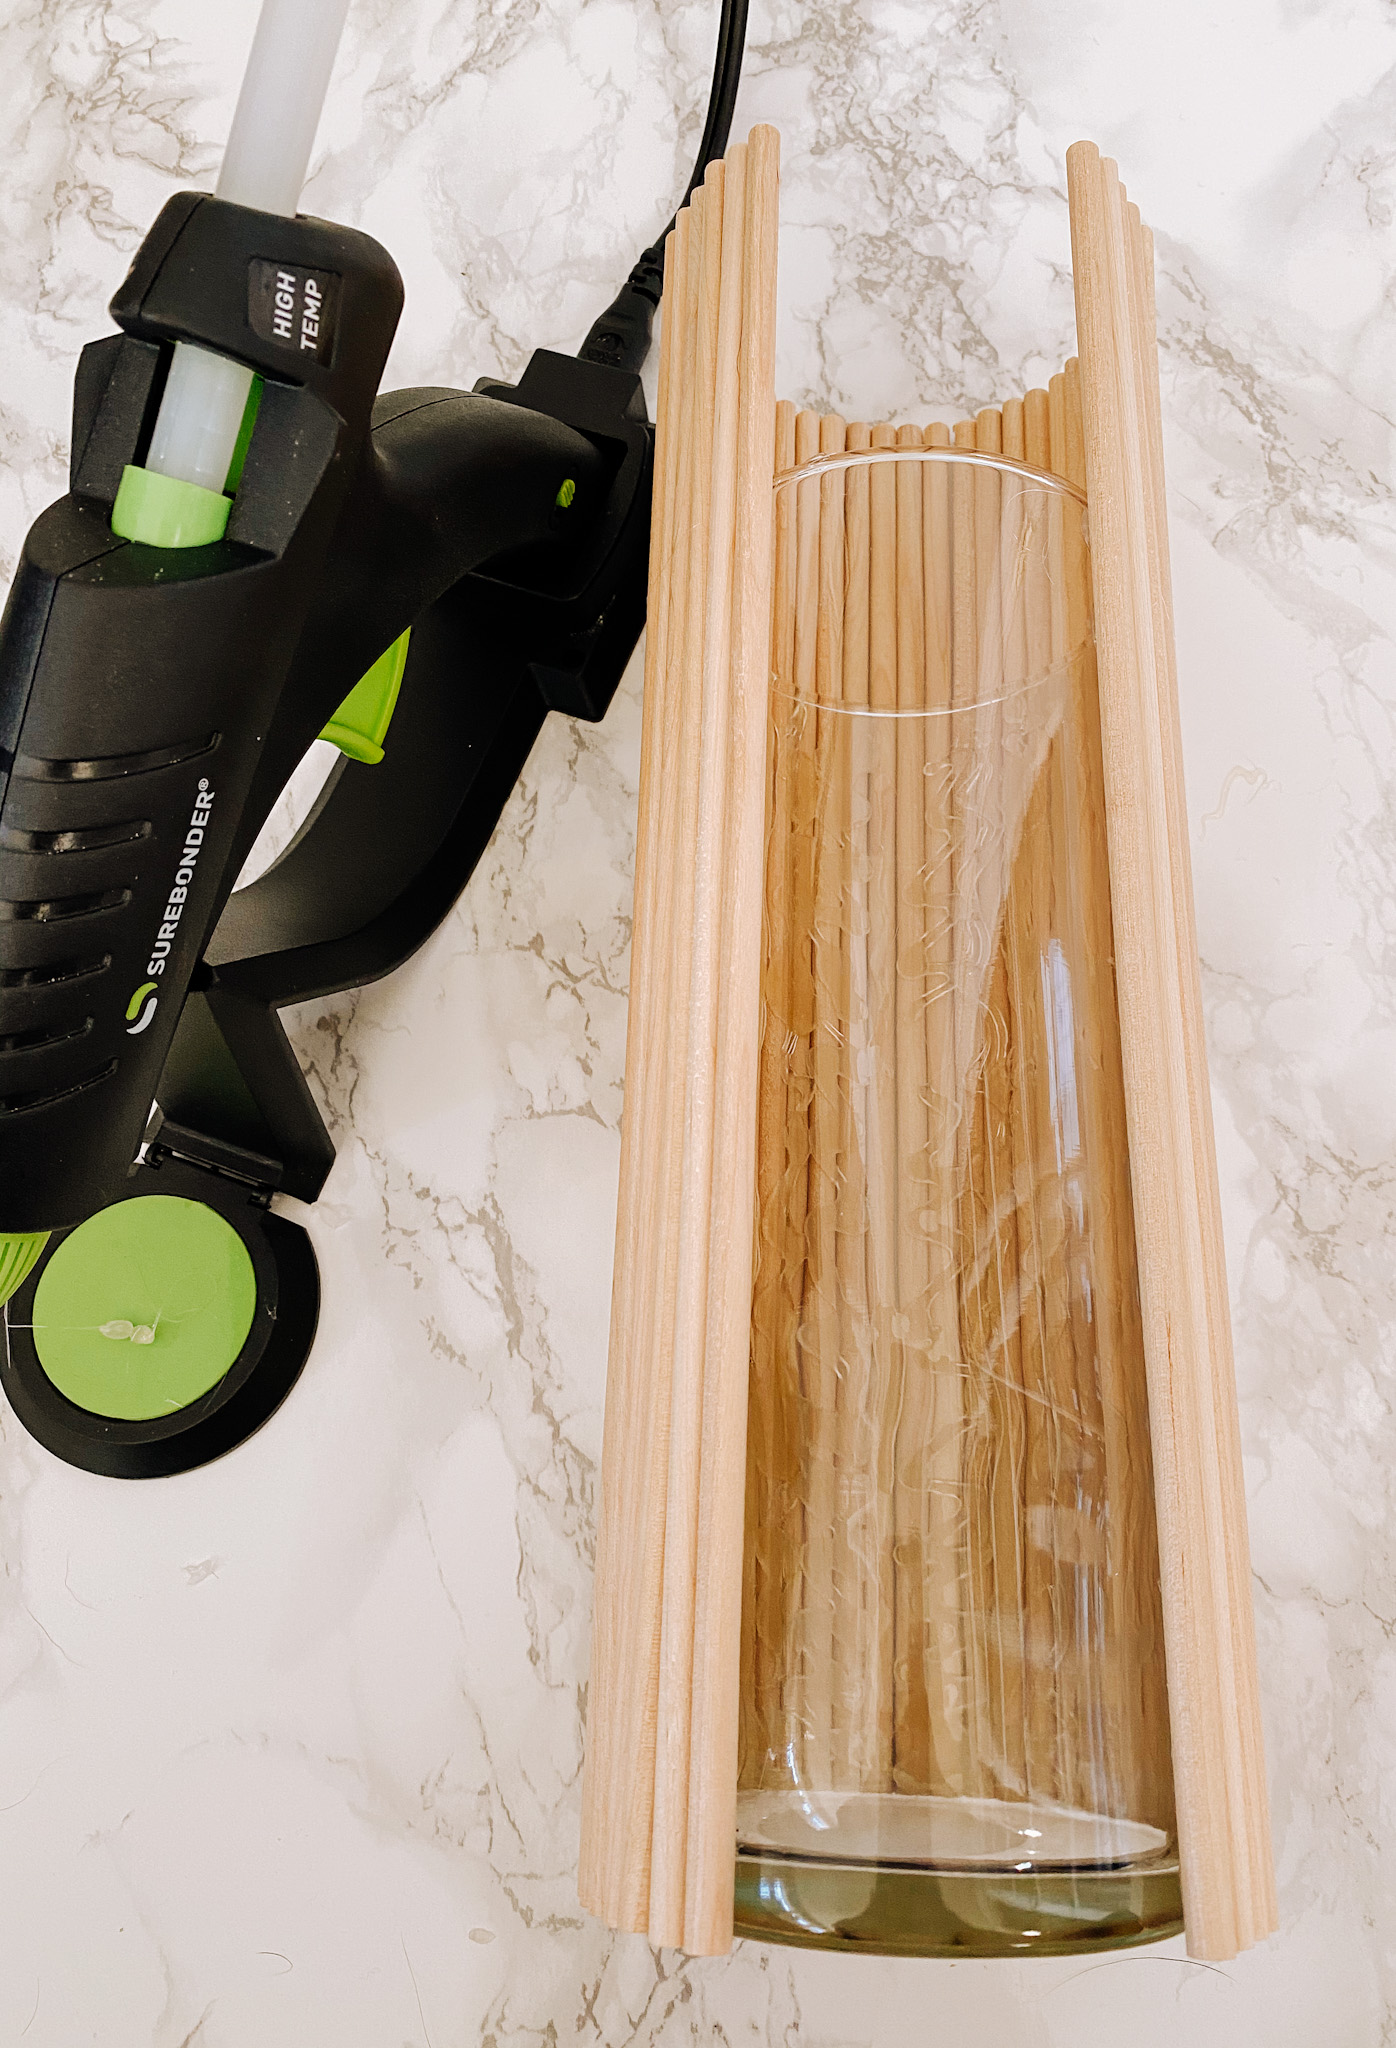
Just keep adding dowels to one side, then the other, all the way around your vase. My last dowel was a tight squeeze, but 47 dowels fit almost perfectly around the whole vase. If there’s a weird spot, it’s fine, you can just display the vase with that part in the back. That’s why you wanted to work outwards from both sides of your initial dowel to make sure the front looks perfect!
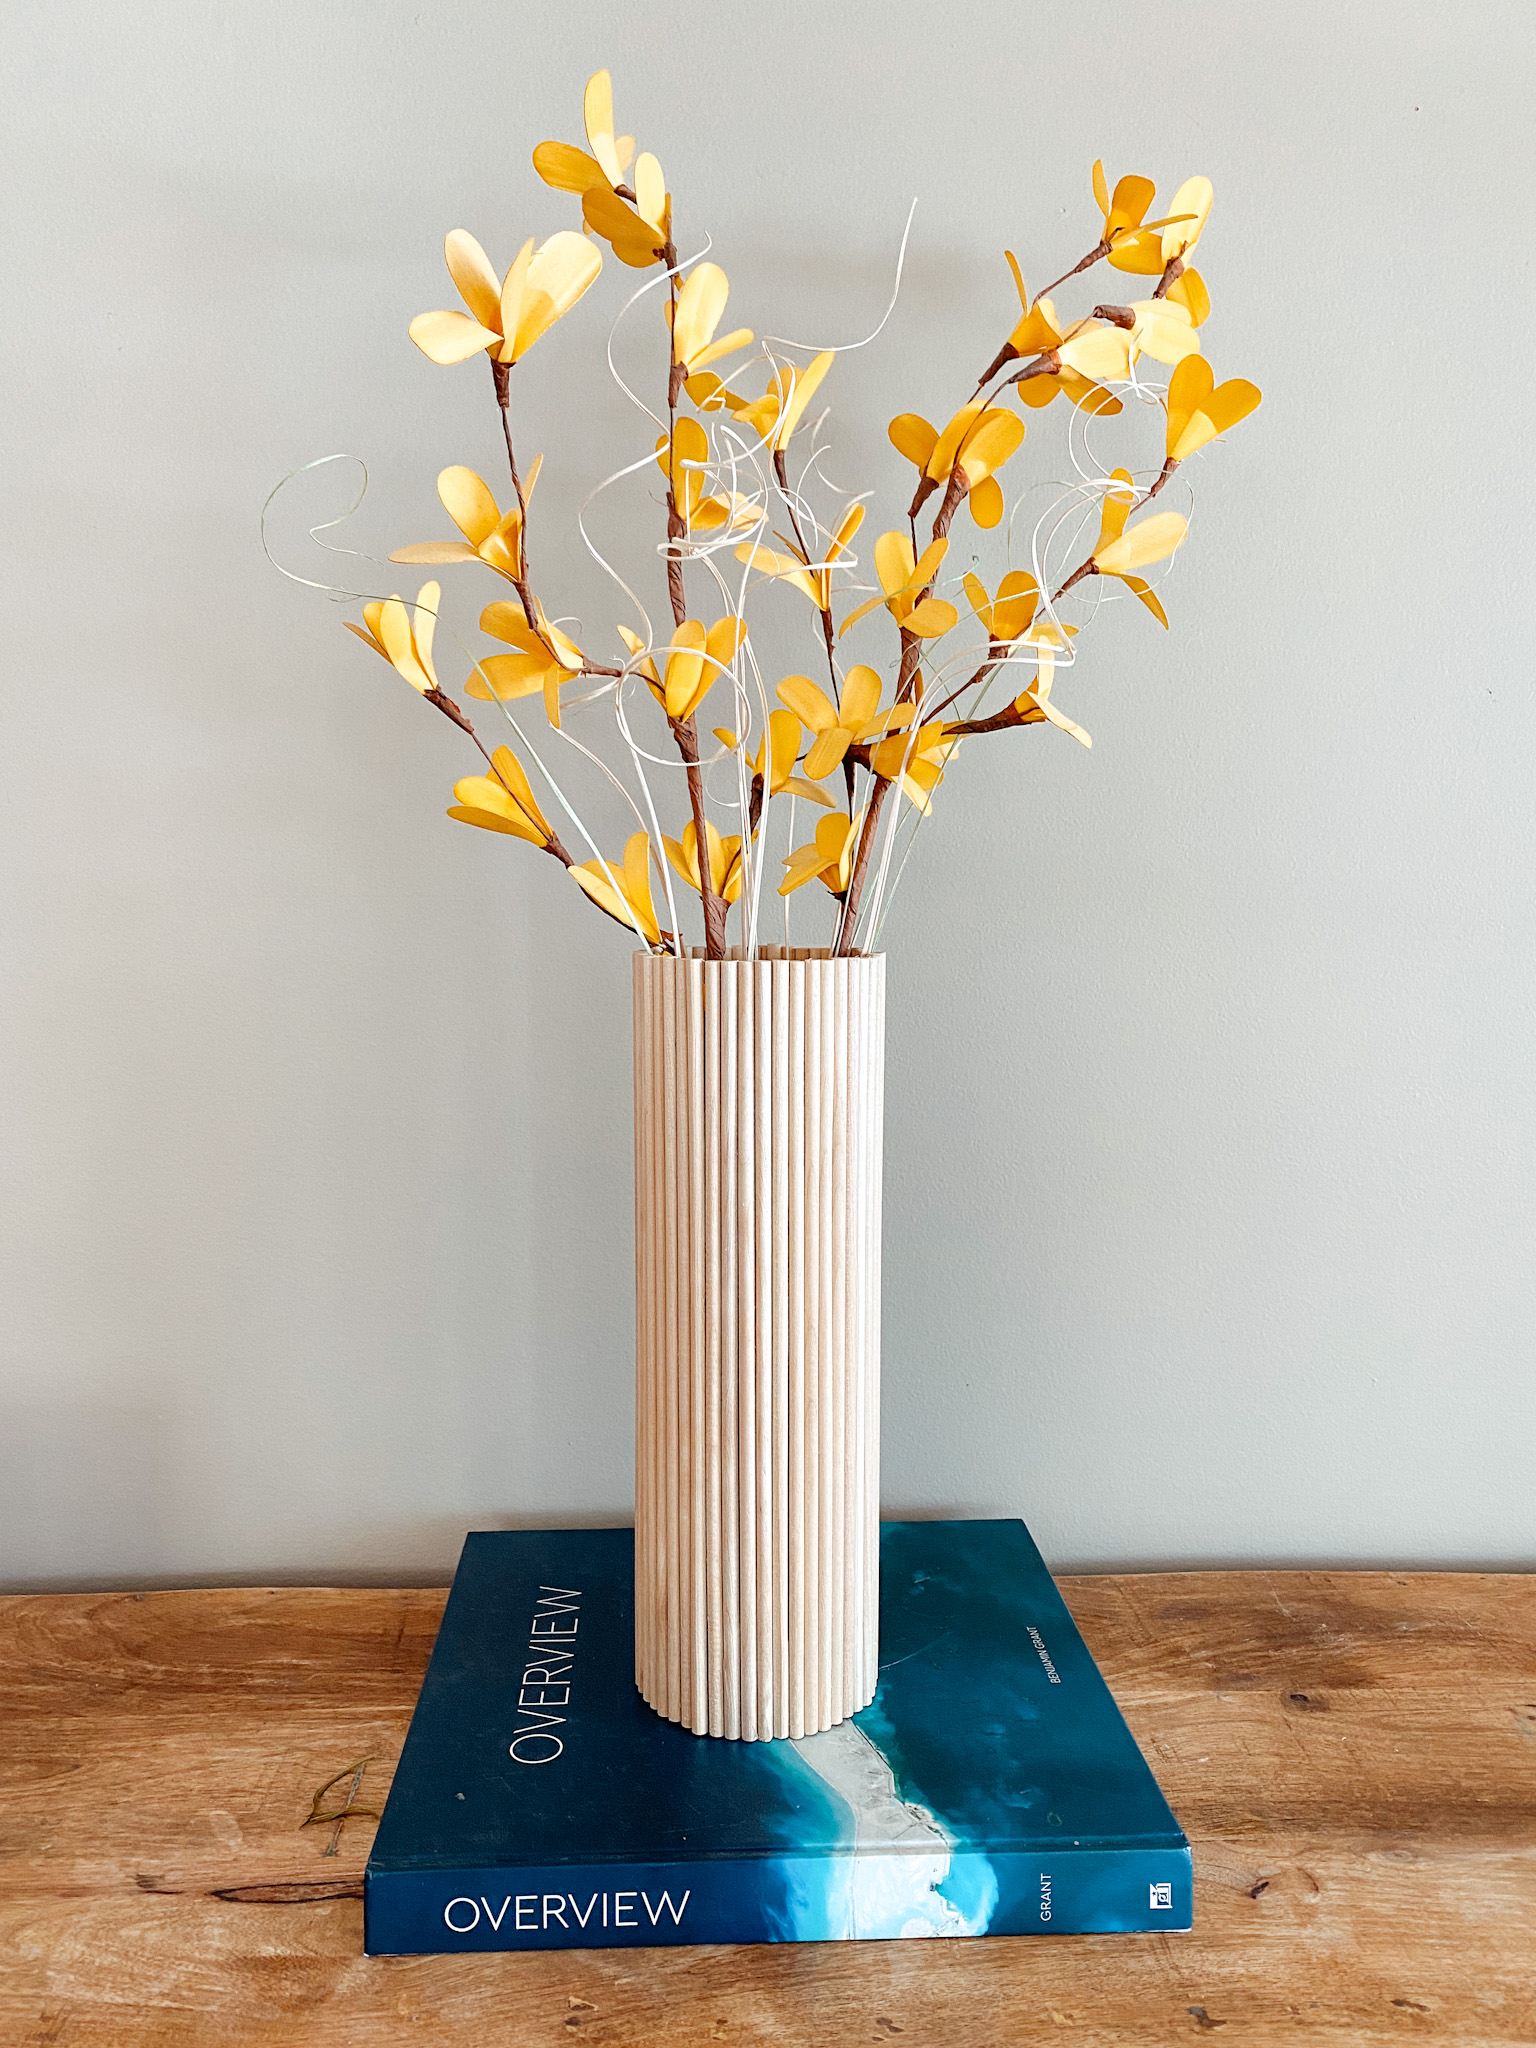
And that’s it! In about 30 minutes, you just made a DIY wood vase for WAY less than you’d have spent if you bought something similar in the store.
You can paint or stain your vase if you’d like, but I liked the natural wood tones of mine, so I left it as-is.
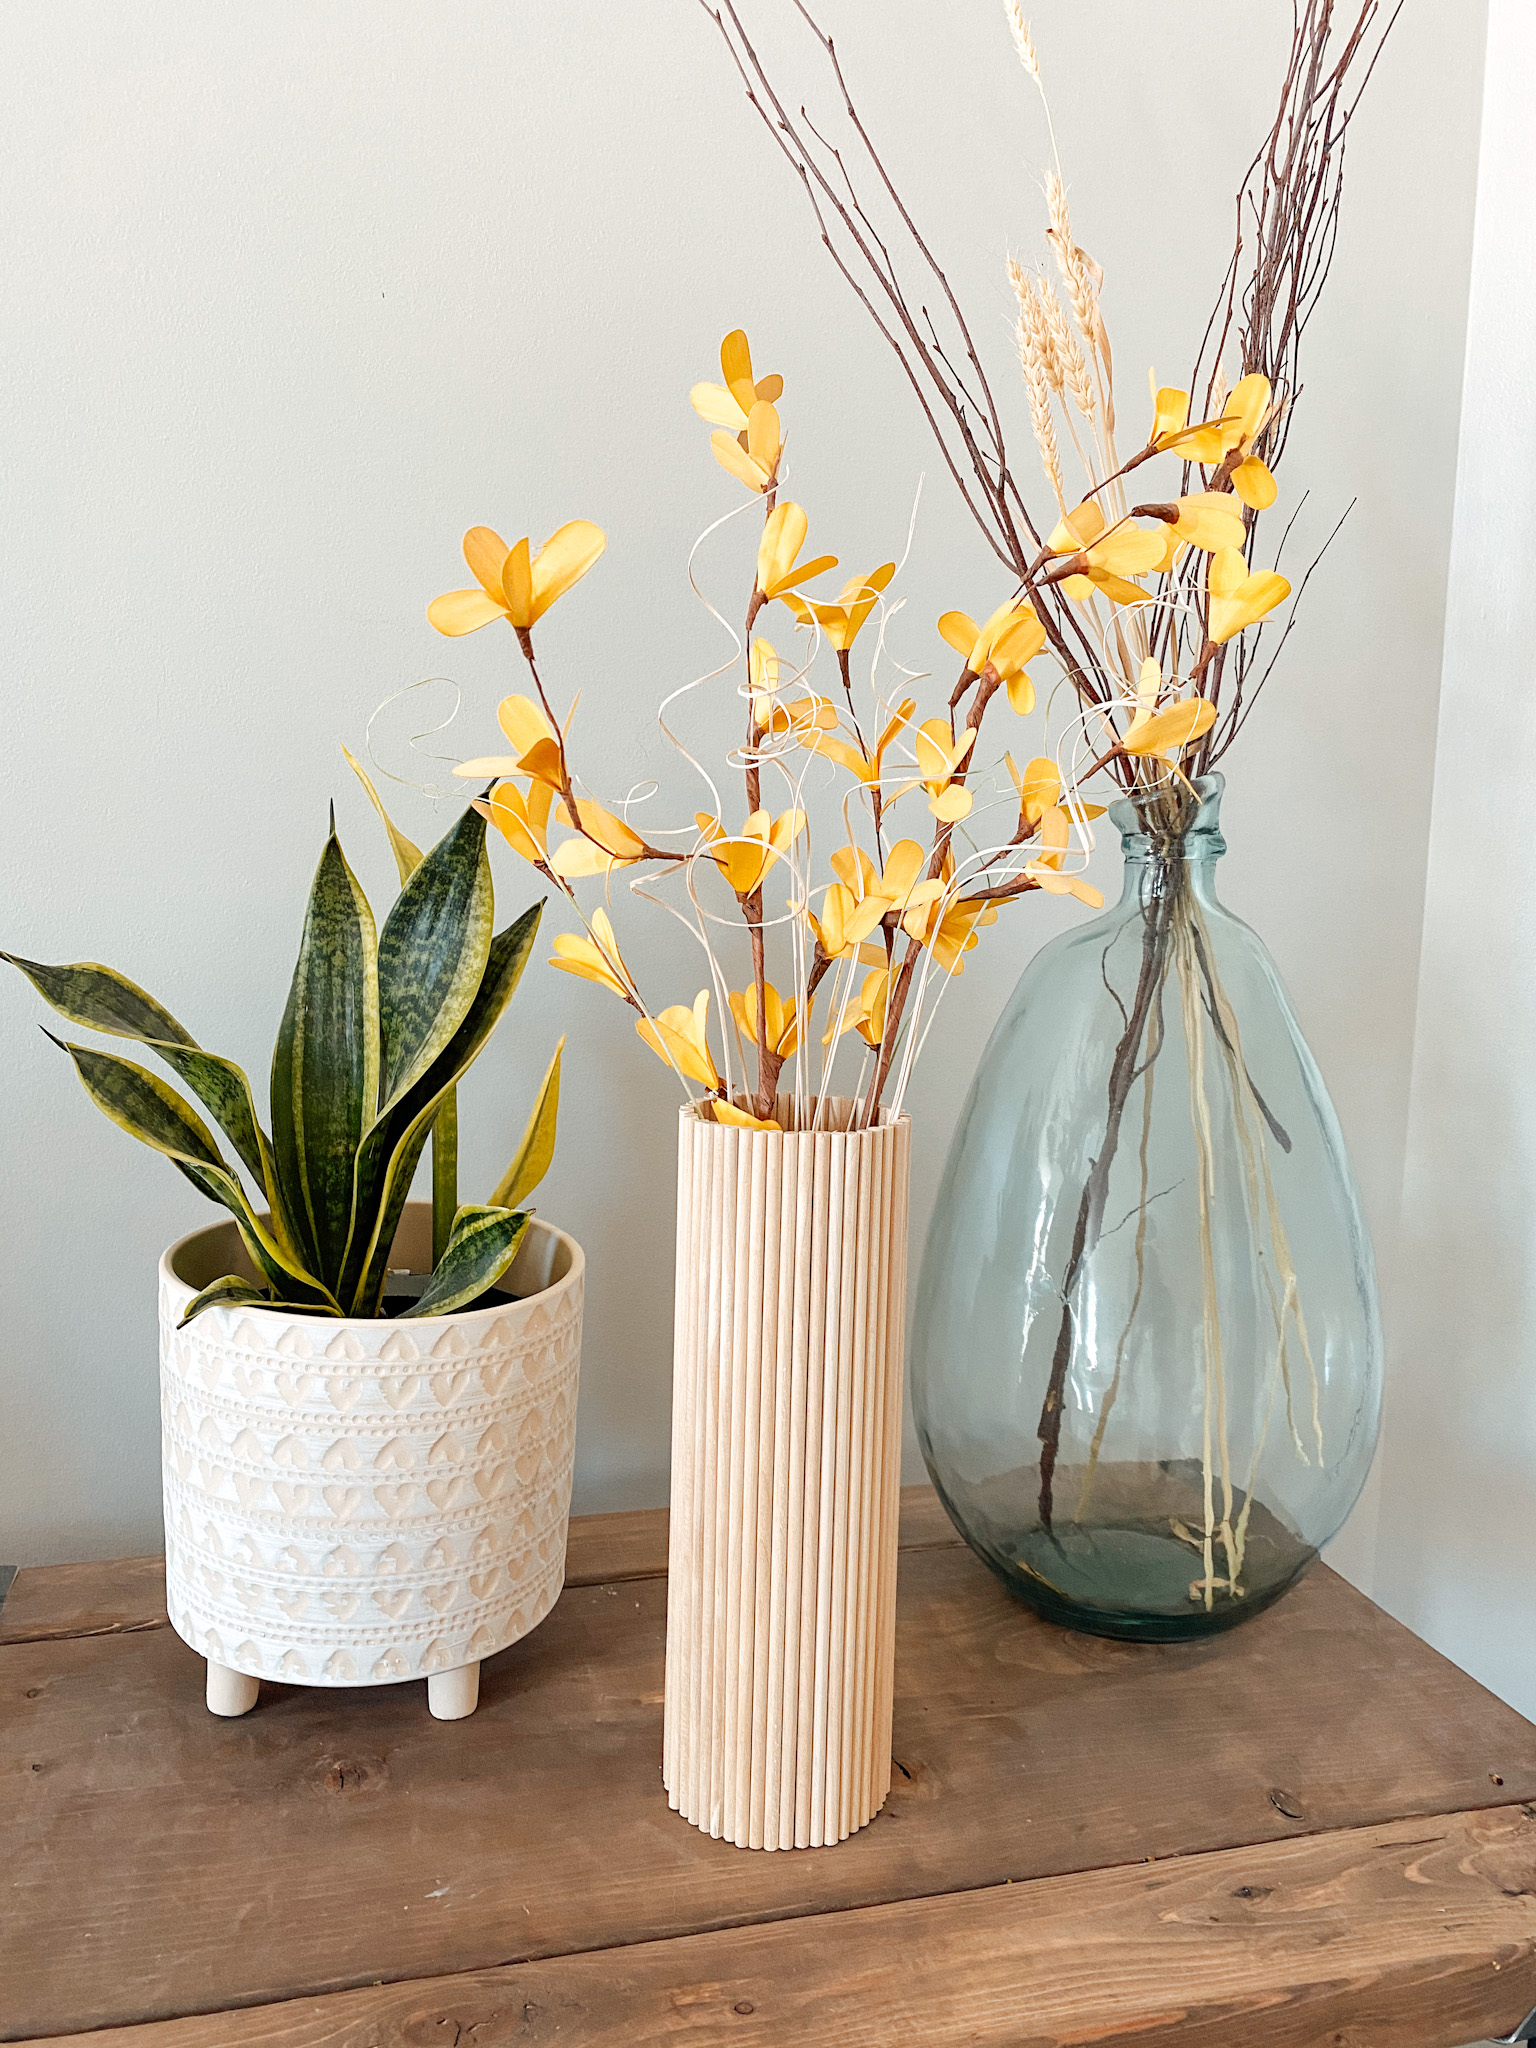
I put some wood flowers in mine, but the great thing about using a glass vase as a base is that it will also hold fresh flowers in water.
I just love the way it came out, it’s so pretty!
This post was all about how to make a DIY Wood Vase.
