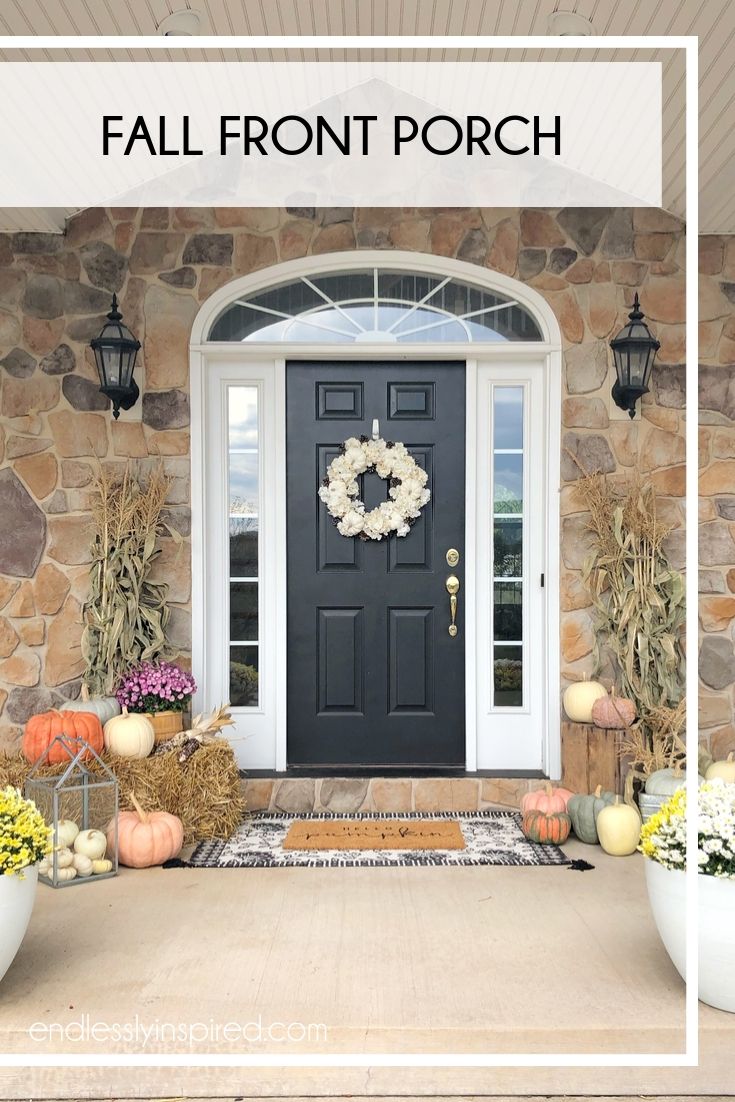
When we moved into our new house last summer, one of the things I was most excited about was our front porch. I’ve never had a covered front porch before, and this one is huge. I couldn’t wait to start decorating it. And then I did start, and I realized: “Holy crap, this thing is huge. I have no idea how to decorate this without spending a boatload of money buying all sorts of stuff to fill up the space!” But through some trial and error, I’ve come up with some tricks for creating the perfect fall front porch – on a budget!
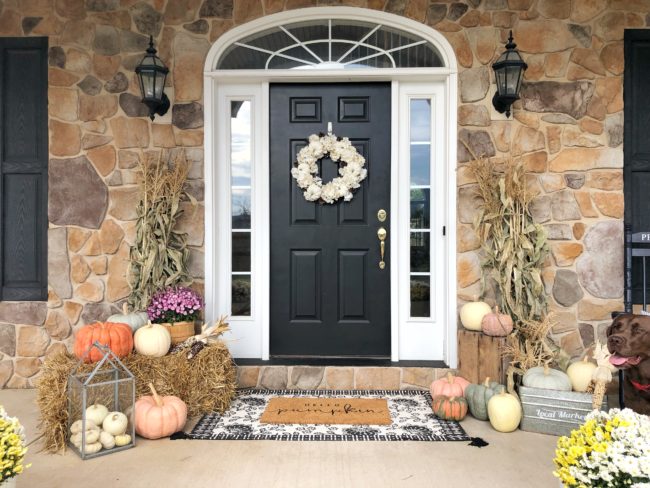
So, here’s my fall front porch this year. I was able to put this together for right around $100. (Except for the photobombing dog. Fletcher’s priceless.)
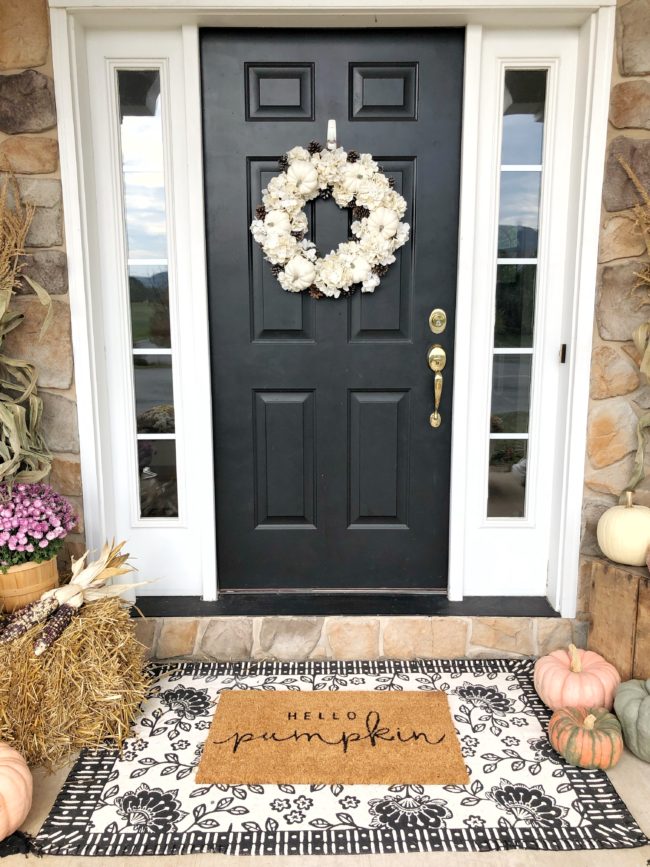
Let’s start with the door. The wreath I already had. It’s from HomeGoods.
I love having the sidelights on my front door, because they allow so much light to come into my foyer. In my last house, we had a solid front door with no windows or sidelights, and I HATED how dark the entryway always was. But, with that comes a problem: the doorway is really wide, and a normal-sized doormat just looks silly. I found this super-cute “Hello Pumpkin” mat at Joann for $6, but it just looked absurd sitting there in front of the doorway. (And there was no way in hell I was buying a large one* – the cheapest ones I was finding were $50! This one is $90*!)
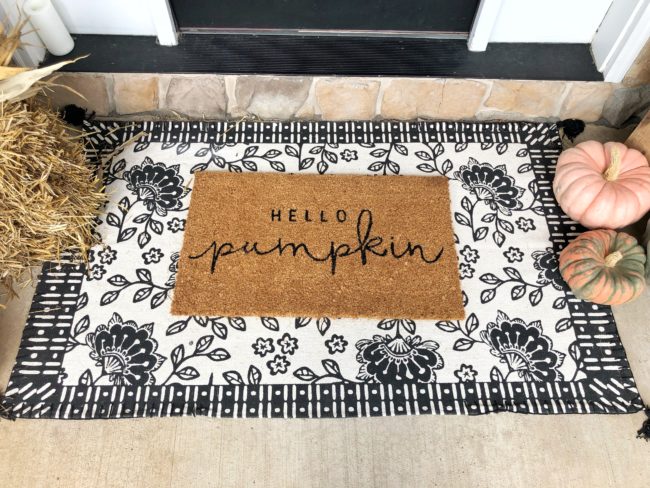
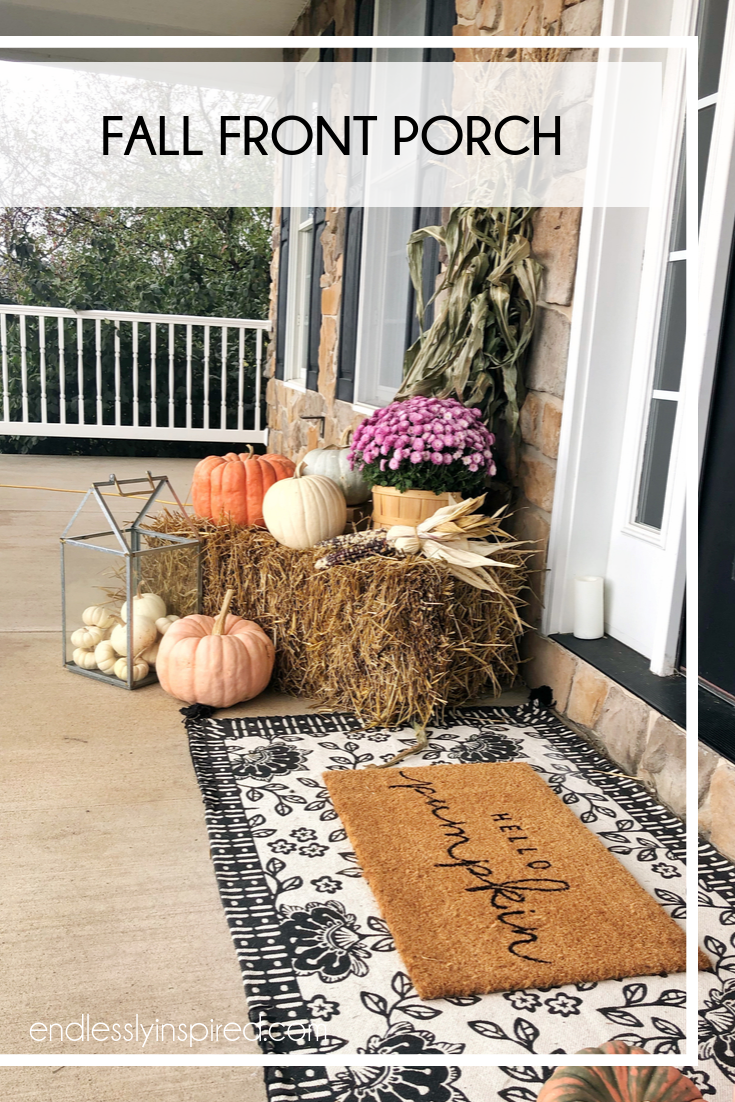
So I decided to layer it up. I found this fabulous 3’x5′ black and white area rug on clearance for $10, and once I had it down with the coir mat on top of it, it looked perfect. I had two minor concerns about doing this, but both have turned out just fine. First, I was worried that the coir mat would slide around, but it actually slides less than it did before I had the rug underneath. I was also a little concerned that the rug would get gross or really faded (my porch faces west, so there is blazing afternoon sun out there), but the porch is covered enough that it’s barely even gotten wet from rain, and it’s been out there for a couple of weeks and there’s no noticeable fading at all.
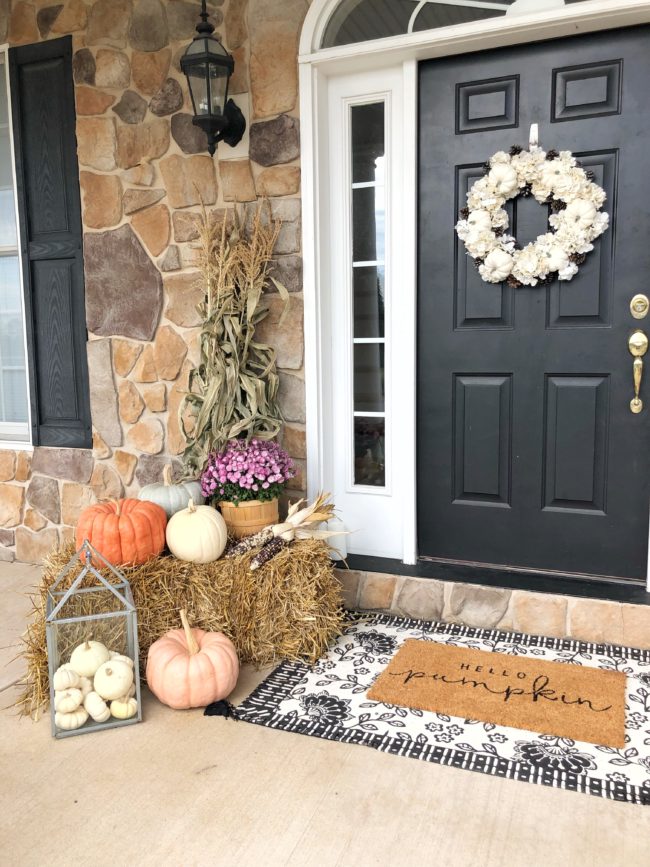
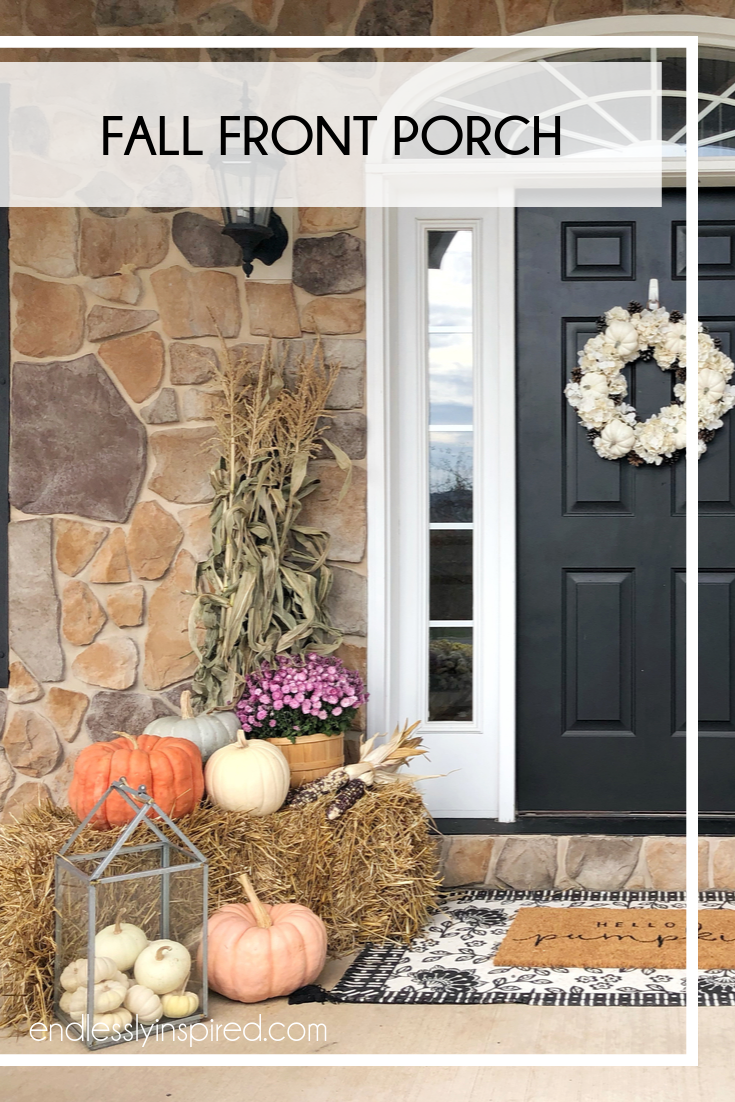
To the left of the door, I placed a hay bale that I got for about $6 at a local farm. I love using hay bales in fall decorating — they look fun and festive, and also serve another important purpose: giving height to a display. If I had all of these pumpkins and the mums just on the ground, it would look weird and unfinished. But by boosting them up, it gives some height to the whole shebang.
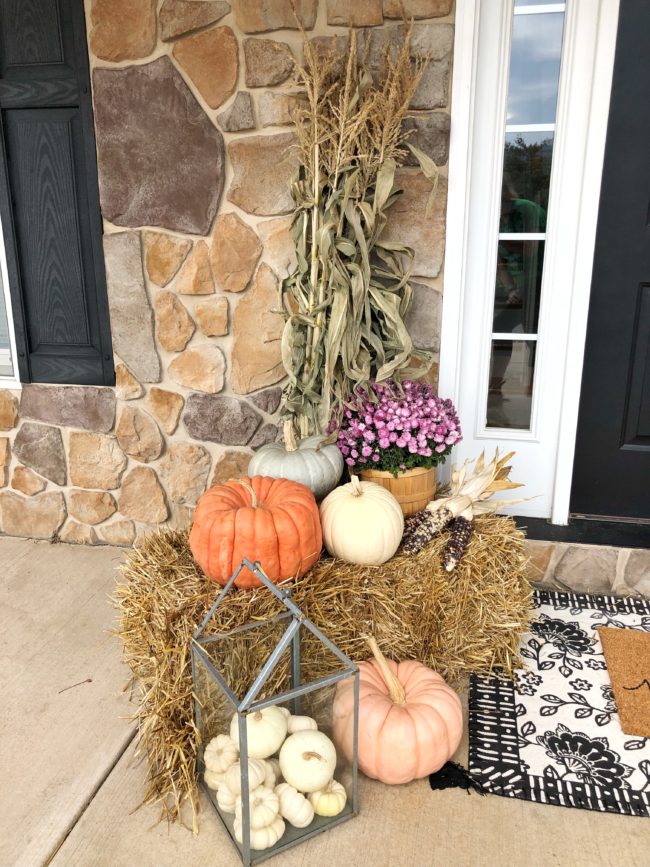
Speaking of the pumpkins, I am not personally a huge fan of the traditional orange pumpkins. We will get a few of those for carving, but for displays, I MUCH prefer white pumpkins and these other funky-colored ones. Sometimes I see them called “heirloom pumpkins”. They come in so many different colors and shapes, and they are becoming very popular and easy to find — I’ve even seen them at Walmart. I got mine from a local nursery, where they were MUCH less expensive than Walmart or Trader Joe’s (which is where I got the mini white pumpkins). I spent around $50 total for all of the pumpkins (and the Indian corn) on my porch.
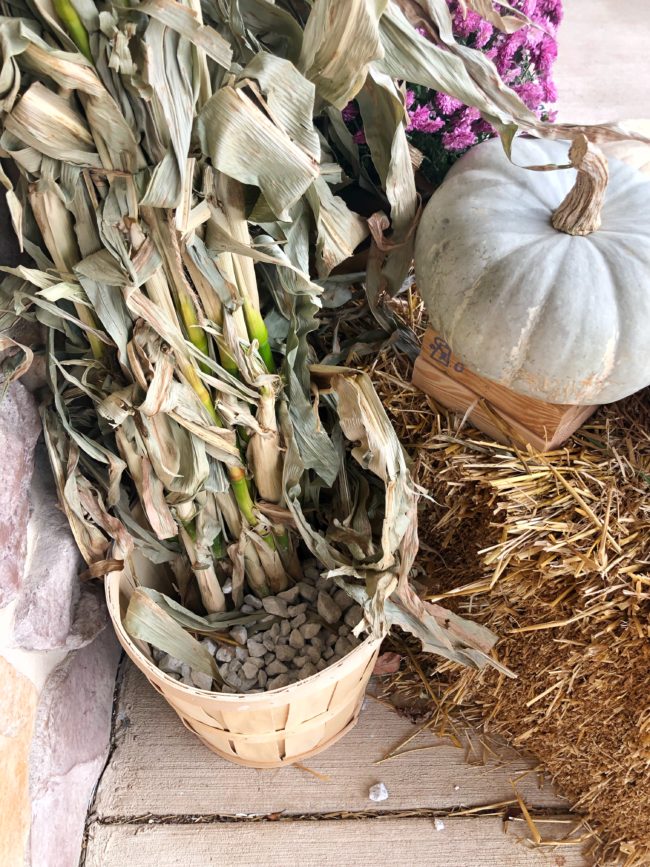
Again, I needed to create height for the greenish-blue pumpkin here, because it was getting lost behind the white and orange ones. I just stuck two scrap pieces of wood under it to prop it up, and it worked perfectly. You can’t see it because it’s hidden behind the other two pumpkins, but those couple of inches of height make a huge difference.
The hay bale is at an angle so I could fit the cornstalks behind it. I actually bought one huge bundle of stalks ($7) at the same farm where I got the hay bale, and split it into the two I have on each side of the door. I was having some trouble figuring out how to keep the stalks upright, and then I remembered the bag of rocks that I had in the garage (bought at Lowe’s for a different project and not used — the story of my life!). I stuck the stalks into two more bushel baskets that I had and filled in around them with rocks. This has worked perfectly — they’ve stayed upright for a couple of weeks now, even through a couple of pretty significant wind storms.
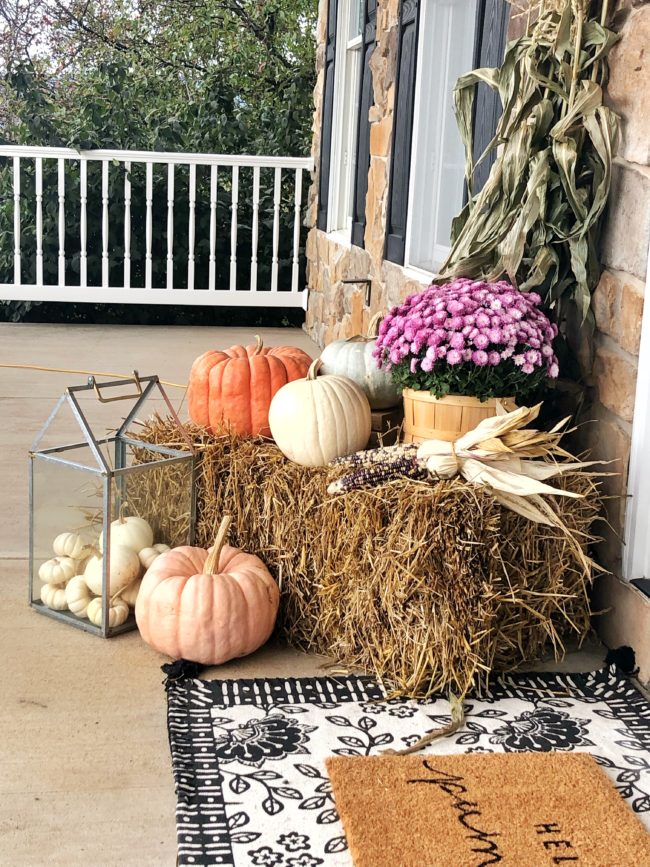
The mums were about $3; I stuck them in a small wooden basket that I got on clearance at Walmart last year.
The house-shaped lantern was another clearance purchase a couple of years ago — this time from Target. It had been sitting in my living room for a while, so I decided to bring it outside and fill it with some mini white pumpkins.
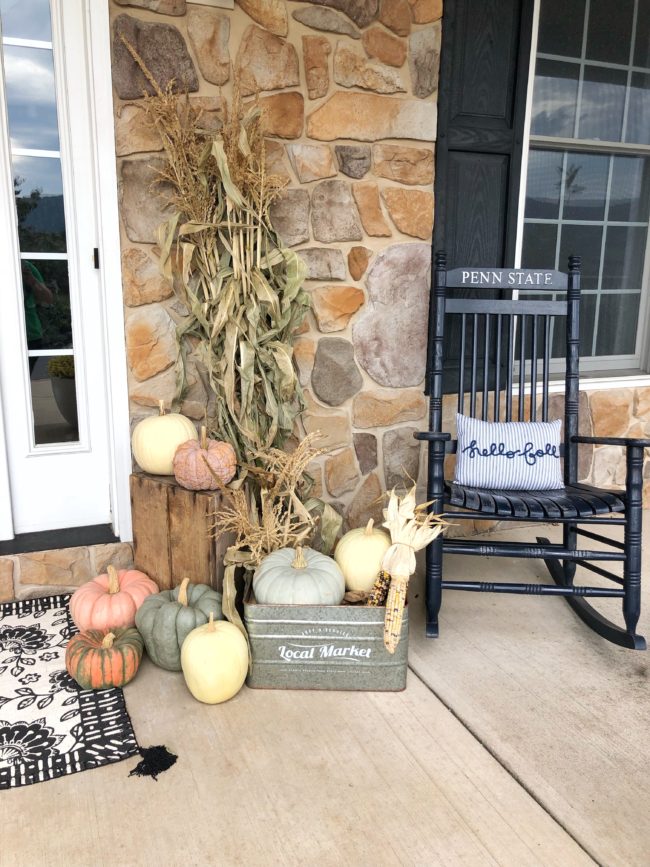
Moving to the right side of the doorway, I used one of my 7 bajillion wood crates (seriously, people. Buy all the wood crates when you find them. I use them for so many things in my house.) standing up on its end to both add some height and hide the rock-filled basket that’s holding up the cornstalks. That super cute pillow is from the Target Dollar Spot last year.
I got the galvanized bin at HomeGoods a few years ago, and I use it all the time too. But instead of filling it with a bunch of pumpkins that no one would actually see (and which I would have to pay for!), I used one of my favorite little tricks.
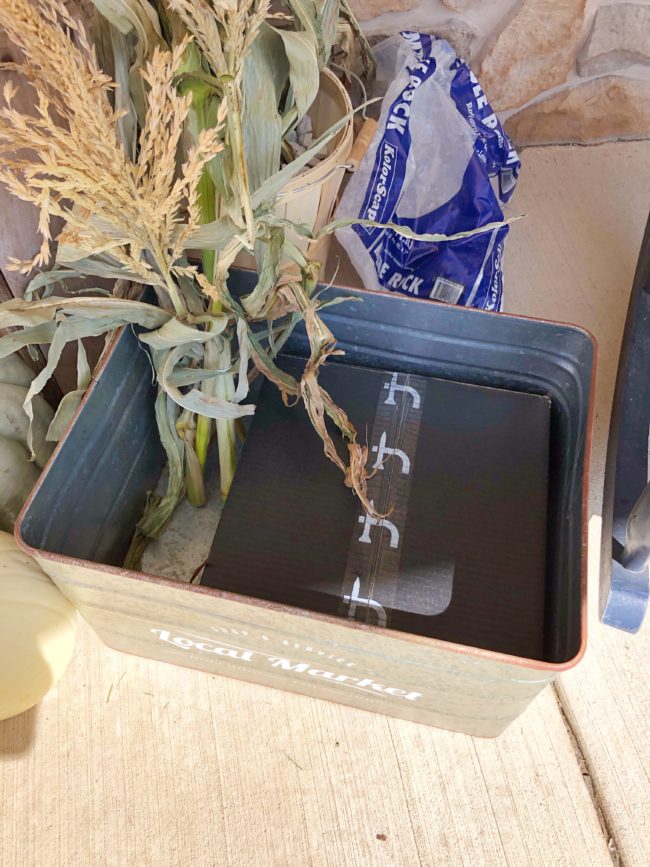
I found an empty box a little smaller than the bin and put it inside.
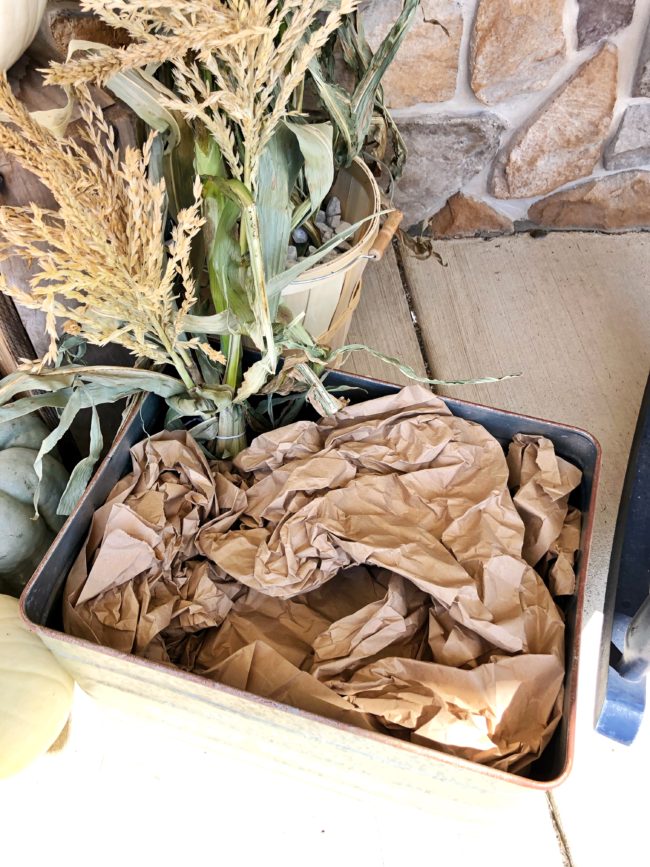
Then I used some packing paper that I also had in the garage (don’t judge me on my online shopping addiction, people. I live in a small town. Amazon Prime* is my bestie.) and covered the box with that, so anyone looking down on it wouldn’t just see a random box in there.
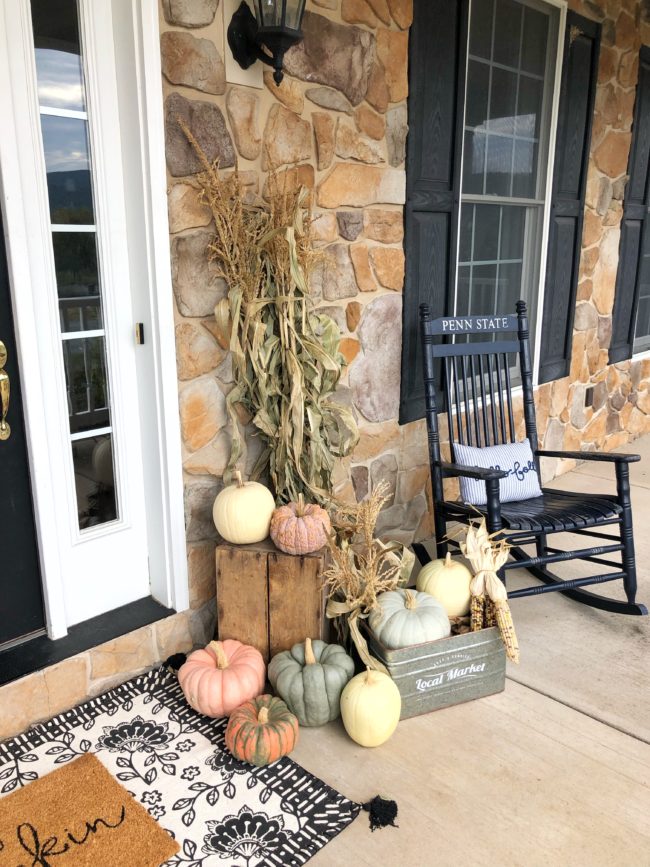
I had a few little pieces of cornstalk that had broken off, so I tucked that into one corner, and then added a couple of pumpkins and some more Indian corn.
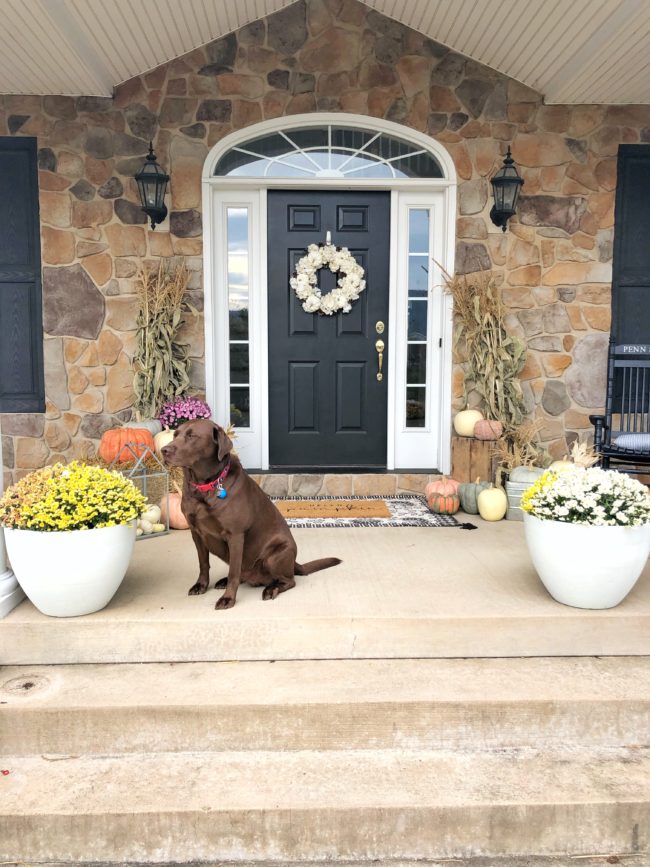
The big mums in the front were about $10 a piece, and I already had the white planters that they’re in.
I think that’s everything! Oh, except for the photo-bombing dog. Who I already said is priceless.
So here’s a breakdown of costs:
Coir doormat: $6
Area rug: $10
Hay bale: $6
Pumpkins: $50
Mums: $23
Cornstalks: $7
Everything else: $0 because I already had it!
TOTAL: $102
Now, let me say that I always get so irritated when I see things on Pinterest that say “See how I made this awesome thing for $2!” and then you click on it and it turns out that the person already had everything on hand and if you actually went out and got everything you needed for this project, you’d end up dropping $180. I promise you, this is not one of those.
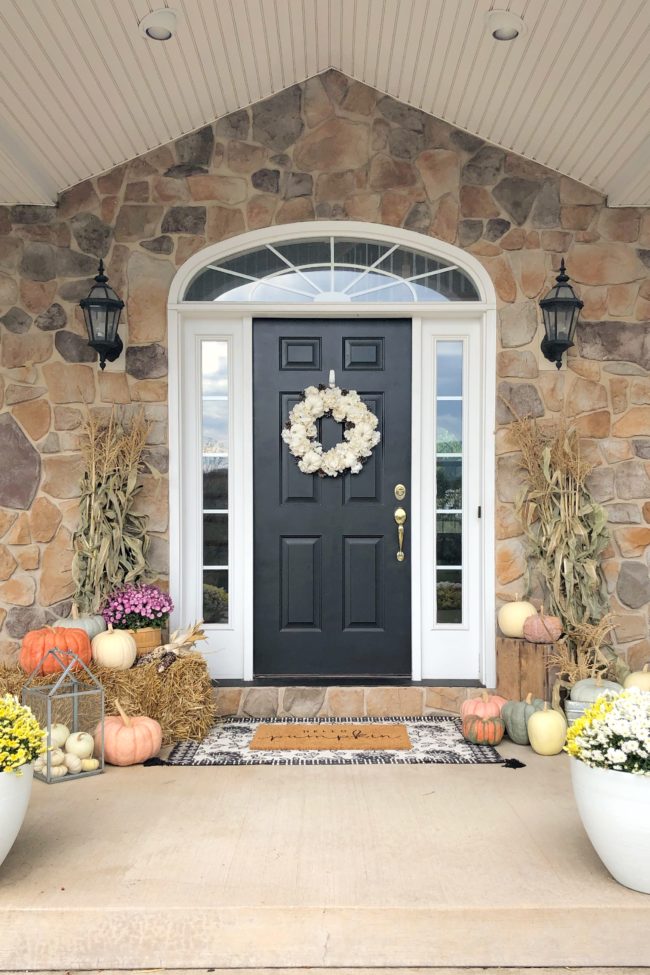
Sure, I had a lot of stuff on hand that you might not have in your house. But my point in showing you what I did is this: when you start decorating your porch, first shop your house. Maybe you don’t have a galvanized farmer’s market bin like this, but you might have a galvanized bucket that you used for drinks at a party this summer. And if you don’t have a lantern, maybe you have a big glass pitcher or a giant vase or something similar that you could fill with pumpkins. Just look around and see what you can use somewhere else — even if it’s not for its intended purpose!
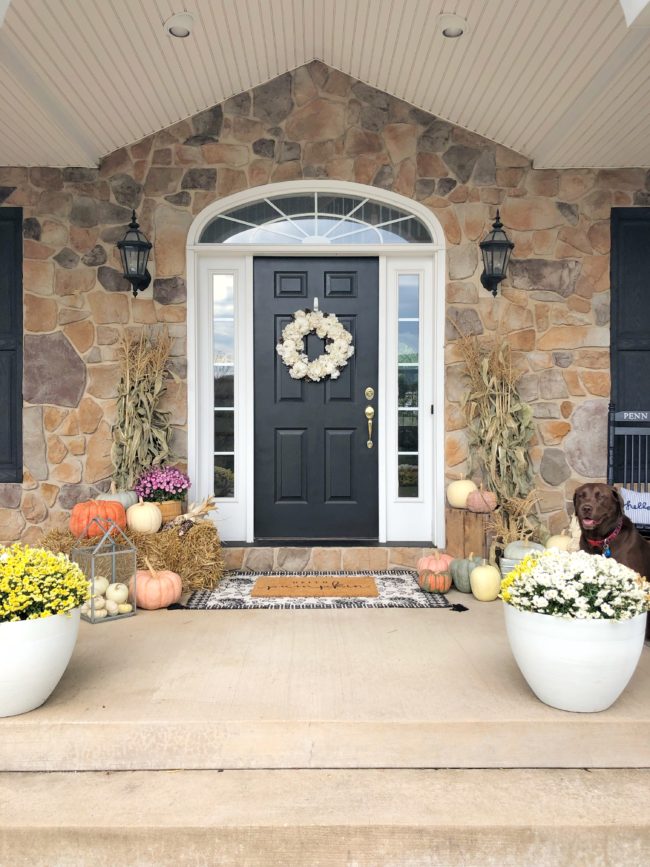
And there you have it! My fall front porch. What I love most about it is that it should easily last up through Thanksgiving. And if I want to tweak it for Halloween, I can do that too by adding some fake spiders, etc. and trading out a couple of the pumpkins for jack-o-lanterns.
Tell me: do you decorate your front porch for fall? Do you have any tips or tricks that you use to do it?
Disclosure of Material Connection: Some of the links in the post above may be affiliate links. Among others, we are a participant in the Amazon Services LLC Associates Program, an affiliate advertising program designed to provide a means for us to earn fees by linking to Amazon.com and affiliated sites. As an Amazon Associate I earn from qualifying purchases. This means if you click on the link and purchase the item, I will receive an affiliate commission. Regardless, I only recommend products or services I use personally and believe will add value to my readers. I am disclosing this in accordance with the Federal Trade Commission’s 16 CFR, Part 255: “Guides Concerning the Use of Endorsements and Testimonials in Advertising.”