I have a new little obsession: freezer paper stenciling.
Have you tried this before?? I had seen about a billion tutorials for this all over Pinterest, but I had never tried them myself until a couple of months ago.
And now I’m totally hooked.
David and his friends made Minecraft Creeper shirts at his birthday party in May {I have to say, I really didn’t think a bunch of 9-year-old boys would be all that excited about making t-shirts, but they were so into it. They even all made plans to wear their shirts to school the following Monday! And I’ve seen several of them wearing their shirts since then. So cute.}, and Connor made Dave a Redskins shirt based on this tutorial for Father’s Day.
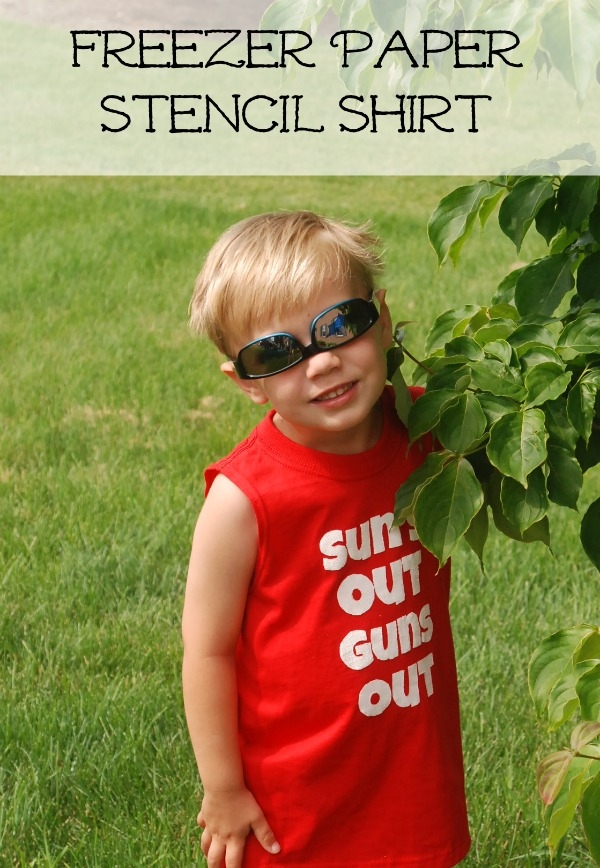
Most recently, I decided to make a shirt for Mason, with one of the most hilarious sayings ever on it.
“Sun’s Out, Guns Out.”
Because there is nothing in the world more hilarious than referring to a 3-year-old’s tiny little stick arms as guns. And because I’m more than a little bit in love with Channing Tatum, who rocks a Sun’s Out, Guns Out t-shirt in 22 Jump Street.
I mean, come on. Look at that face. And those little arms. And the upside-down sunglasses, which is how he insists upon wearing them. You just want to squoosh him, don’t you?
Anyway, here’s how you can make one for yourself {or your scrawny-armed little man}.
Supplies:
Shirt {I got mine at Walmart for $2.97}
Freezer paper
Craft knife
Fabric paint
Sponge brushes
Iron
If you have a Silhouette machine, you can just cut your freezer paper with that, but alas, I am not lucky enough to have one of those. Yet. So I had to kick it old school and use my computer, printer and a craft knife.
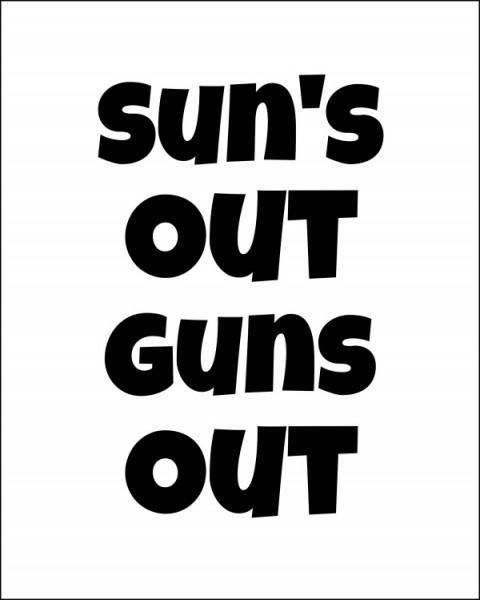
I just messed around in PicMonkey until I had my saying laid out like I wanted. If you’re going to be using a craft knife to cut out your words, you want to use blocky letters without a ton of fanciness, because it will be a giant pain in the neck to cut. {If you don’t feel like messing with it, you can download my version here. Because I’m cool like that.}
Cut a piece of freezer paper to 8.5″ x 11″ and print your saying directly onto that. Just feed the freezer paper through your printer like you would any other paper, making sure that the words print on the dull, not shiny, side of the paper.
Then use your craft knife to cut out the words! {Make sure you save the centers of the o’s!}
Once you have all your words cut out, place the shiny side of the freezer paper down on the shirt, and iron your stencil to your shirt. Make sure you get all of the edges of the letters, because you want it to be completely sealed to the shirt so no paint can get under there.
Now it’s time to start painting! As I said, I have made several of these freezer paper shirts now, and I’ve found that the best way to paint is to dab the paint on with a foam brush. You don’t want to use brushstrokes, because it can pull the shirt and cause paint to get under your stencil.
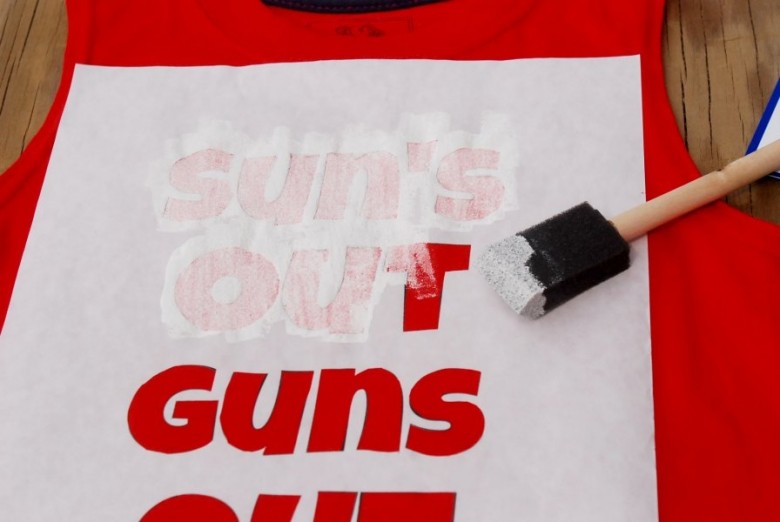
If you’re using a light color paint on a dark shirt, like I was, you will want to do two coats of paint. You can see that you could totally still see red after only one coat above.
But after two coats, we were all set!
{In case you’re wondering, that’s his “I-have-big-muscles” face. Obviously.}
Now just allow your paint to cure and set it according to the directions on the bottle {I had to let mine dry for 4 hours and then heat set it with an iron, but every fabric paint is different, so be sure to check your instructions}, and you’re all done!
Seriously, this kid. I think the upside-down sunglasses thing is my favorite thing in the world. It will never cease to crack me up.
You tell me: What would you make with a freezer paper stencil?
If you’re looking for more t-shirt tutorials, don’t miss these posts!
 10 Easy & Adorable T-Shirt Refashions
 28 More Incredible T-Shirt Refashions
Disclosure of Material Connection: Some of the links in the post above may be affiliate links. Among others, we are a participant in the Amazon Services LLC Associates Program, an affiliate advertising program designed to provide a means for us to earn fees by linking to Amazon.com and affiliated sites. As an Amazon Associate I earn from qualifying purchases. This means if you click on the link and purchase the item, I will receive an affiliate commission. Regardless, I only recommend products or services I use personally and believe will add value to my readers. I am disclosing this in accordance with the Federal Trade Commission’s 16 CFR, Part 255: “Guides Concerning the Use of Endorsements and Testimonials in Advertising.”





I still haven’t gotten on the freezer paper bandwagon yet either. I think is because I don’t have a fancy cutting machine either and in not about to be using a craft knife to cut out all those little letters. I really like this though so maybe I’ll have to suck it up and do it anyways!
I LOVE freezer paper stencil projects and this shirt is just awesome. I could totally see my son rocking this…upside down sunglasses and all!
This might be the funniest shirt I have ever seen! And to see an adorable little boy wearing it is too much. I love it!
What a cool idea. I think this would be great to make birthday shirts for the kids. I hate spending tons of money on a shirt they’re going to wear once, because we all know it’ll be outgrown before the next birthday 🙂