Welcome to day 25 of the 31 Days of Halloween!
Teri from The Freshman Cook is here today, and I pretty much cannot handle the cuteness of her post. I mean, seriously. A Halloween gingerbread house?!? Ridiculous! And it would be so much fun to make, because you could decorate it with pretty much anything! Love, love, love it.
Happy Halloween! I excited and happy to be visiting Jenn and all of you today as part of Endlessly Inspired’s 31 Days of Halloween!
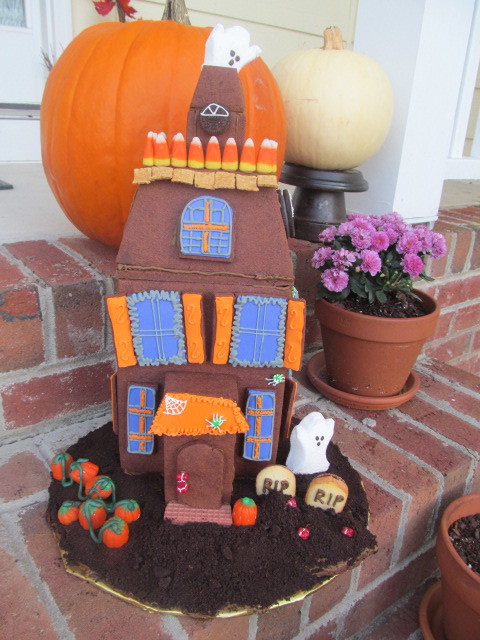
Today I am sharing my Halloween Haunted House. I have been a fan of haunted houses for some time. I’m talking edible haunted houses, not the scary ones you walk through and people grab you! My haunted house is built to make you smile, and satisfy your sweet tooth. So crack off a piece if you want! 🙂
The first Haunted Halloween house I ever made was about 21 years ago with my son, who was 4 at the time. Every few years I decide to make another one because they are fun, and I like the idea that a Haunted Halloween House doesn’t have to look as perfect as a Christmas Gingerbread House, because, after all, it is haunted!
Yes, that idea is mine, but it helps me feel better, so I go with it.
I took the pattern for this house from Woman’s Day magazine. I have always gotten the pattern for the haunted houses from them; I think they do a new one every year. {To get your own pattern go to Woman’s Day Haunted House.} You will find the recipe, pattern and directions, and some other special info about this house.
Once you see their house, you will realize that mine is like it, but with a few changes. I tried to use some things I had on hand, so I changed things just a little bit.
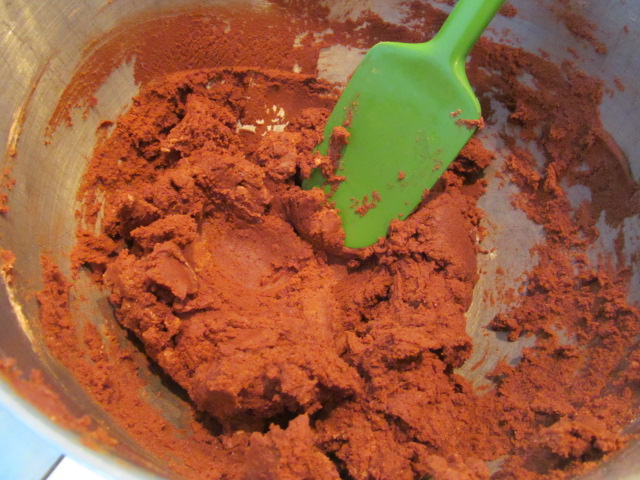
I made the dough first. It will be thick, and it won’t be like the normal cookie dough you use. It has to be thick to stand up. This recipe is wonderful because it is easy to use, and you will be making thick pieces, which will make your house sturdy and easy to move. I loved working with this dough!
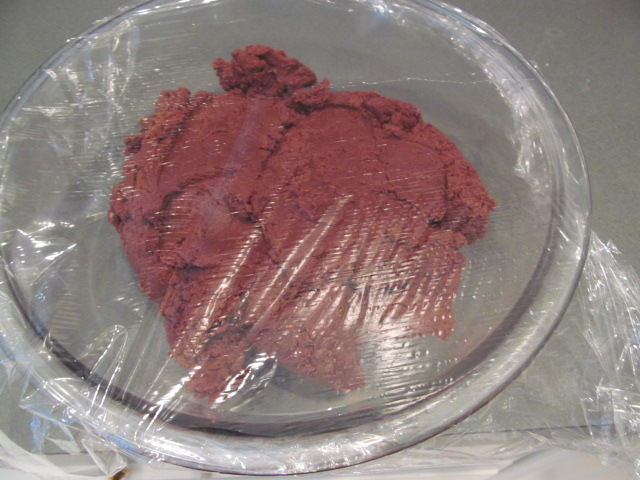
You will make several batches. It is easier this way, because, unless you have a commercial mixer, all this dough will not fit in your mixer.
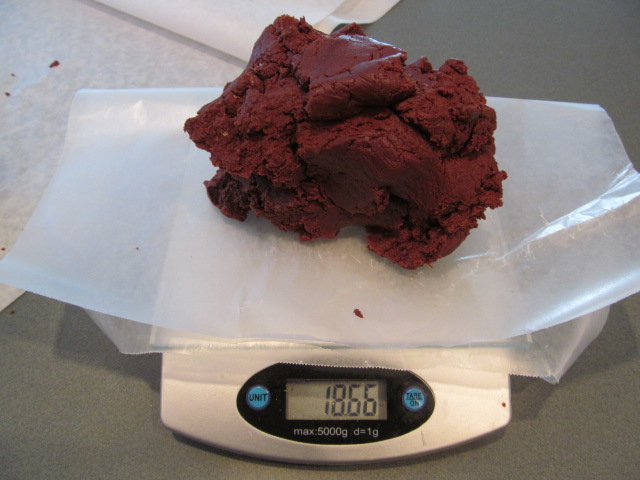
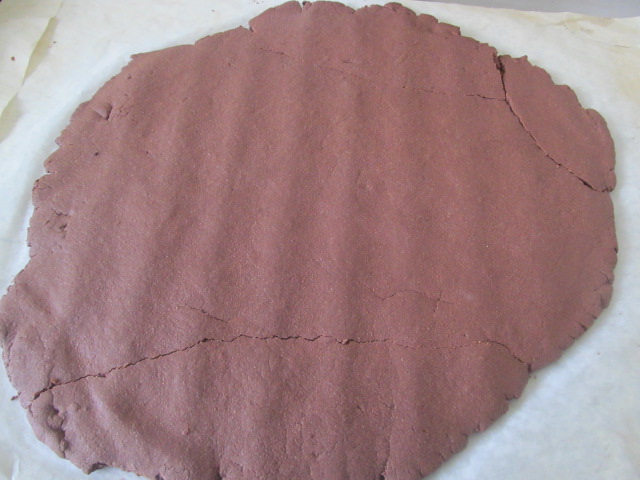
Follow the directions for dividing the dough. You will need parchment paper for this. The directions will tell you how thick to make the dough. The best way to do this is to use rolling pin spacer bands around your rolling pin. They are a life saver because they help make your dough an even thickness. The directions will tell you to divide your dough into 2 pieces to roll out. I divided mine into 4 pieces because it was easier to handle.
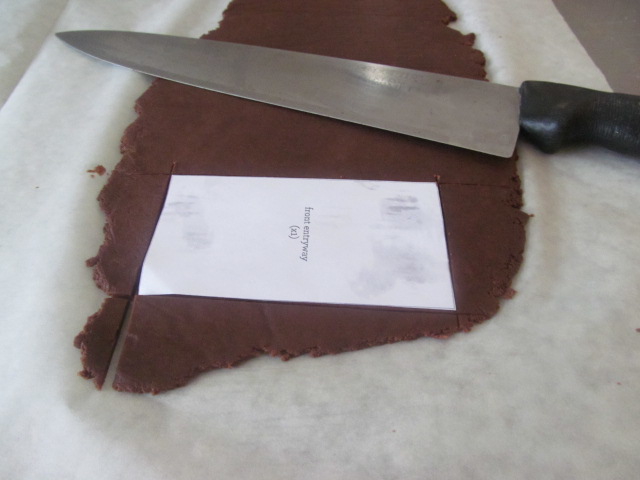
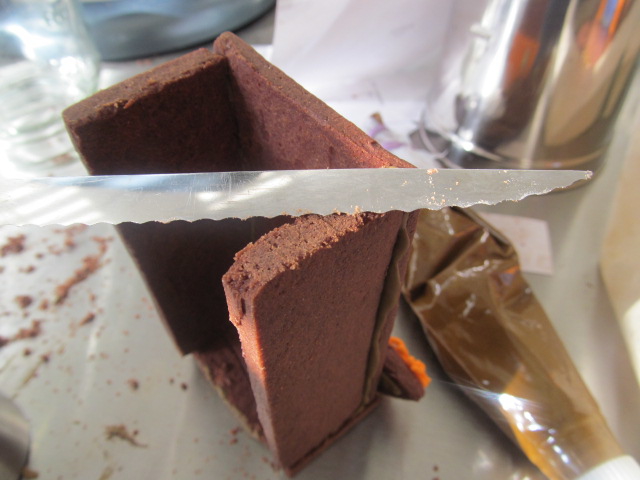
When I cut out my pieces of dough, I used a long knife like in the picture. It makes each cut smooth and straight.
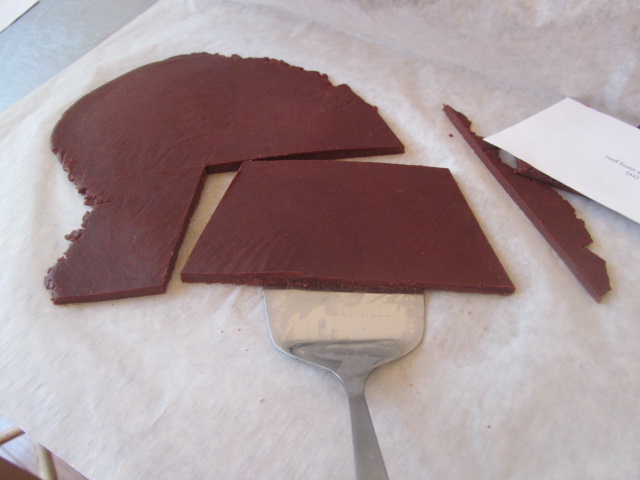
To move the larger pieces, I used a spatula. It made it very easy.
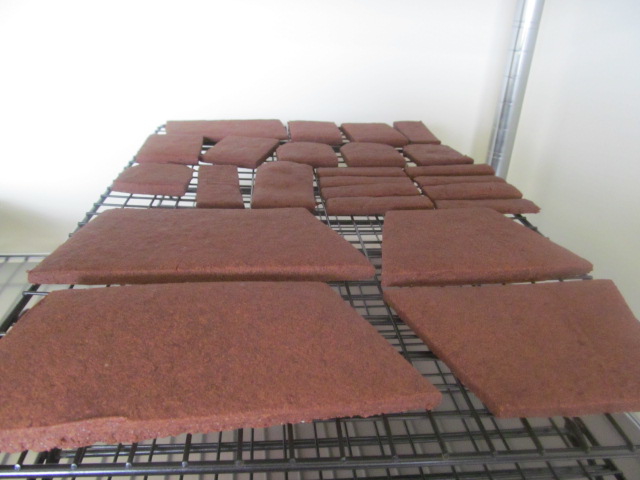
Here are some of the pieces, all cut out, cooked, and cooled.
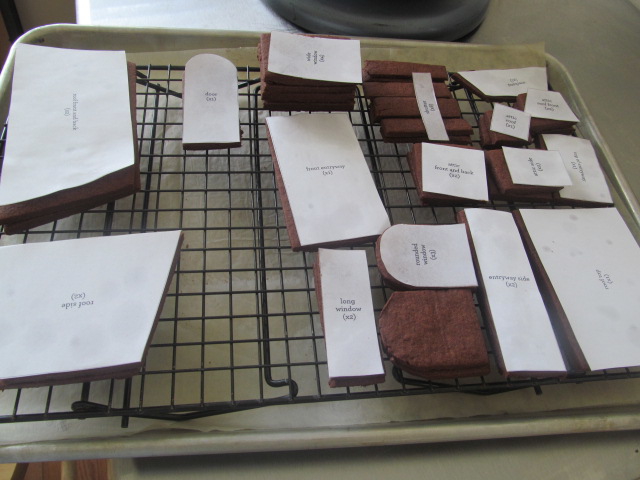
To make sure I knew what each piece was, I kept them in order by placing the pattern on top of the cooked pieces.
This is my ground piece that the house will sit on. It didn’t break during the cooking process, but you will put all your pieces back in the oven for a long time to dry, and this is when it broke. Remember when I said that these don’t have to look perfect? This is why!
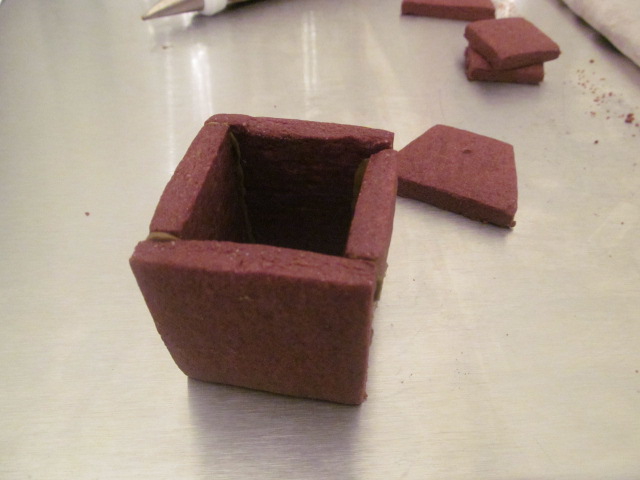
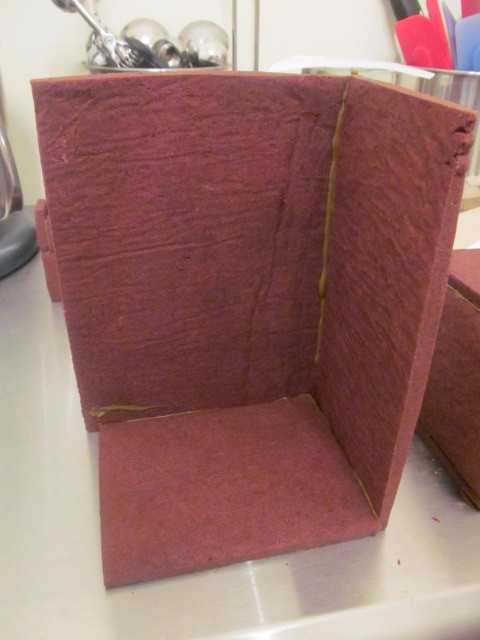
Constructing the house is easy. Follow the directions. The pieces are so easy to use because they are so thick.
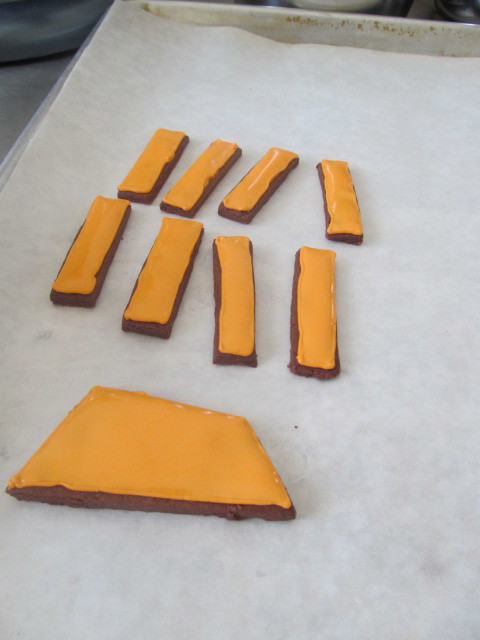
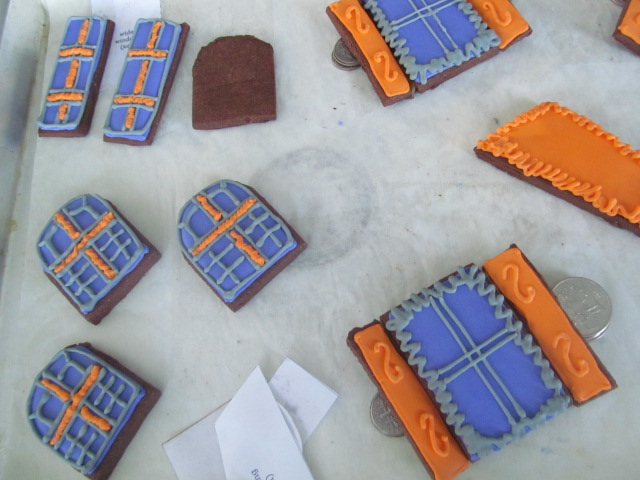
I changed up the decorations a little. I used the coins to hold the shutters away from the bottom so they will stick out from the wall of the house. They worked great. Remember to leave time in your preparations for your icing to dry.
You might run in to a problem where one side of a piece is too big, or not fitting like you want it to. I used a small serrated knife to saw, very slowly, back and forth. Don’t use too much pressure because you don’t want to crack your piece.
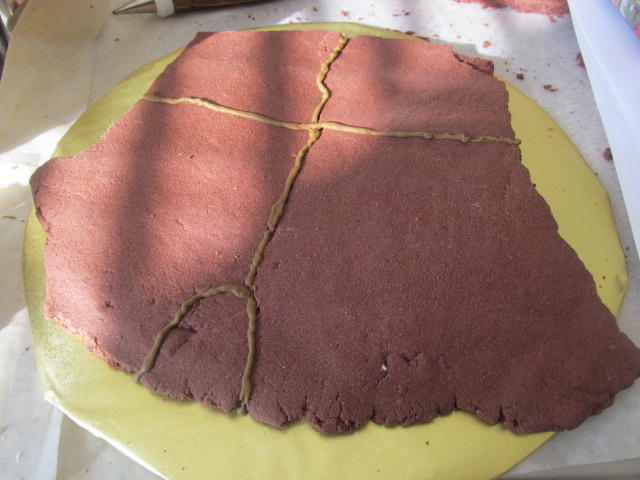
I decided to put my house on a round cake board, because I knew it could handle the weight. I had to cover the board because it was a decorated one with balloons, and all I had was this gold paper — but it didn’t matter, because I am going to be covering it anyway. For some reason, my ground piece broke into many pieces. I think I made it too big, and I must not have dried it enough.
So, I glued it with the chocolate icing you will use to glue the cake together. The cracks won’t show in the end.
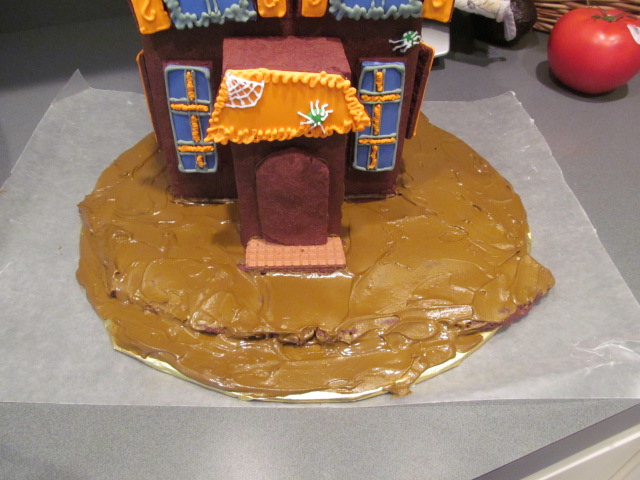
I placed the house on the ground piece, and then I used more chocolate icing to cover the entire board.
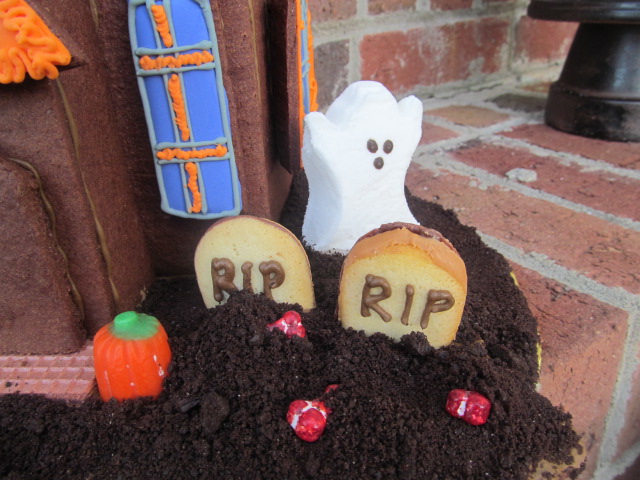
I crushed Oreos in the food processor and covered the chocolate icing. I made some tombstones with bones sticking through the ground, and what’s a graveyard without some ghosts?!
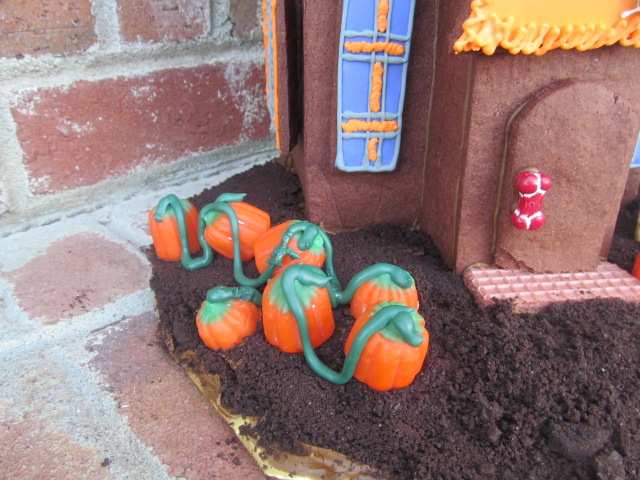
I added a pumpkin patch, and I used a bone for the door knob.
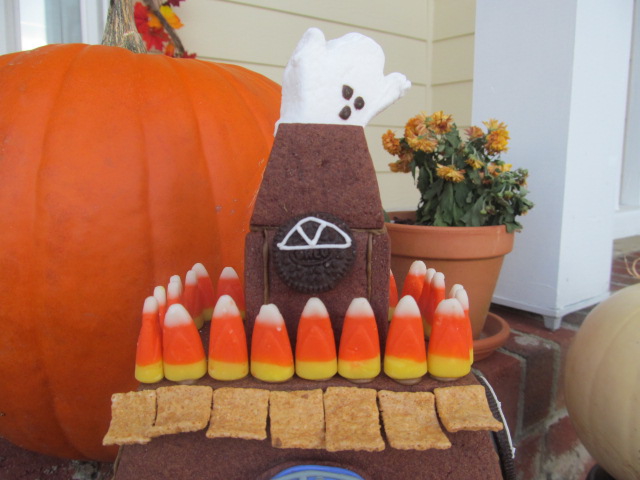
I used honey grahams for the house trim. The original directions covered the entire upstairs
with them.
And there you have it!
Thank you to Jenn for letting me stop by today! I hope you enjoyed this Halloween Haunted House, and if you decide to make one, I would love to see it. Also, if you have any questions about the house, just leave your question in the comments, and I will answer as soon as possible!
Have fun, and Happy Halloween!

[…] Halloween Gingerbread House {31 Days of Halloween: Day 25} – 1 freebie(s)? […]