Learning how to make cake pops the traditional way can be a long and messy process. But with this ingenious shortcut, you can make them in minutes, with no baking or mixing required.

This post may contain affiliate links, which means I’ll receive a commission if you purchase through my link, at no extra cost to you. You can read our full disclaimer here.
Have you ever made cake pops the traditional way? You know, when you bake a cake, wait for it to cool, then crumble it, mix it all up with frosting, form them into balls, chill them, then dip them into candy coating or chocolate?
I got tired just writing that sentence. Who has the time and patience for that?? Not me, that’s for darn sure.
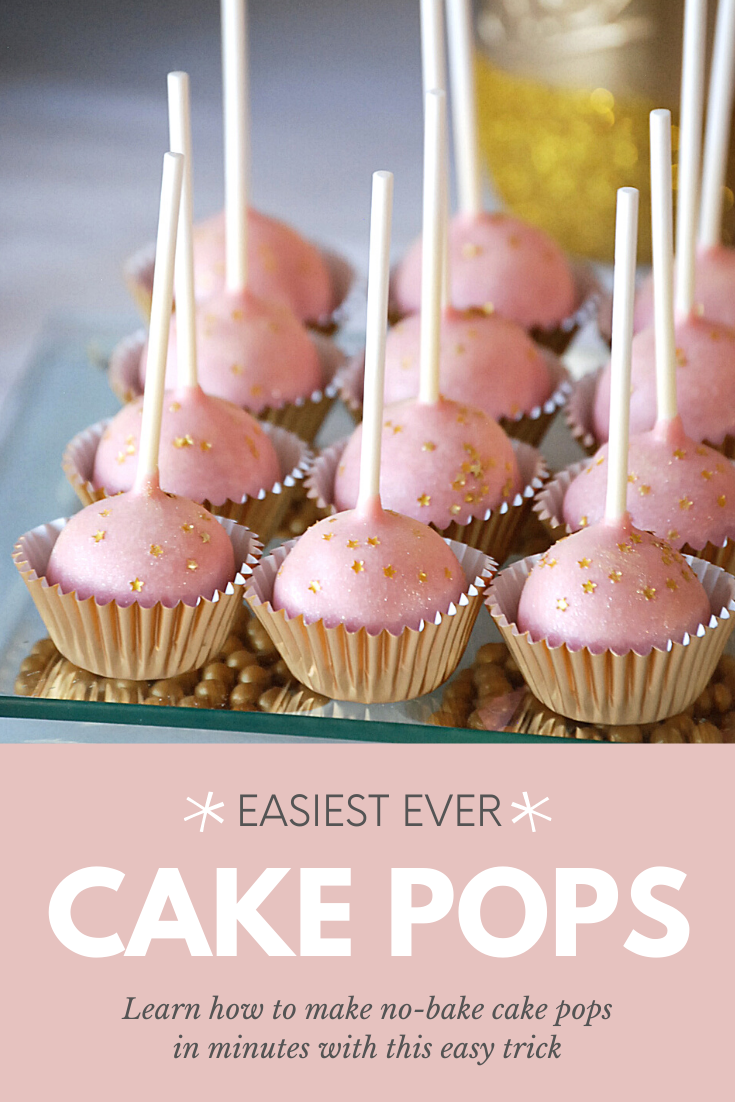
Lucky for you, I came up with an ingenious trick that lets you have cake pops on the table in literally minutes, with no baking or frosting required!
This post is all about how to make cake pops the easiest way ever.

How to Make Cake Pops the Easy Way
As I said, if you do a search for cake pops, most of the recipes you find are going to involve baking a cake, crumbling it up, and mixing it with frosting. I’ve attempted this method before when my boys were younger, and while they had the time of their lives, I ended up with sticky cake pieces EVERYWHERE. Not to mention the fact that it took for-freaking-ever.
So I did what I always do: tried to find a shortcut. I saw some cake pop makers on Amazon, but I didn’t feel like spending money on another gadget that would take up room I don’t have in my kitchen and that I would use once every few months, if that.
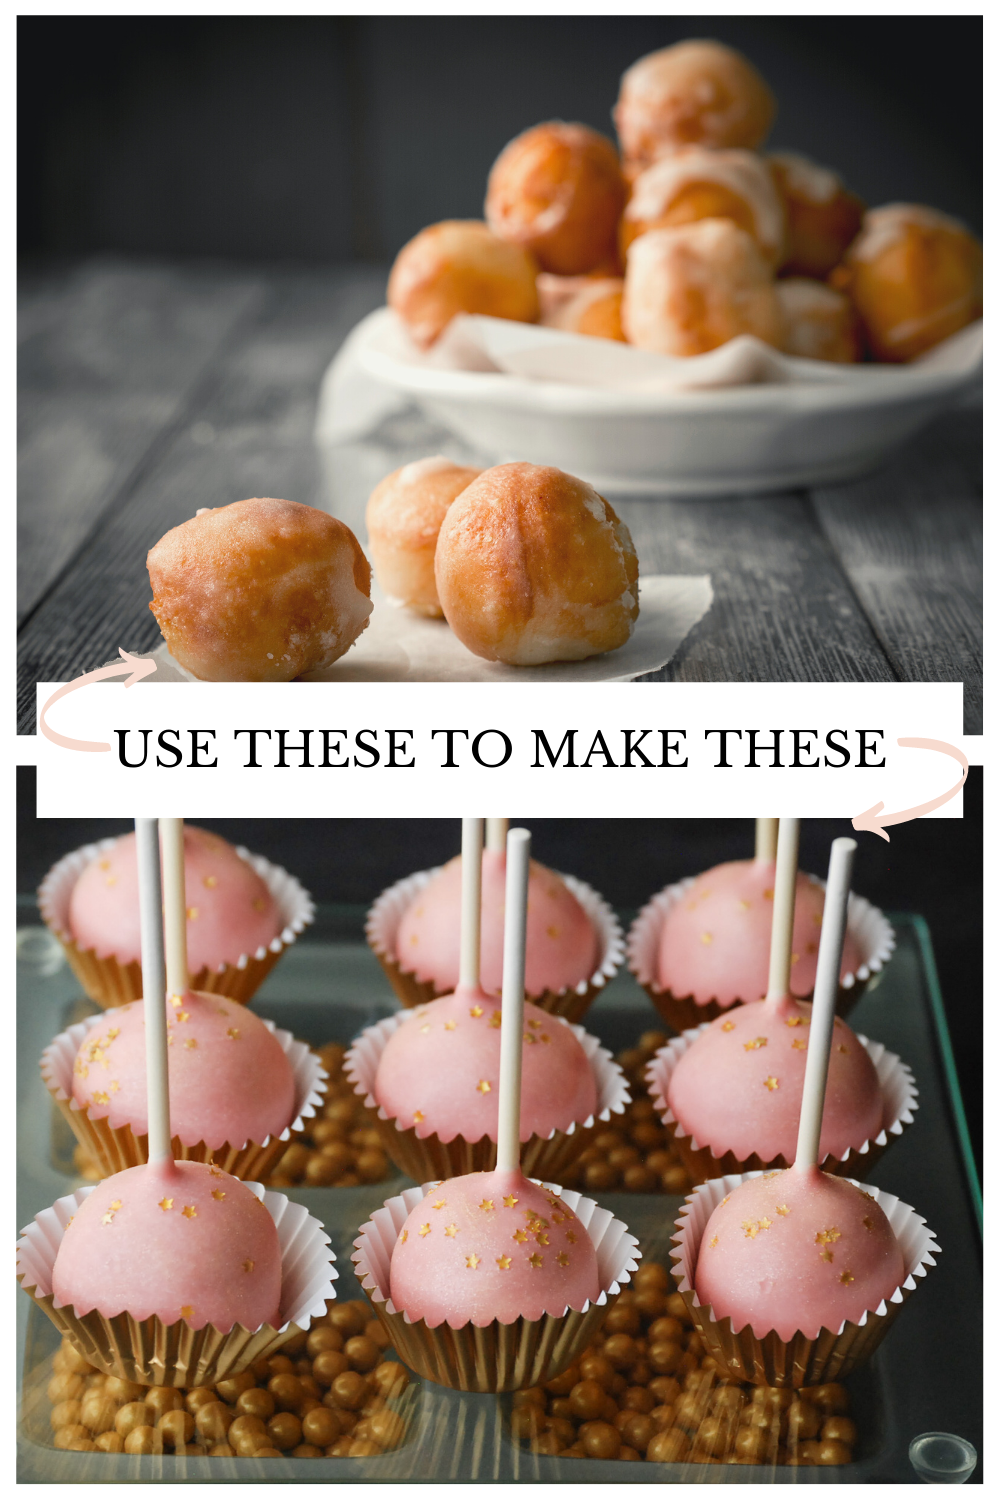
And then one day, it hit me: why not use donut holes?
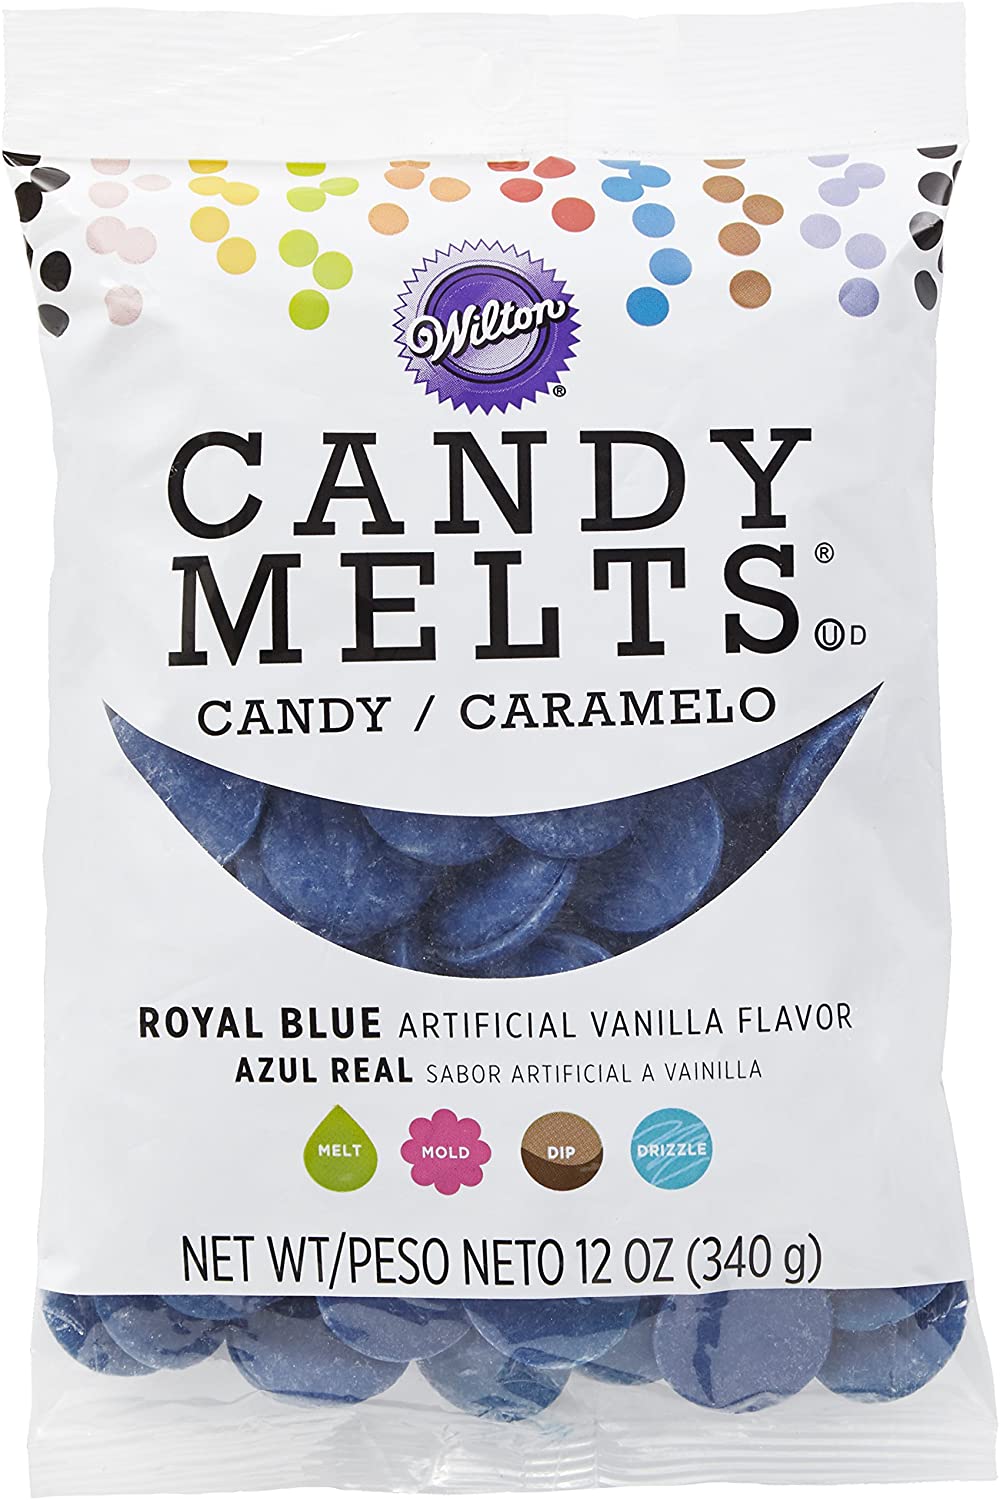
I was so excited to see if this would work. So I grabbed a container of glazed donut holes and a bag of candy melts and headed home.
And it worked so well! In less than 30 minutes, start to finish, I had made a whole batch of cake pops, with almost no mess. Read on to see how you do it.
What You Need
In order to make donut hole cake pops, you only need the following items:
1. Donut holes (duh)
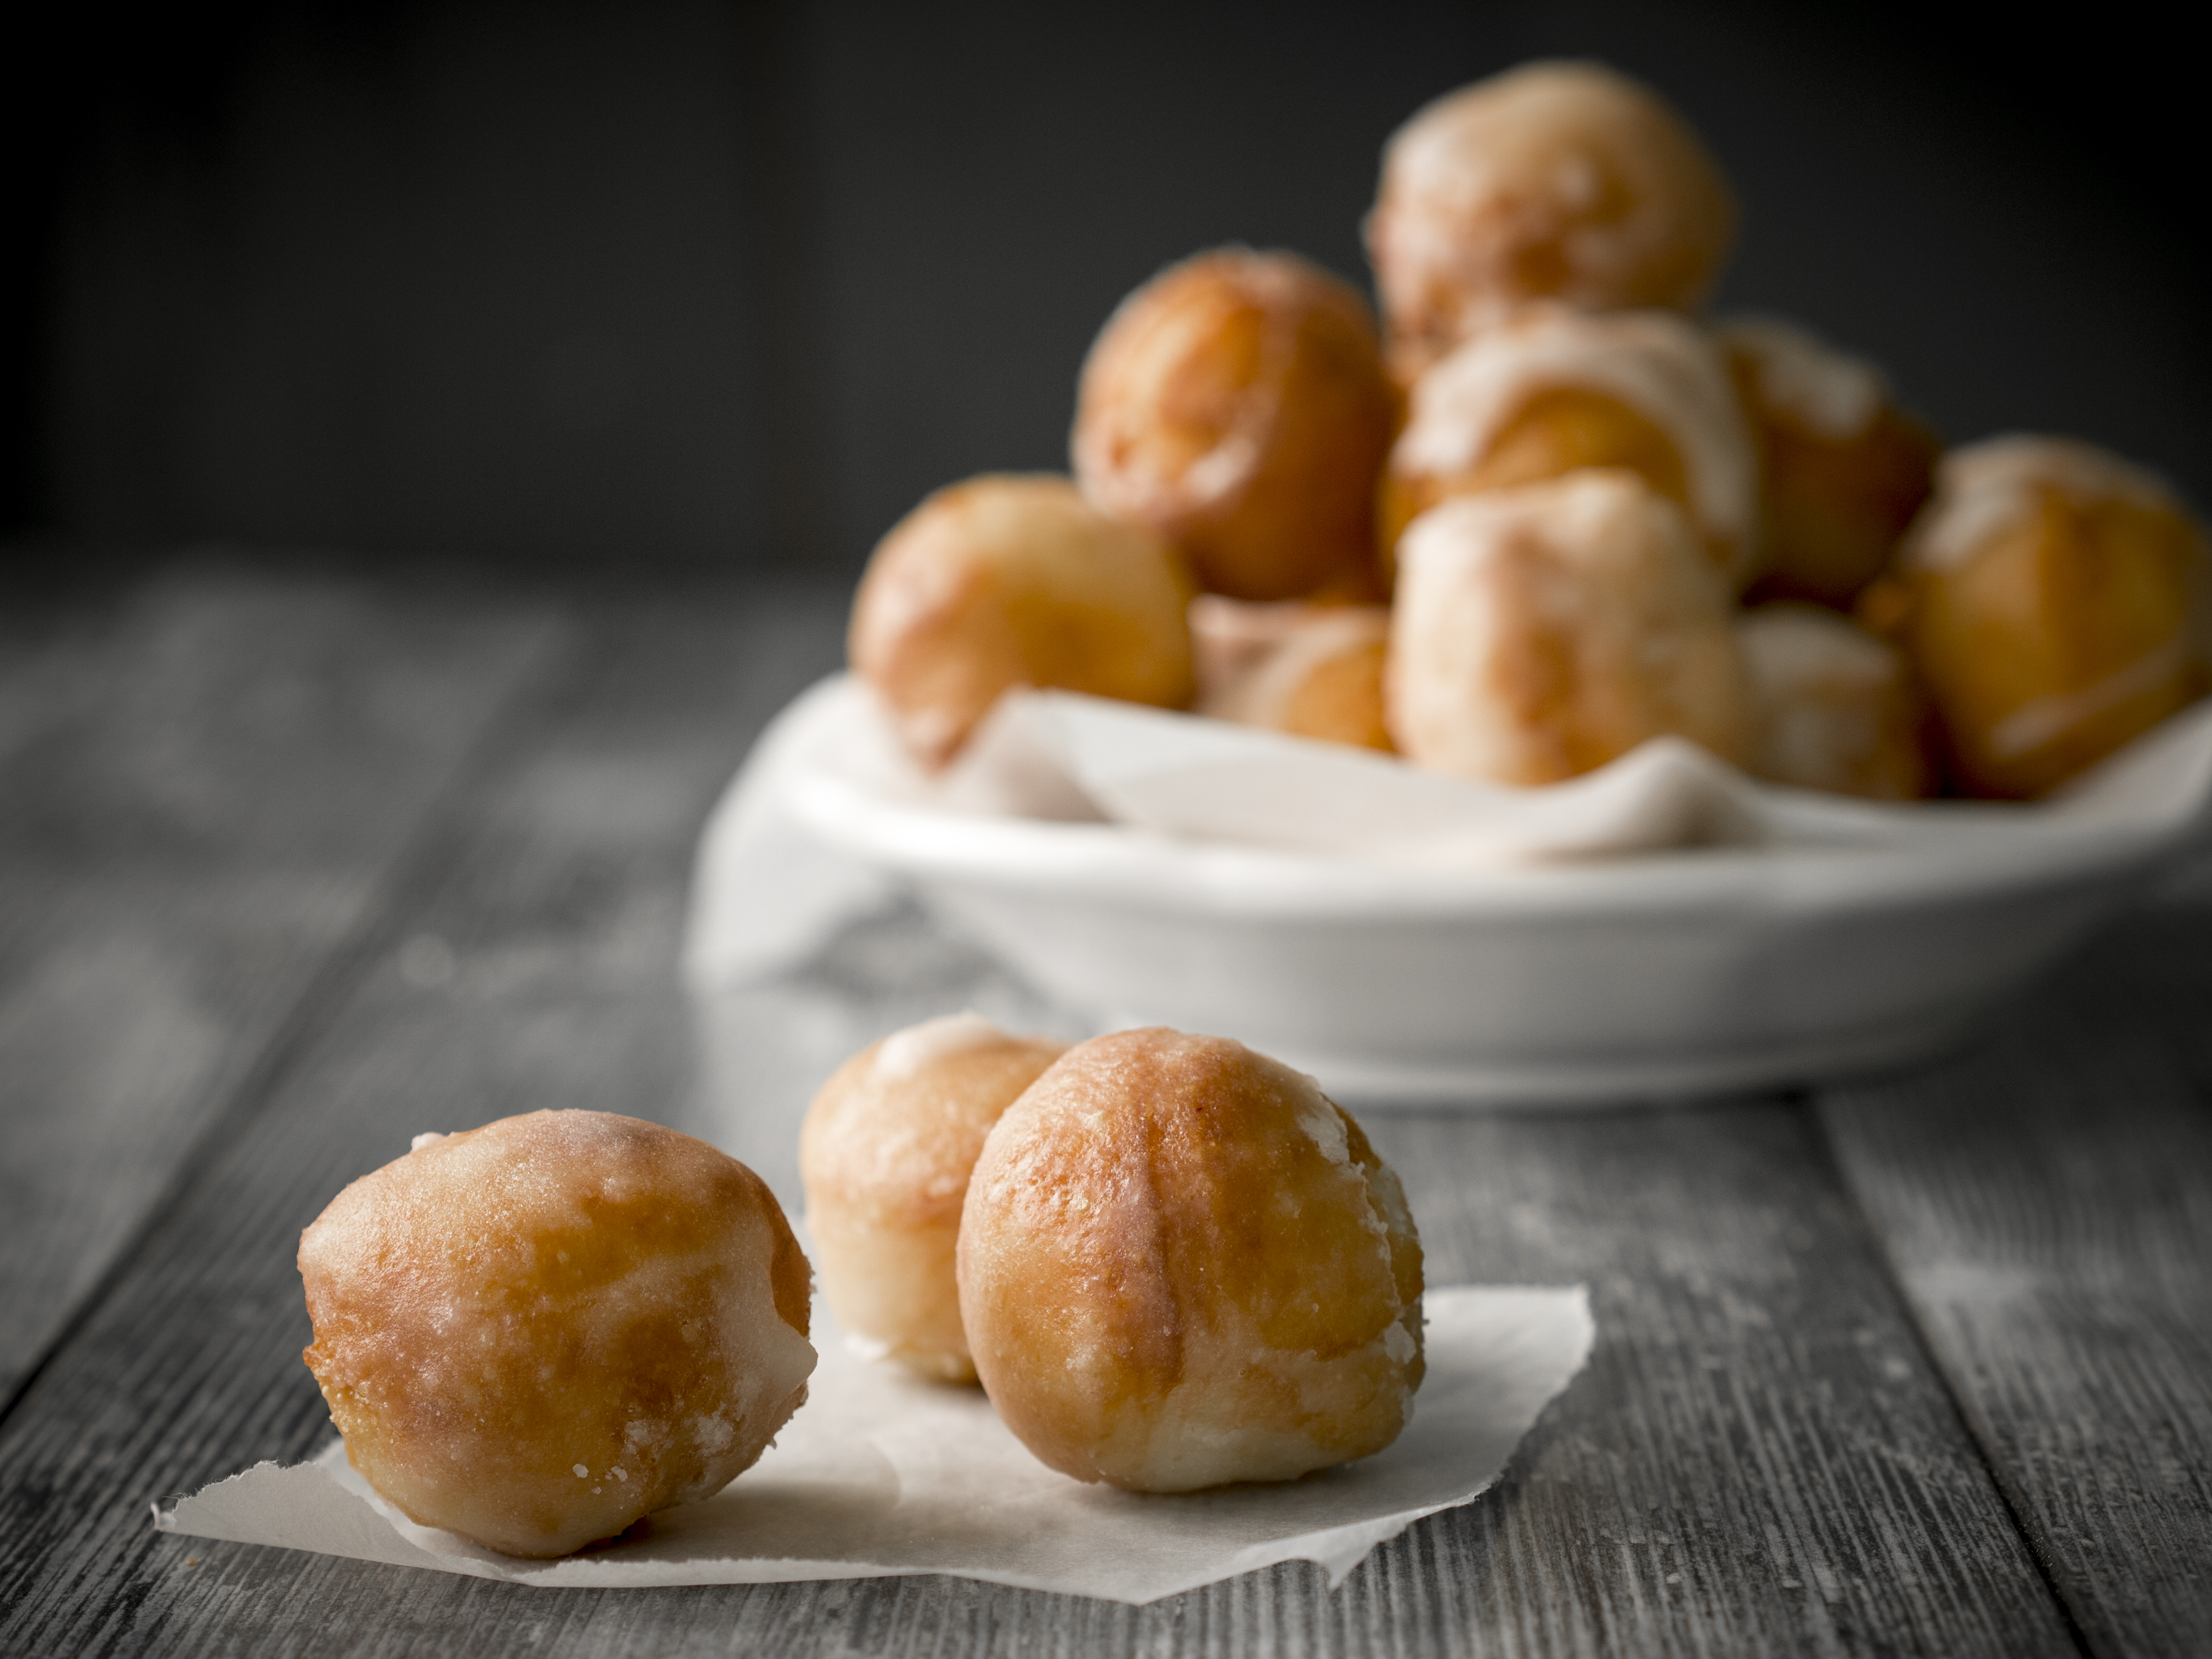
You will want to use either plain or glazed donut holes for these, although the flavor doesn’t matter. You just don’t want anything with powdered sugar or cinnamon sugar on the outside, because the candy melts won’t stick.
A couple of other tips: First, you want to try to have your donut holes be as round as possible. They don’t need to be perfect (I’ll share a tip for making them look rounder in a moment), but try not to get ones that are super weirdly shaped. I’ve noticed that sour cream donut holes tend to be a little funky, so you might want to avoid those.
Second, cake donut holes tend to work better than the super fluffy yeast ones, as they will hold the stick better and will hold up to being dipped a lot better.
2. Lollipop sticks
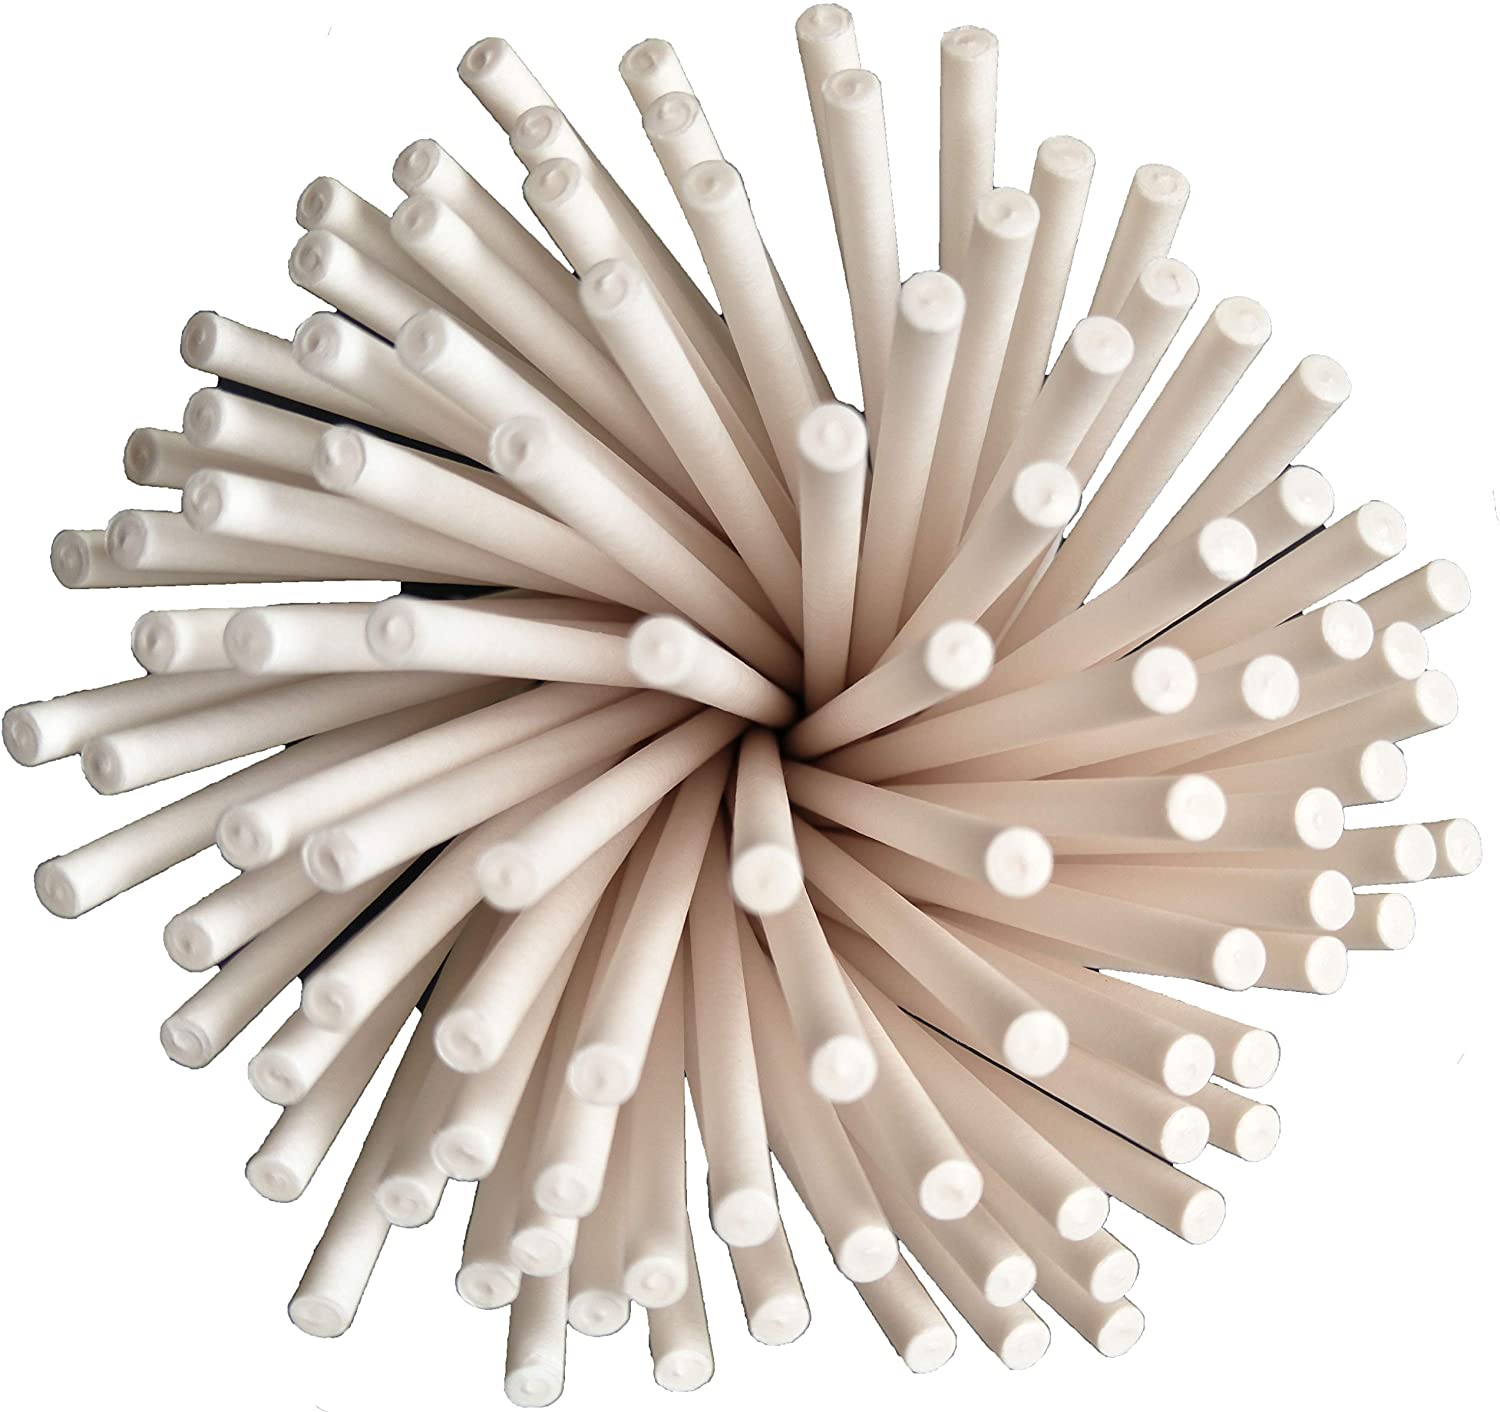
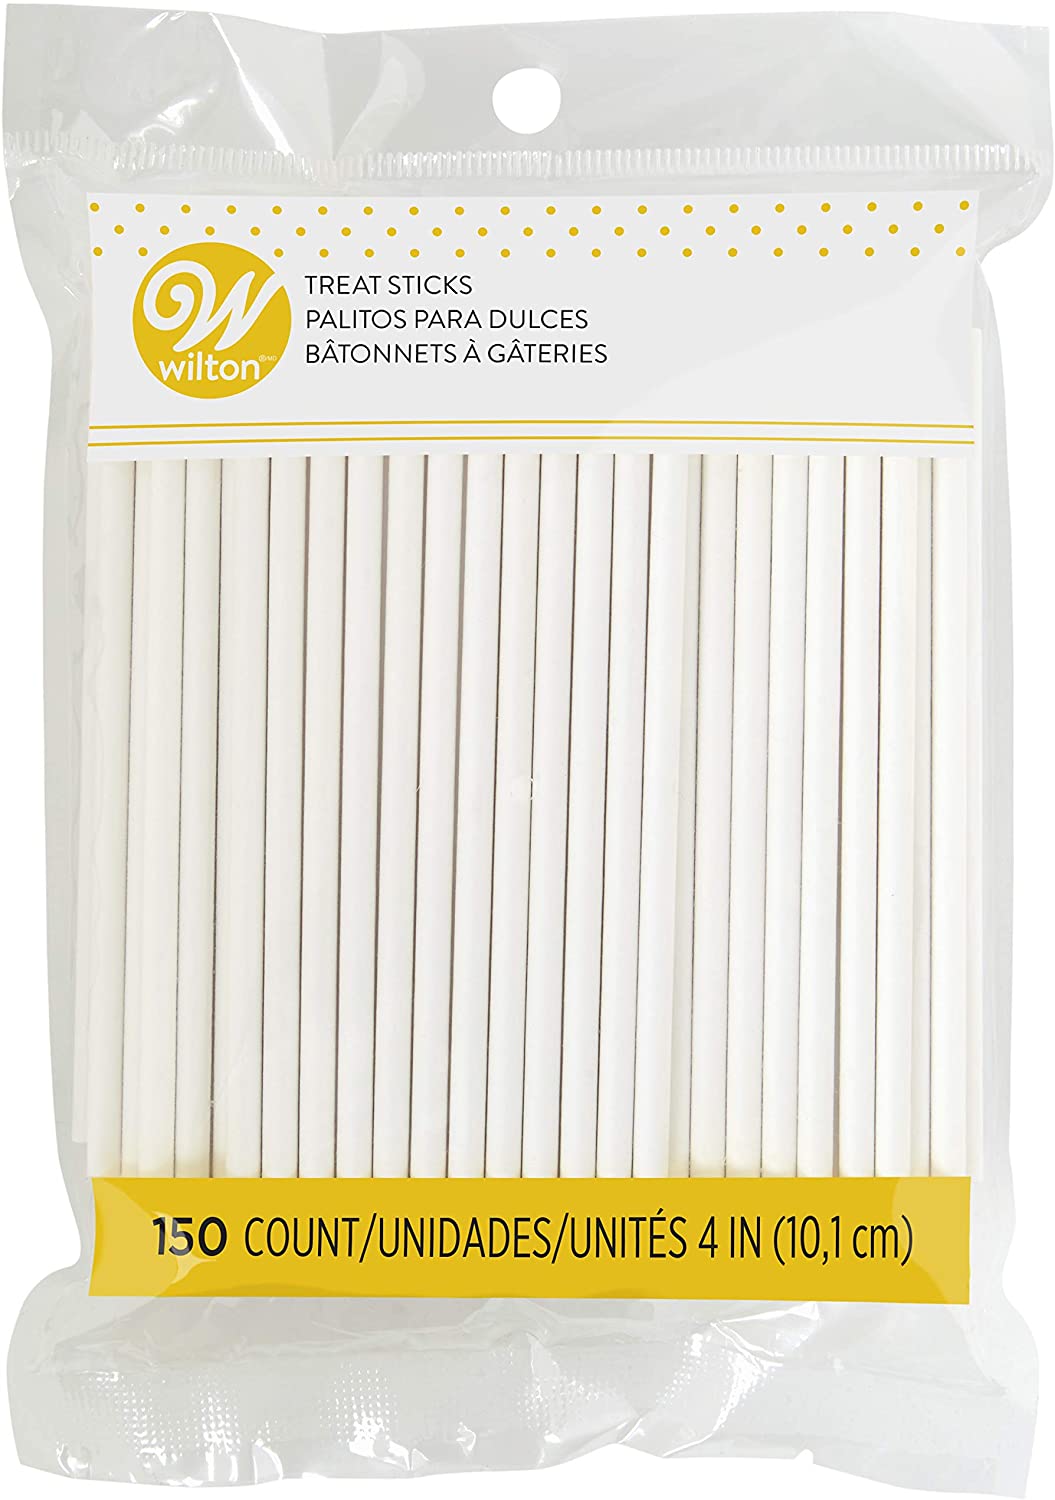
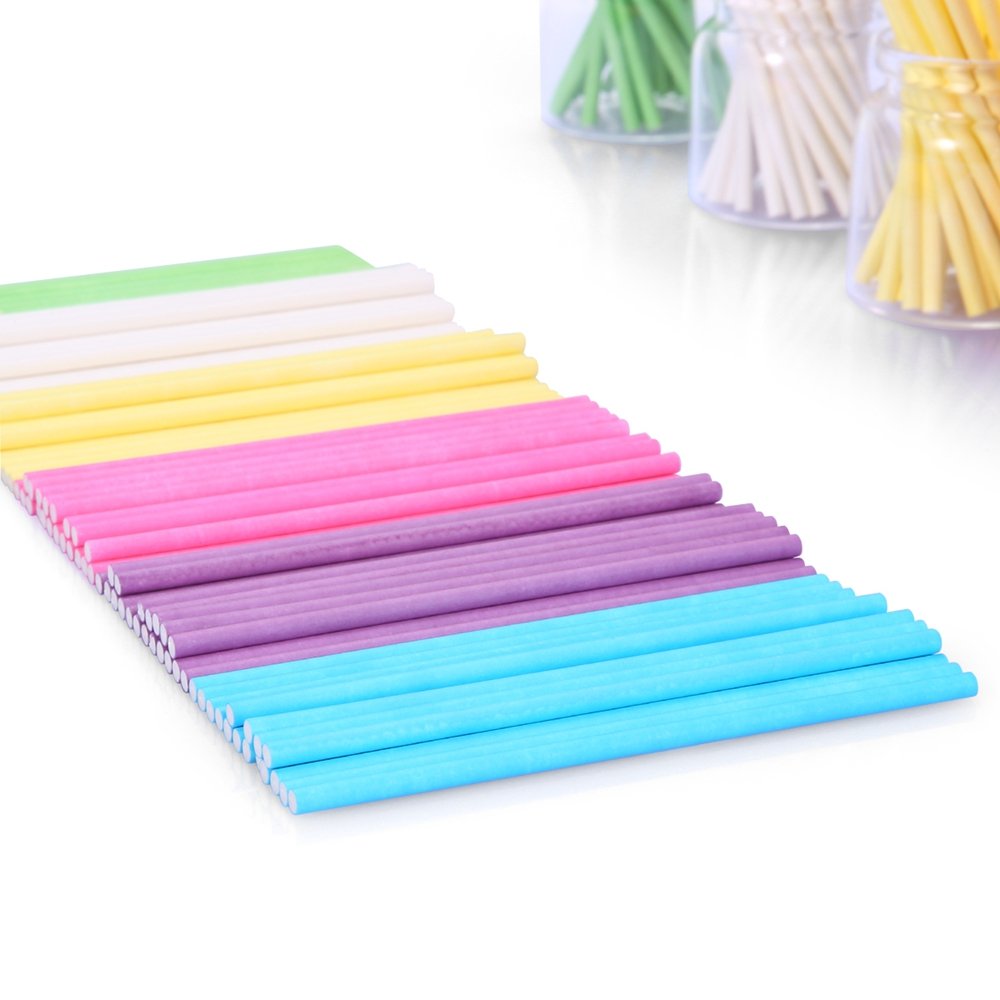
Lollipop sticks are pretty easy to find. Many grocery stores have them in their bakery aisle and you can also find them at Walmart, Michaels, and Joann. I would recommend getting 4″ sticks, as those are a good length for cake pops. You can also sometimes find fun colored sticks, which would be cute too!
3. Candy melts or chocolate
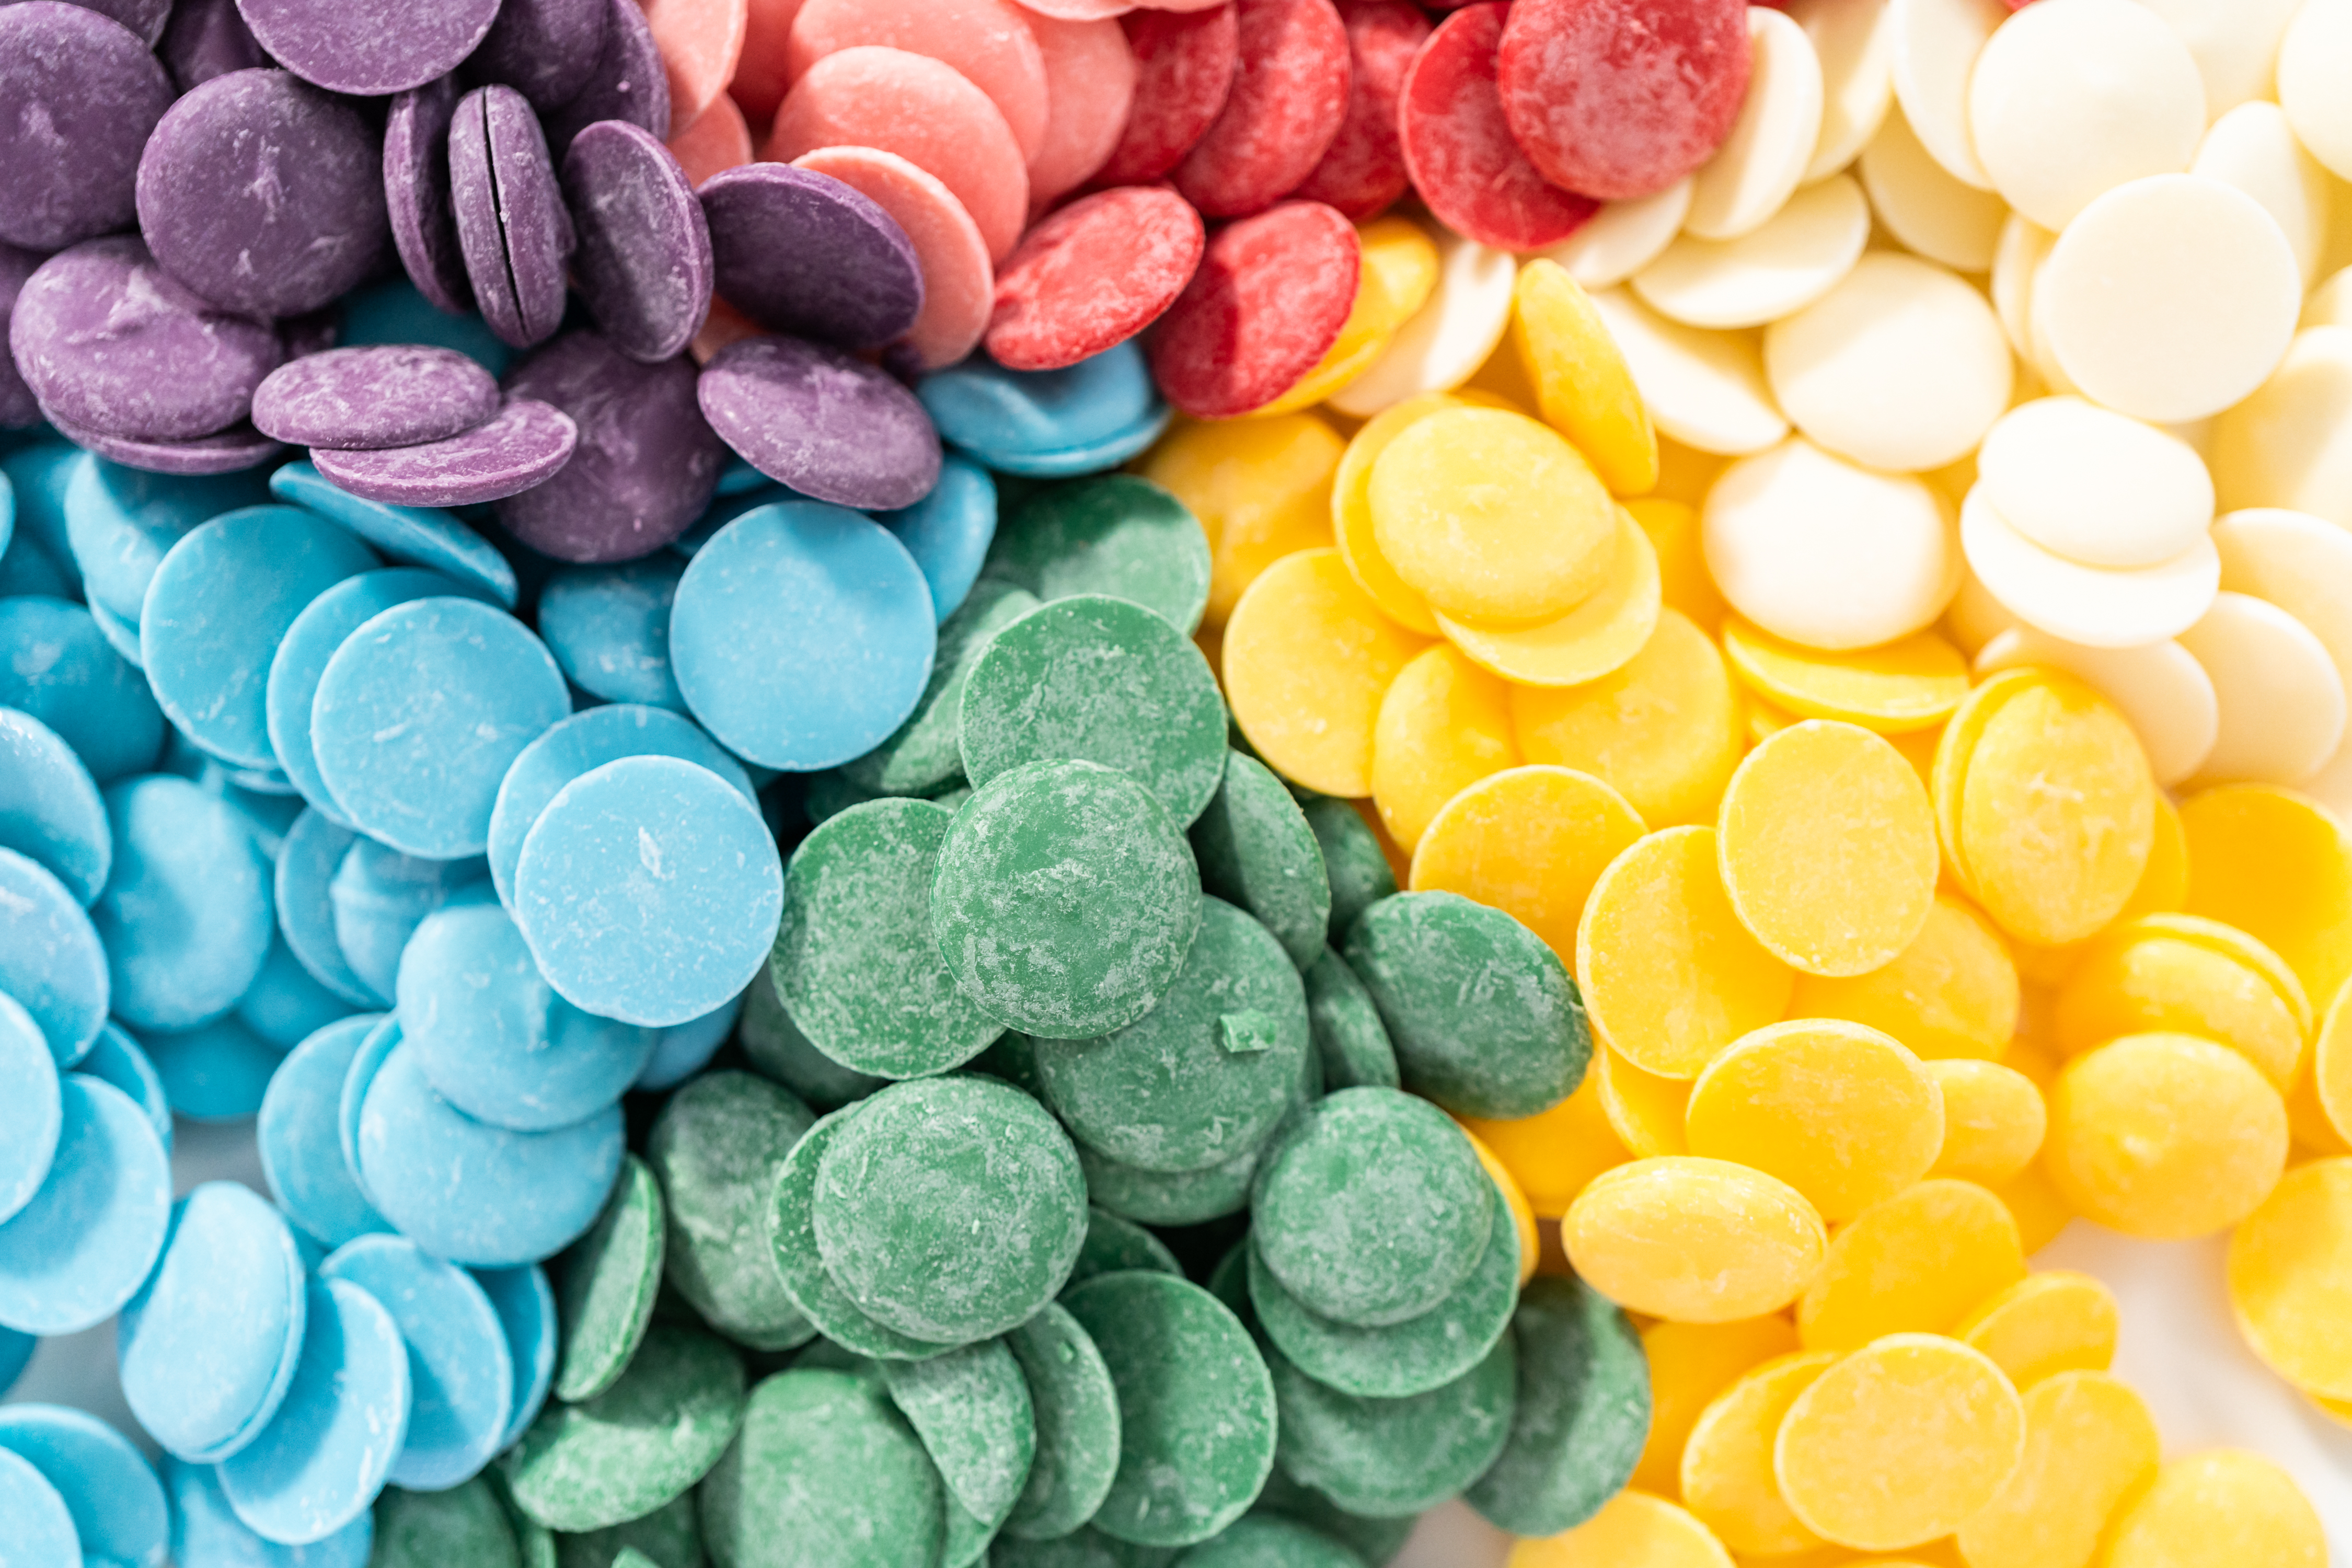
The key to perfectly coated cake pops that harden is to use candy melts, or chocolate specifically designed to be used as a coating. Do not use chocolate chips.
This bears repeating: Do. Not. Use. Chocolate. Chips.
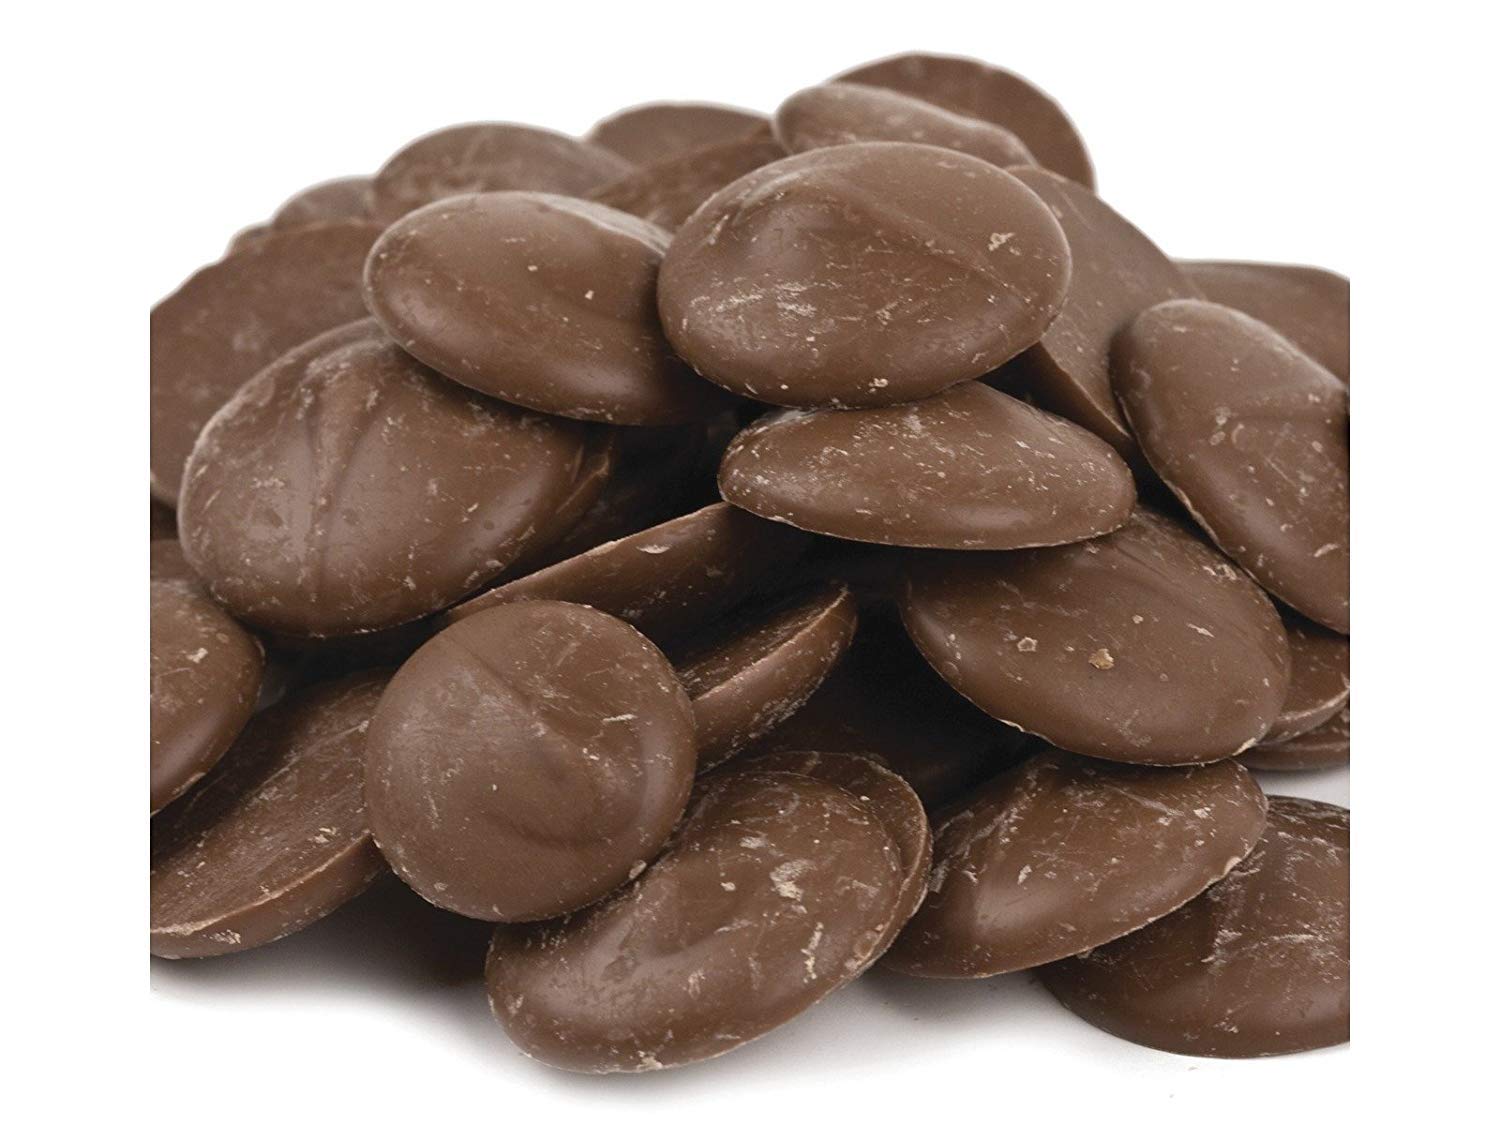
Because they are meant to retain their shape in cookies, chocolate chips have less cocoa butter than melting wafers, which means they are more resistant to heat. They don’t generally harden as well as melting wafers, and when they do harden, they can look streaky and not as pretty. Trust me on this one, use melting wafers. You will thank me later. The Merckens chocolate wafers below are my favorite, but if you are looking for something that you can get in the grocery store, Ghirardelli wafers are also delicious.
4. Sprinkles (optional)
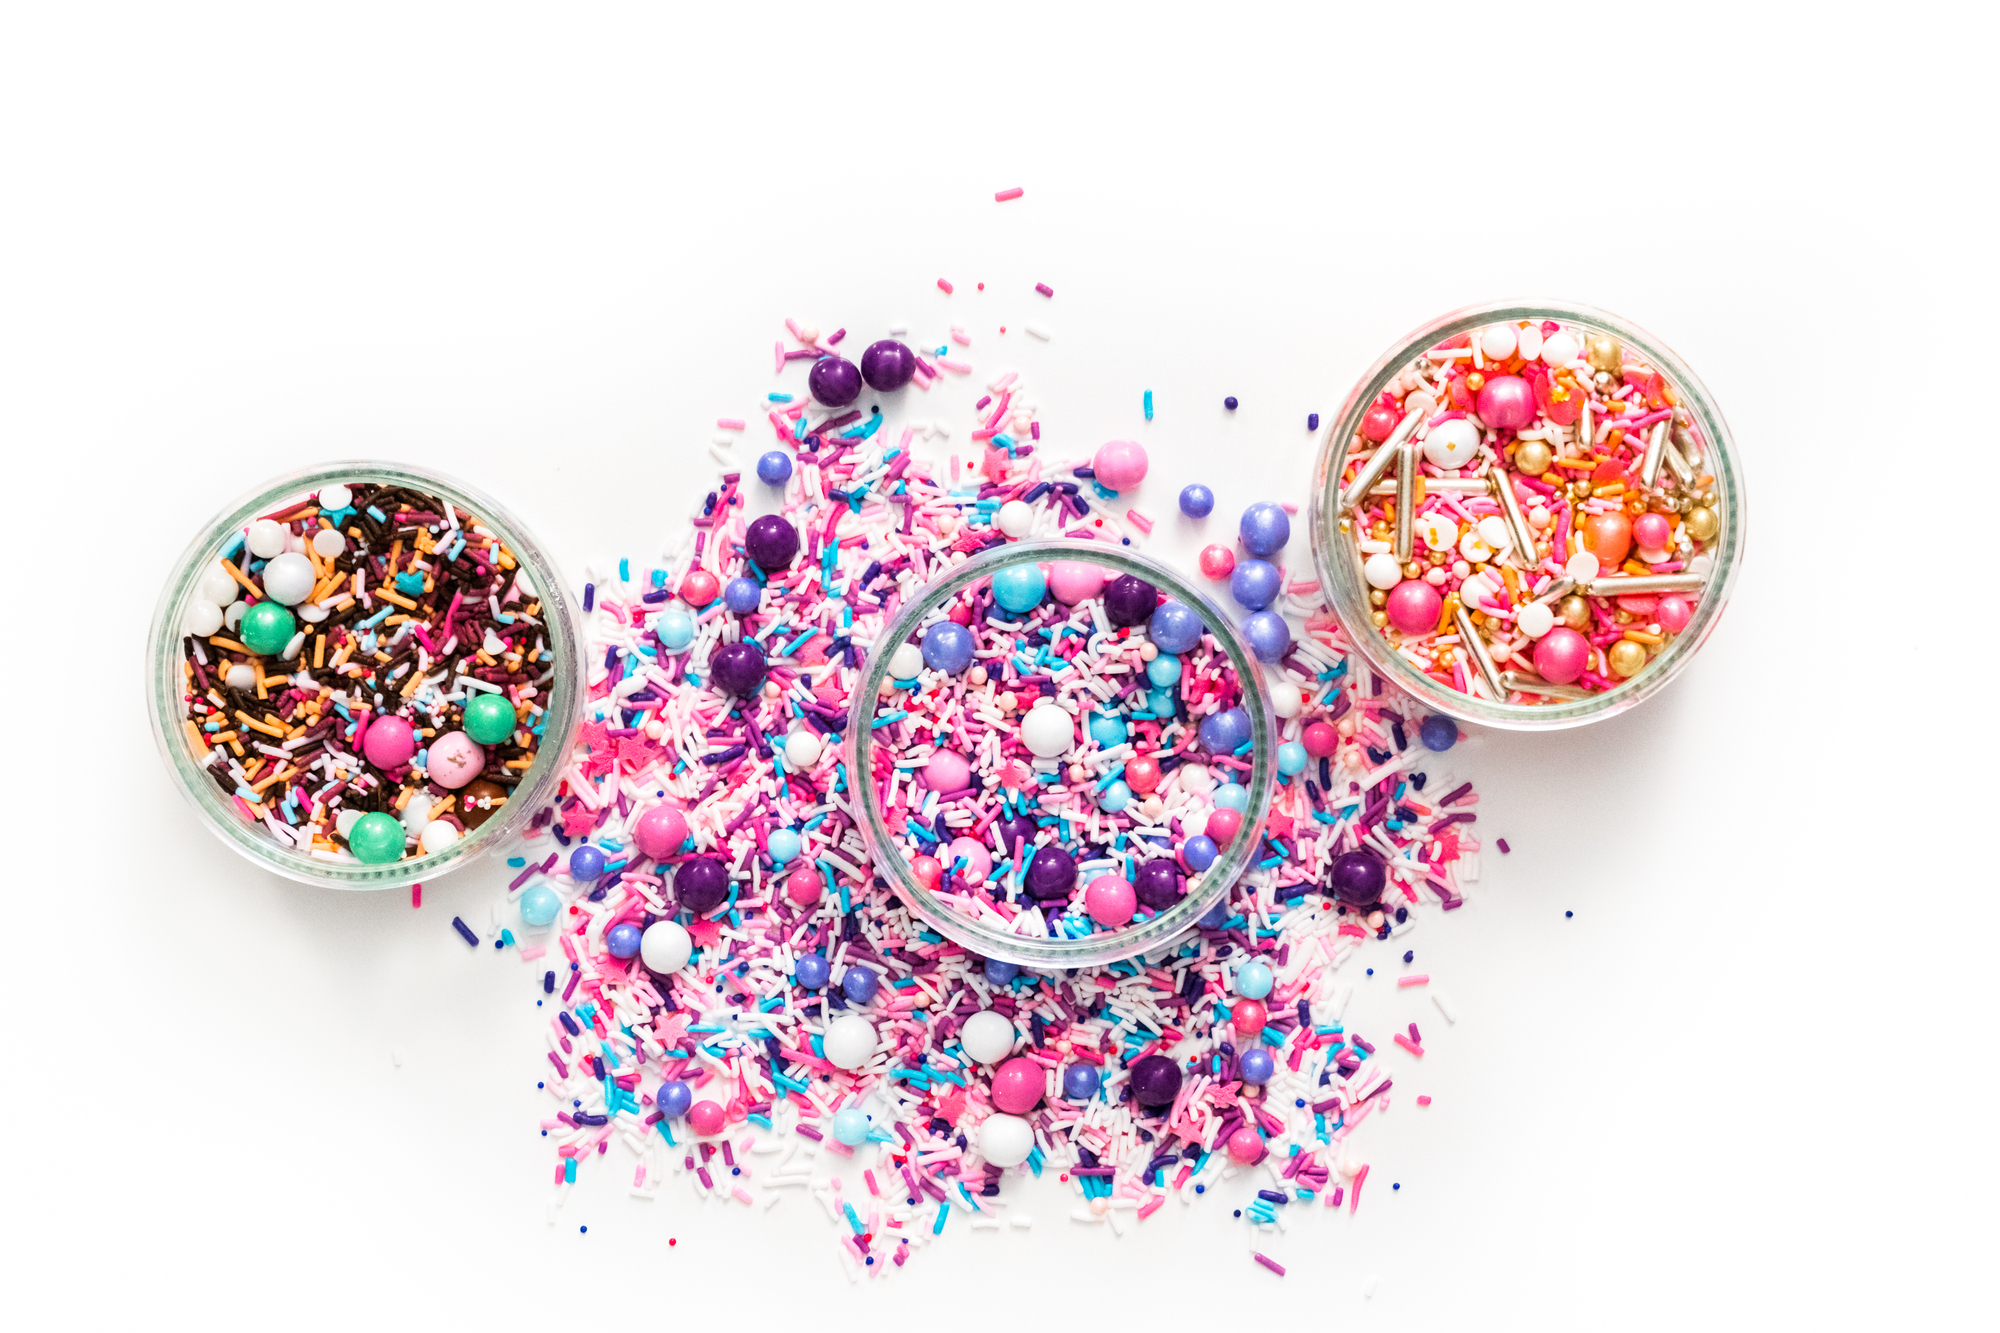
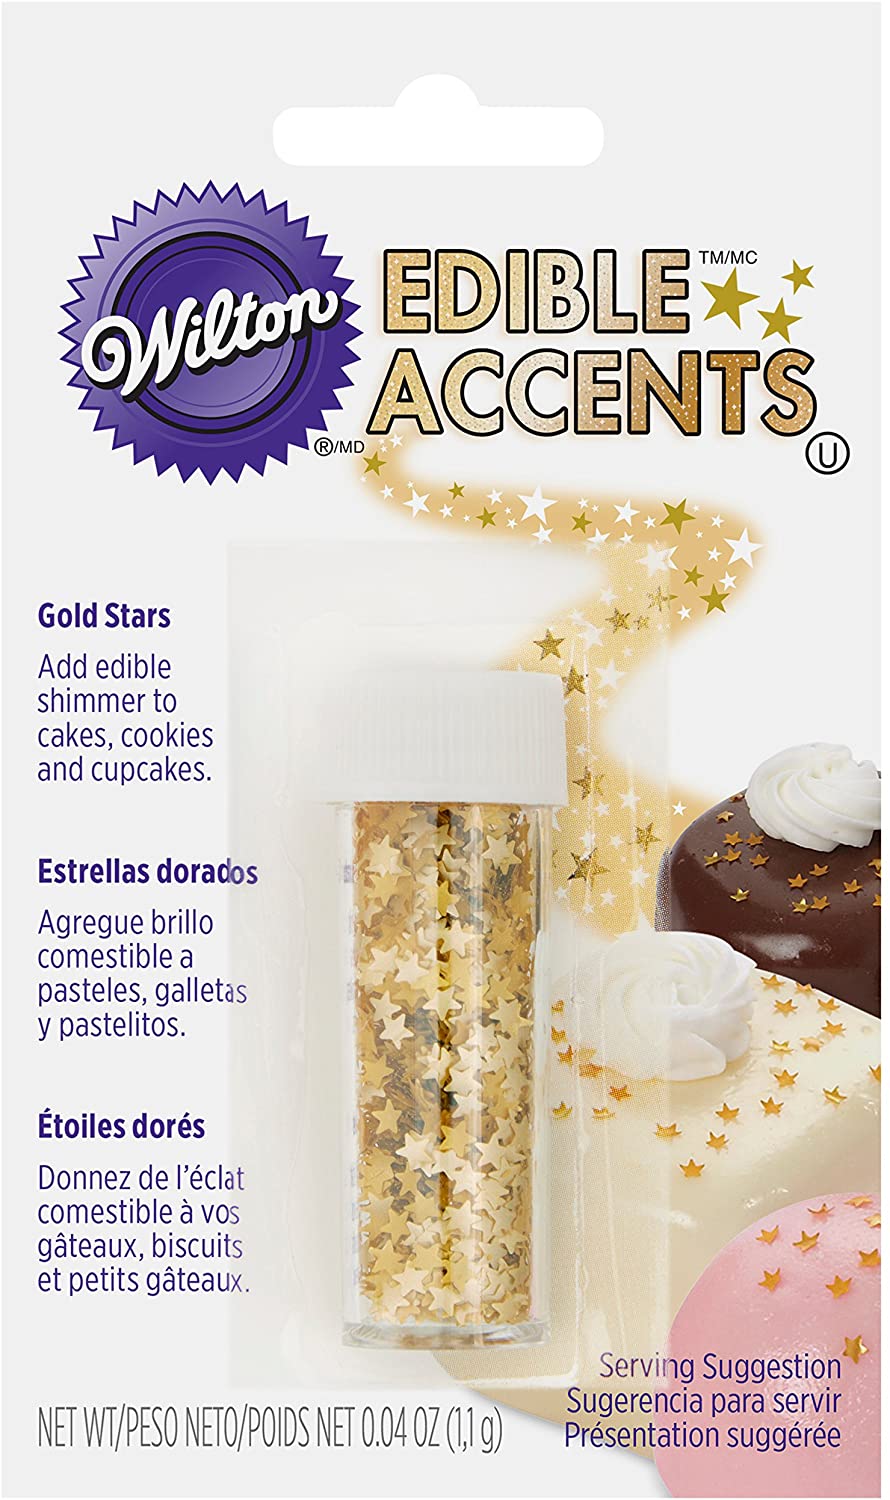
Obviously, sprinkles make everything better, but they are not absolutely necessary. You could always drizzle some additional candy melts over your completed cake pops, or just leave them plain. In this tutorial, I used the star sprinkles linked below.
How to Make Donut Hole Cake Pops
Start by melting your candy melts according to the package directions. To make it easier to dip and to make sure that your melted candy is deep enough, you will want to use a container that is taller than it is wide.
Most candy melts will melt beautifully, but occasionally you’ll get a bag that doesn’t, and it’s a little bit thick or clumpy. If that happens, just add a teaspoon of vegetable shortening (like Crisco, for example) at a time until you reach the desired consistency.
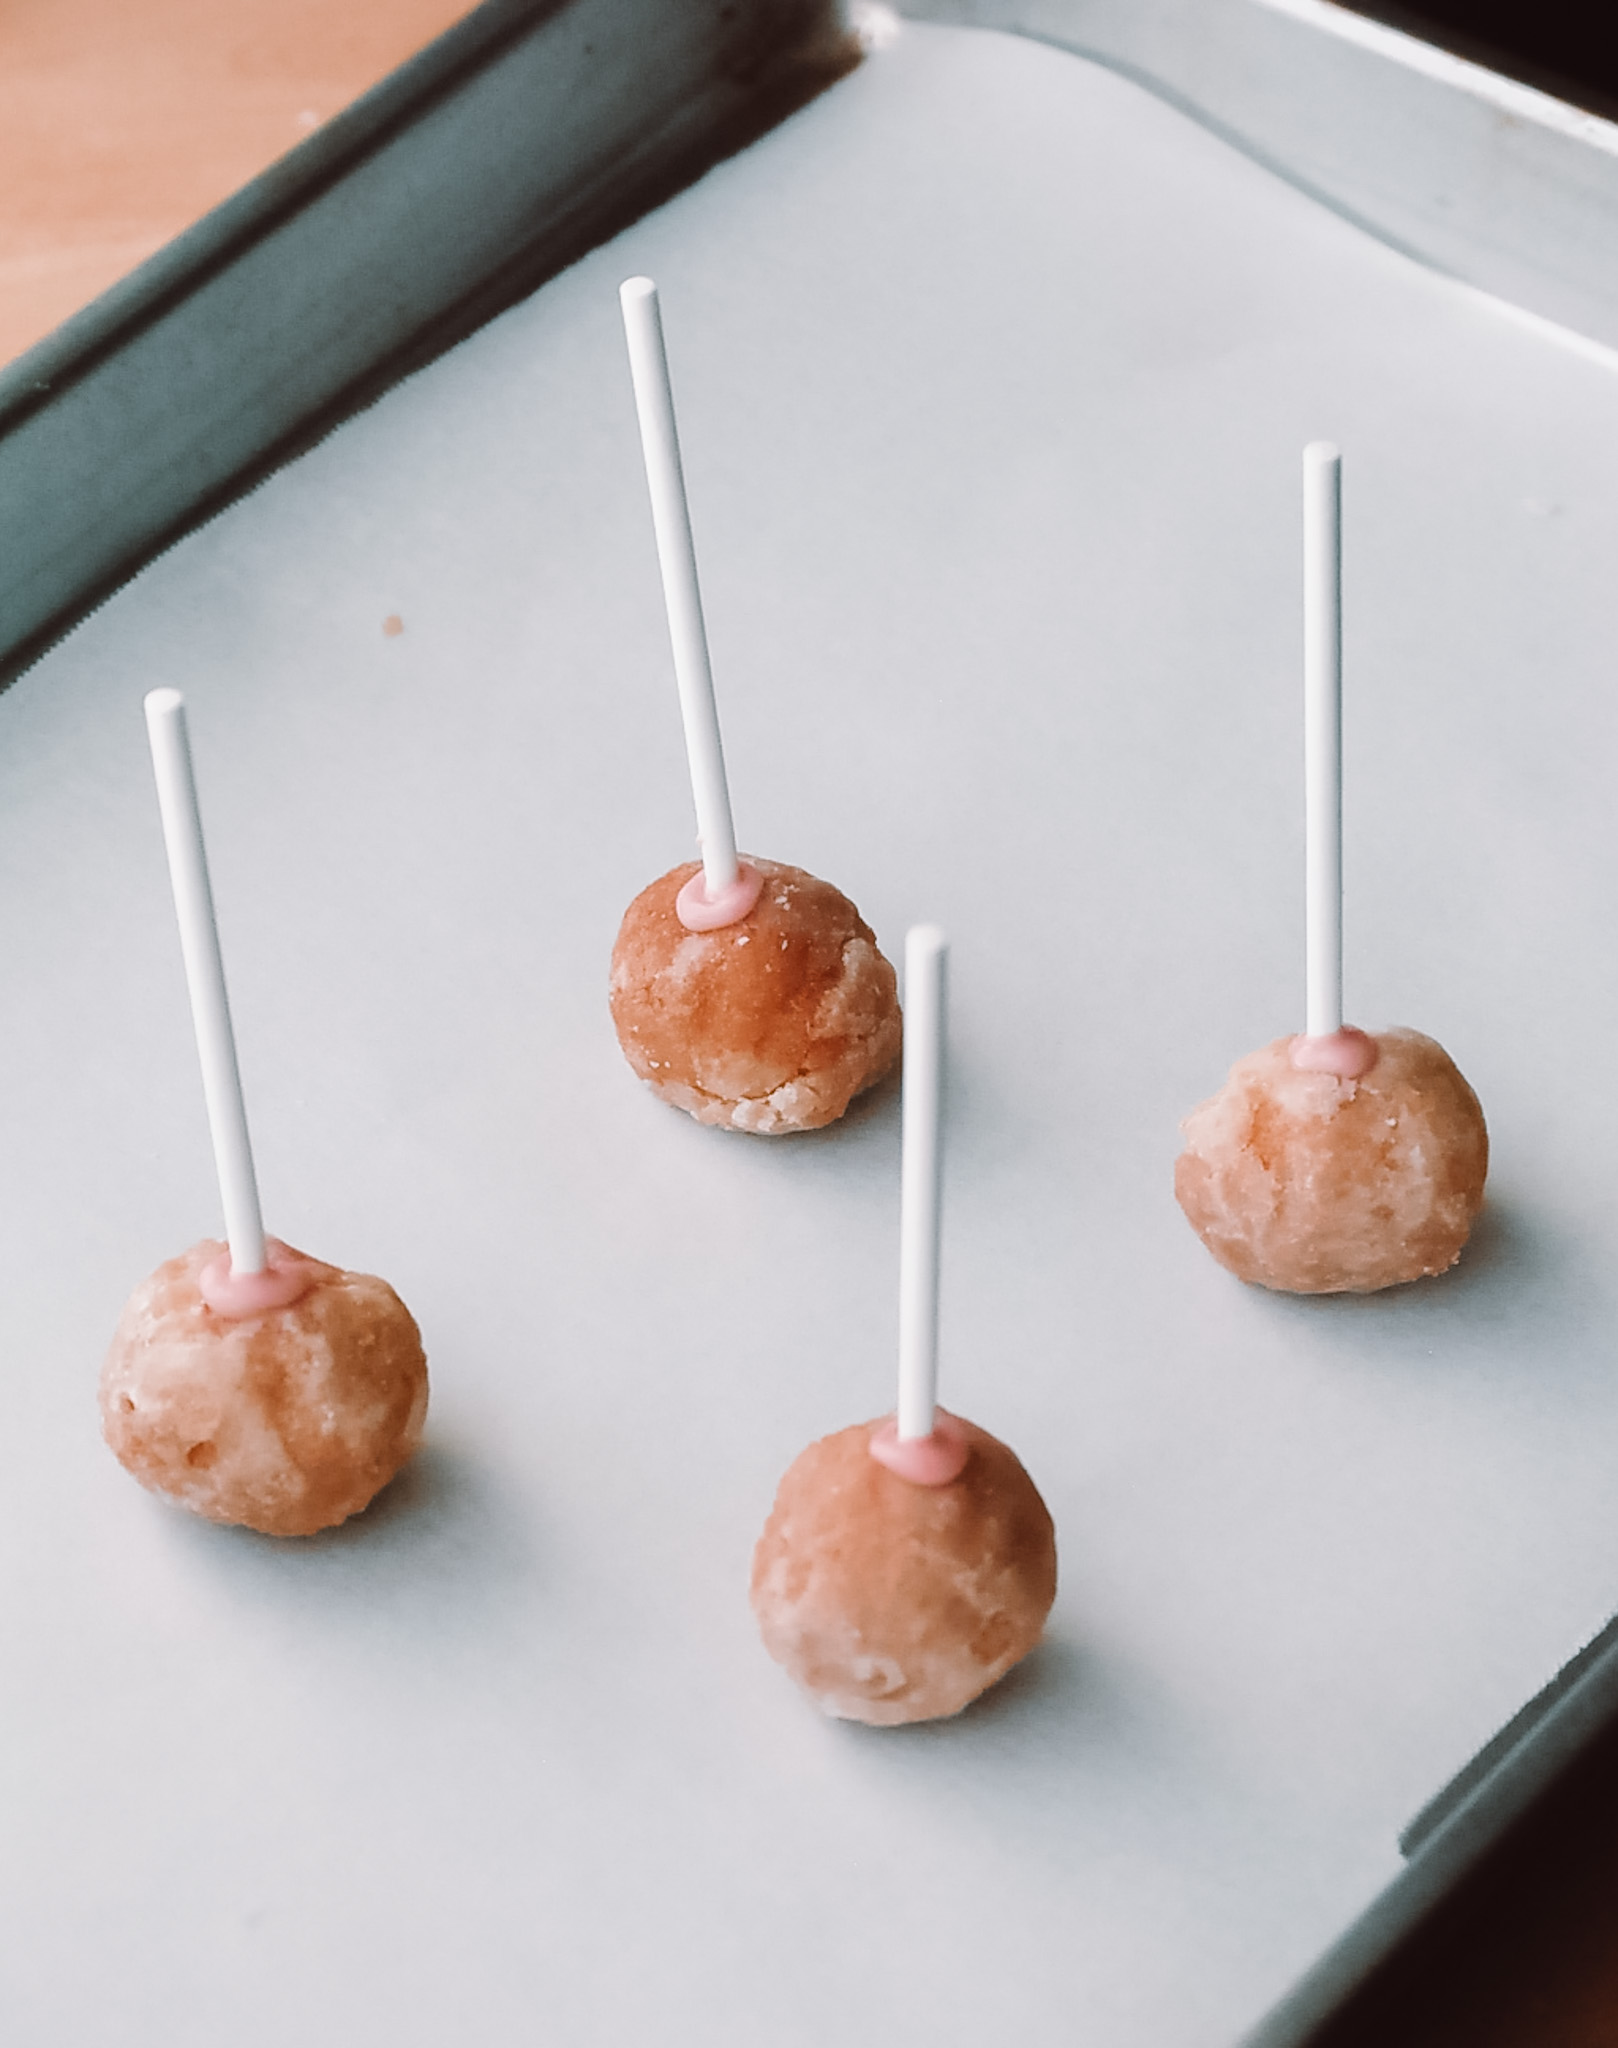
Then take your lollipop stick and dip one end into the candy melts. Immediately push the dipped end into the donut hole. Set on a baking sheet lined with parchment paper to harden. This will ensure that the stick won’t fall out when you dip the pops in the next step.
These will harden very quickly, so by the time you get to your last donut hole, the first ones will be ready to dip.
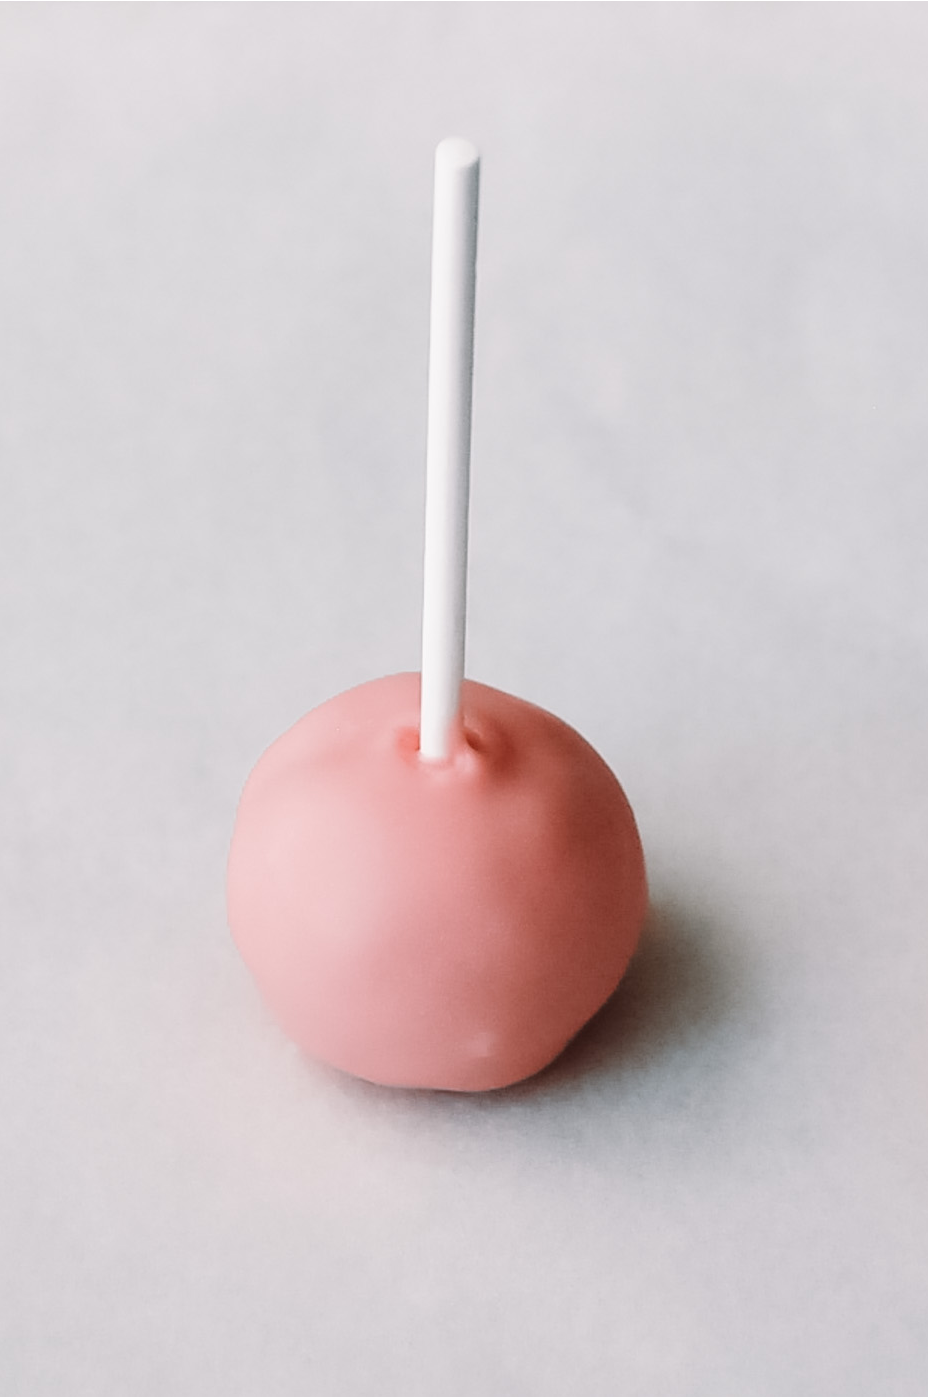
Before you begin dipping, you will need to decide what you want your final cake pops to look like. I personally like to set mine down with the stick facing up. I find it so much easier to do it this way, and it means that the tops don’t have to be perfect. (Which is ideal if you’re super lazy like me. And this way you can also display them in cute little mini cupcake liners like I did with mine.)
If this is the way you’re doing them, then just take one of your sticked-up (I realize this isn’t a phrase, but whatever) donut holes and dip it down into the melted candy melts, making sure you cover the donut hole completely. Then lift it out and let the excess drip off. You can also lightly drag the very bottom of the cake pop against the edge of your container to get the excess off. Then set it down on your parchment lined baking sheet to harden.
If you want to serve your cake pops with the stick facing down, like a lollipop, you will need to have something to hold the stick while the candy melts dry. You can use a block of styrofoam or an upside-down egg carton for this.
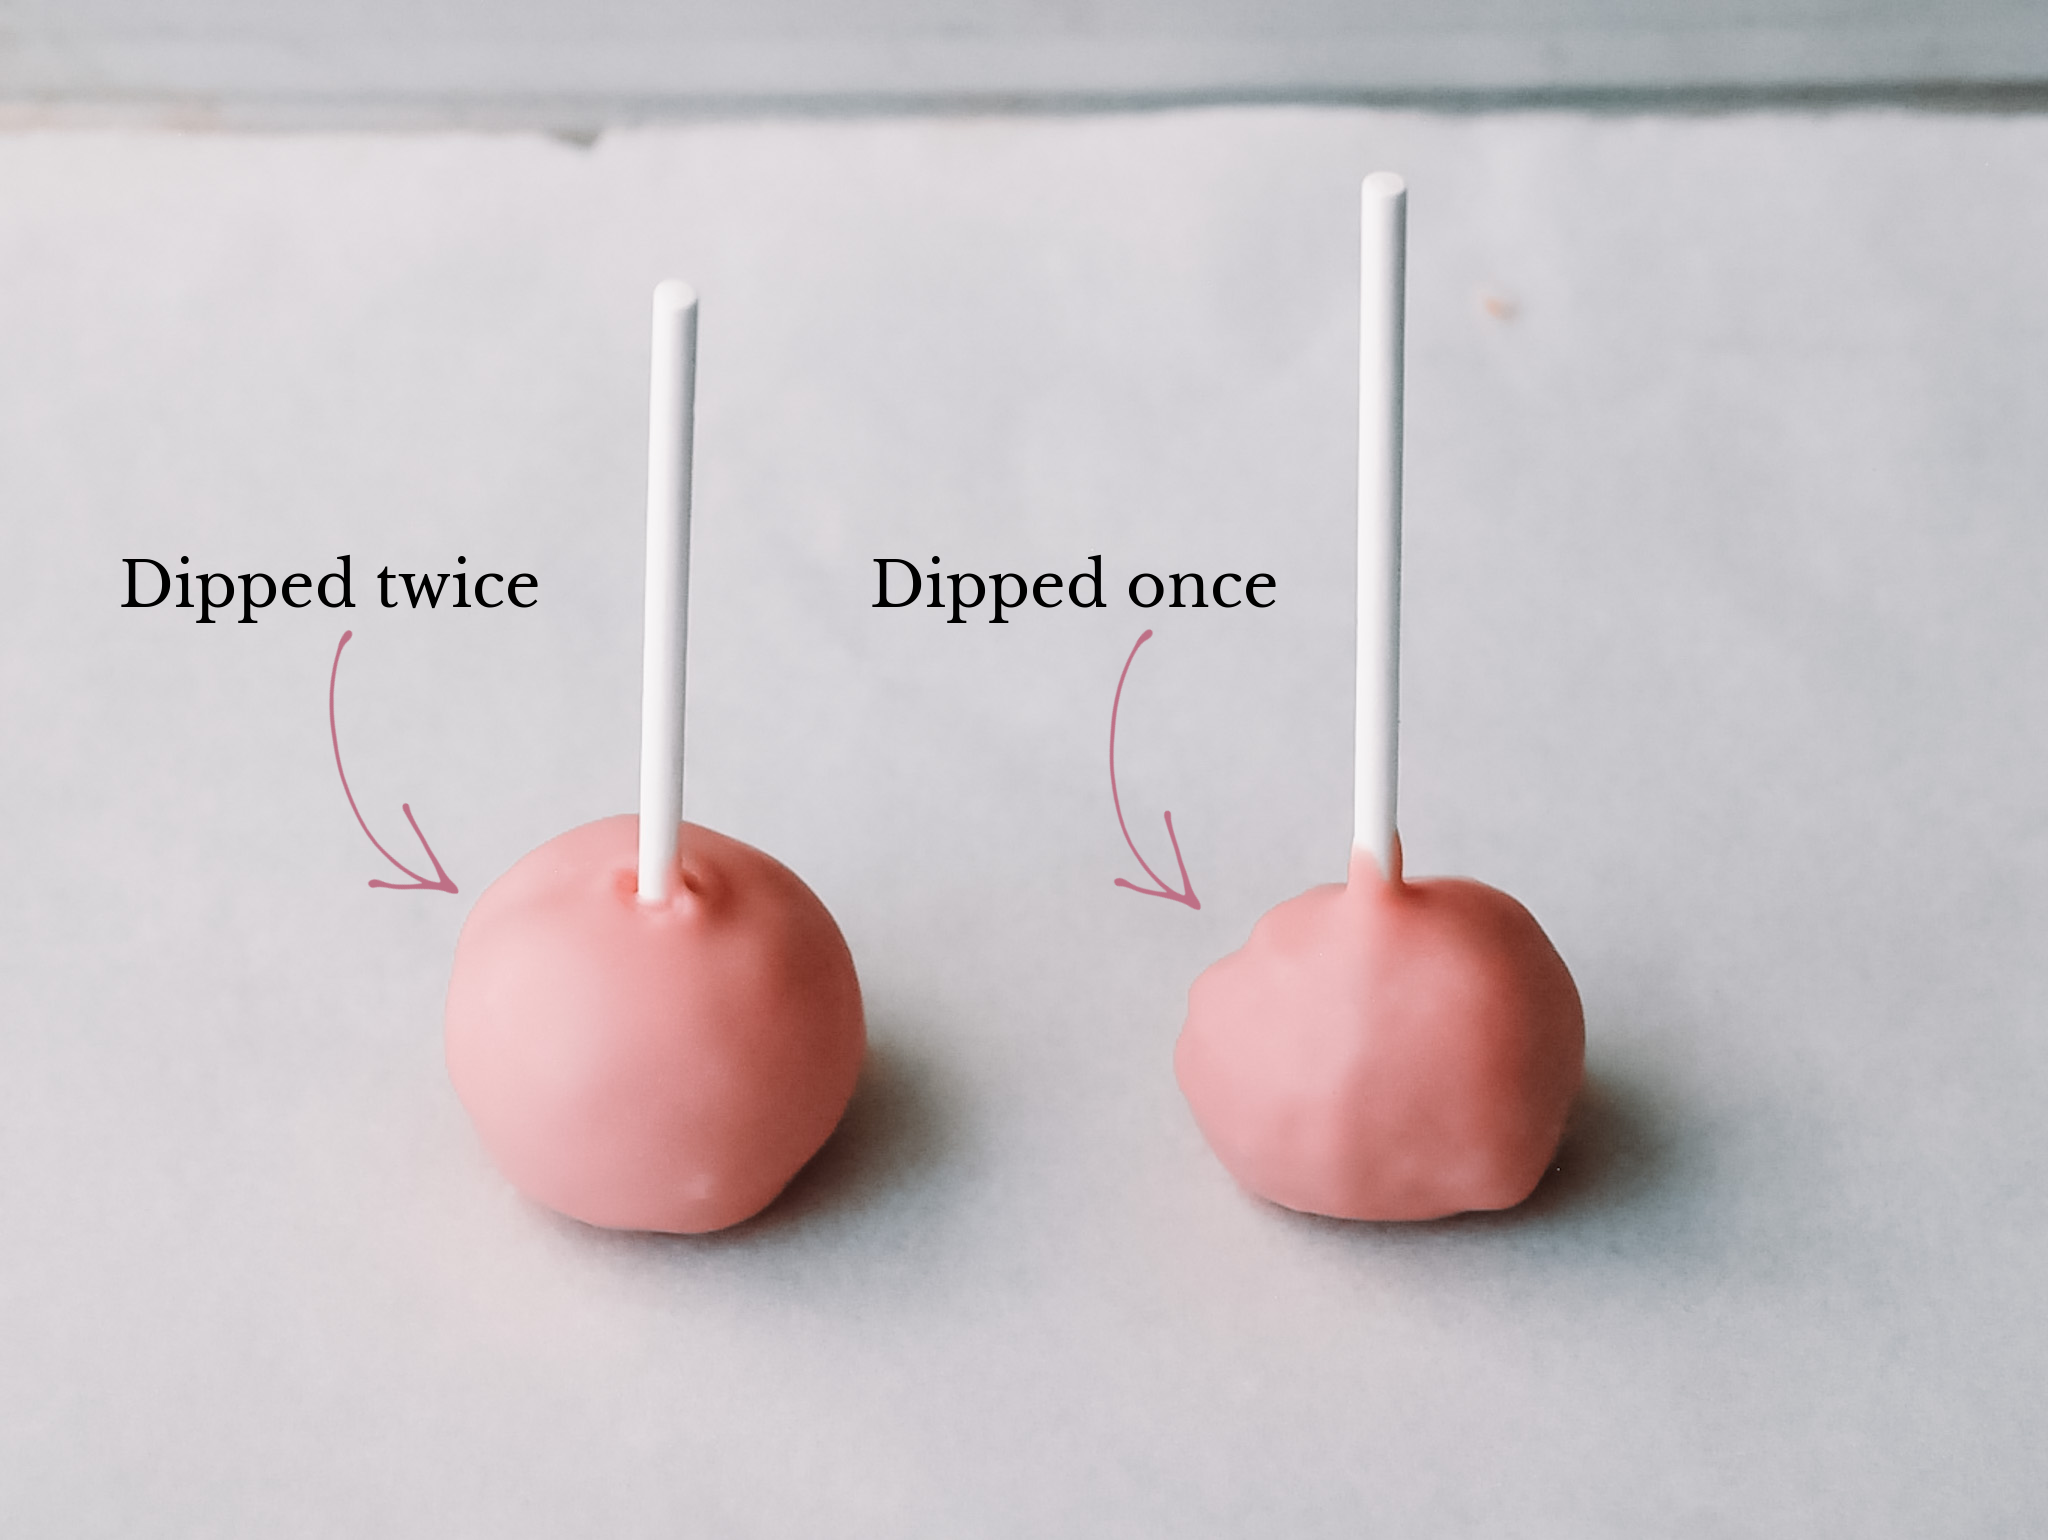
Now comes the important part: the second dip. If you look at the photo above, you can see that the pop on the left looks all nice and pretty and round, while the one on the right looks a little wonky. That’s because the left one has been dipped twice, while the right one was just dipped a single time. The second dip will help smooth out any funkiness caused by a not-perfectly-round donut hole.
As soon as you set down your double-dipped cake pop, add whatever sprinkles you’re using. By now you’ll have realized how quickly candy melts harden, so be sure to do this immediately, otherwise your sprinkles will just slide right off.
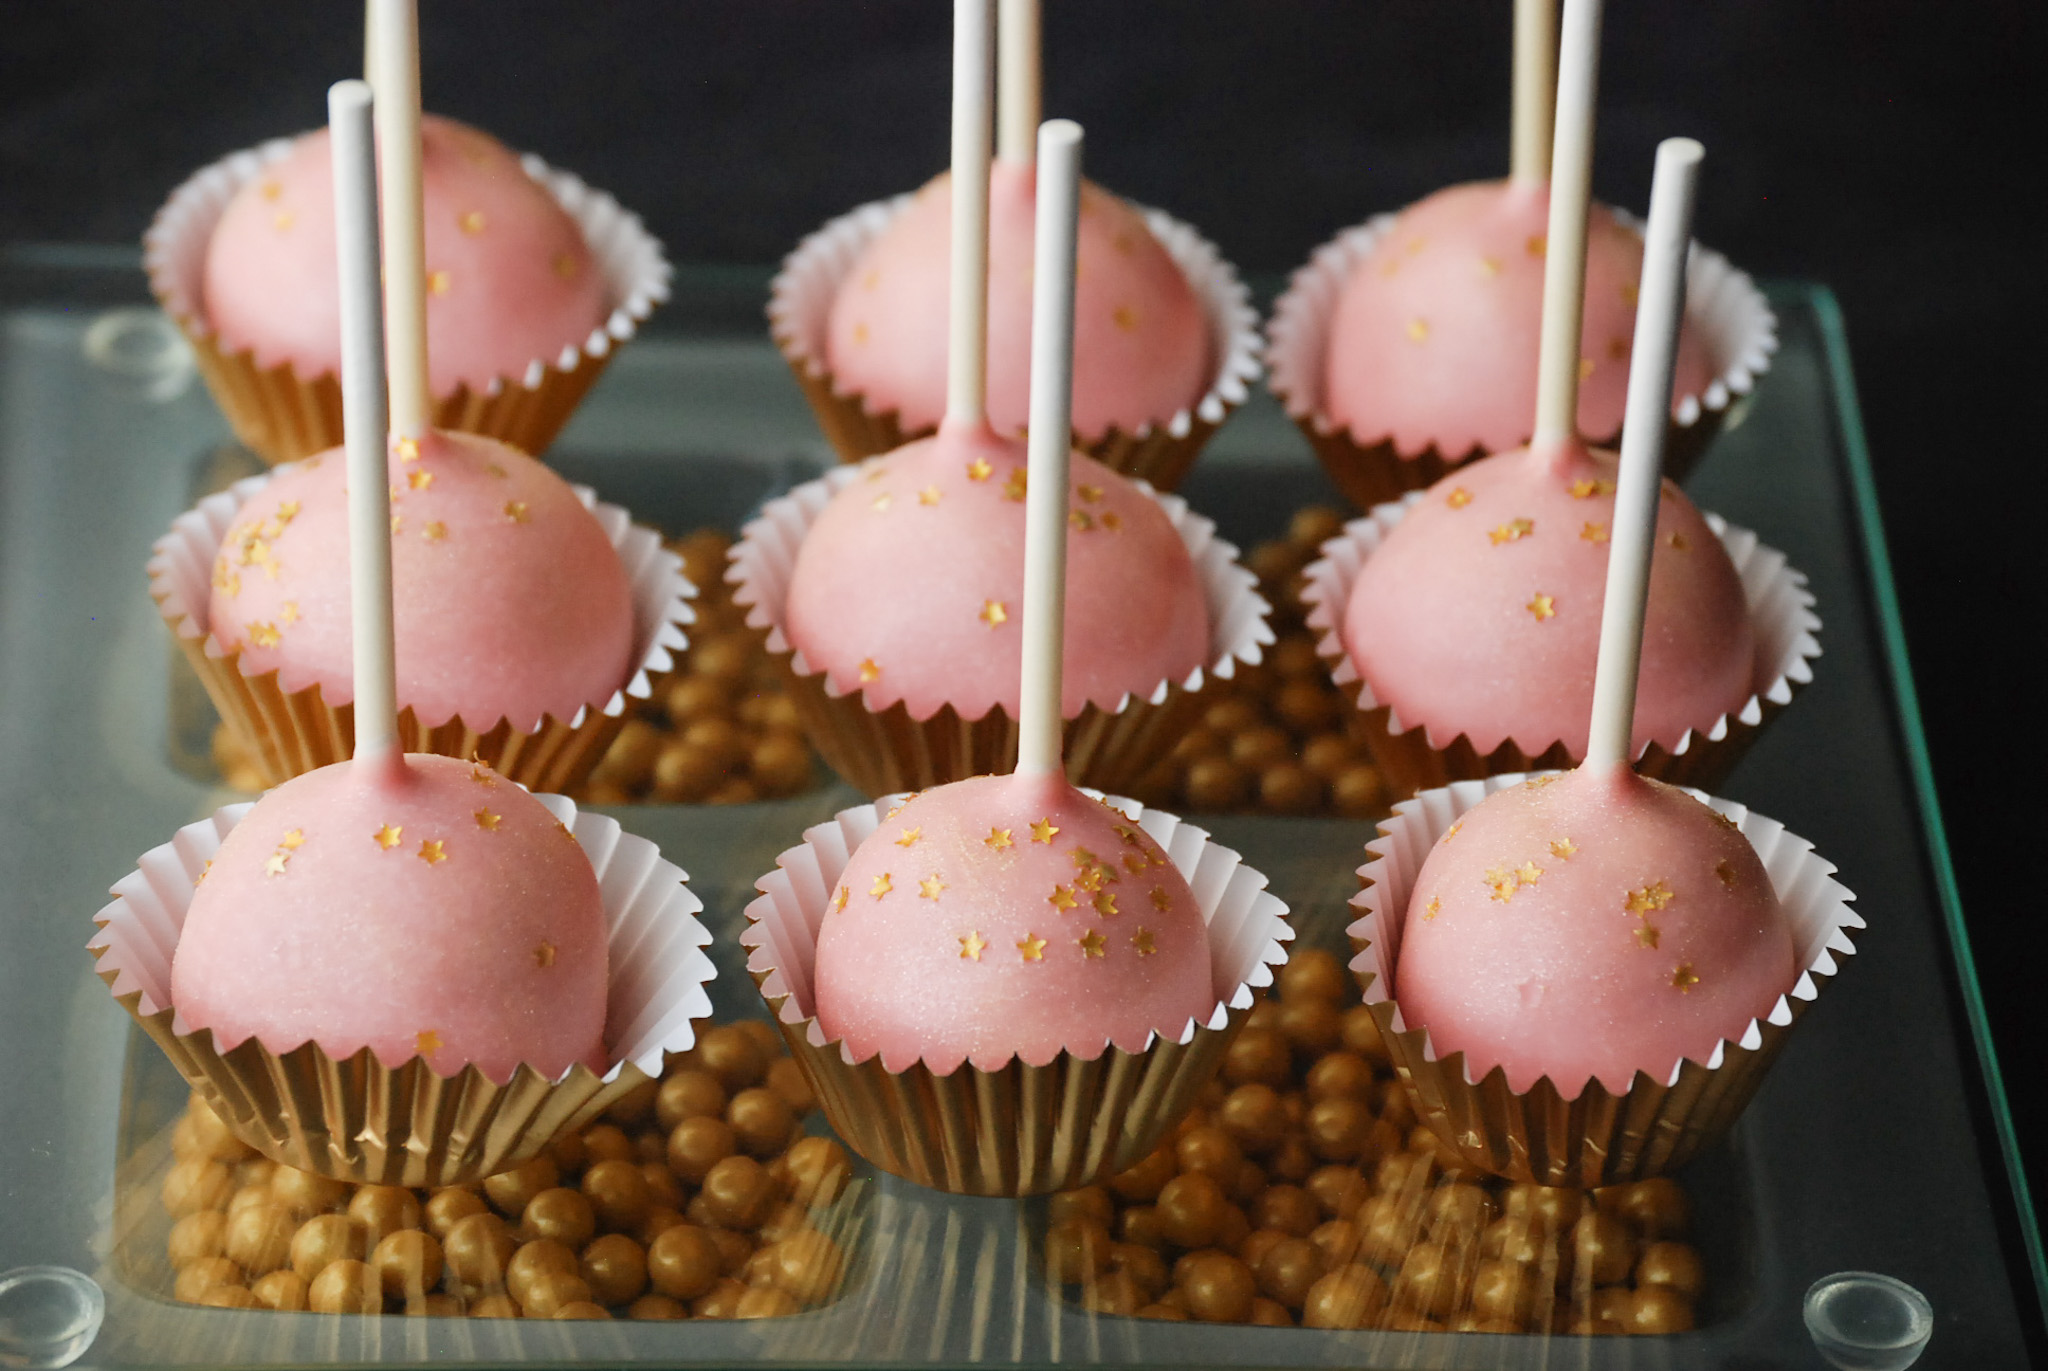
That’s it! You just made cake pops without turning on your oven or opening a can of frosting.
This post was all about how to make cake pops the easy way.
