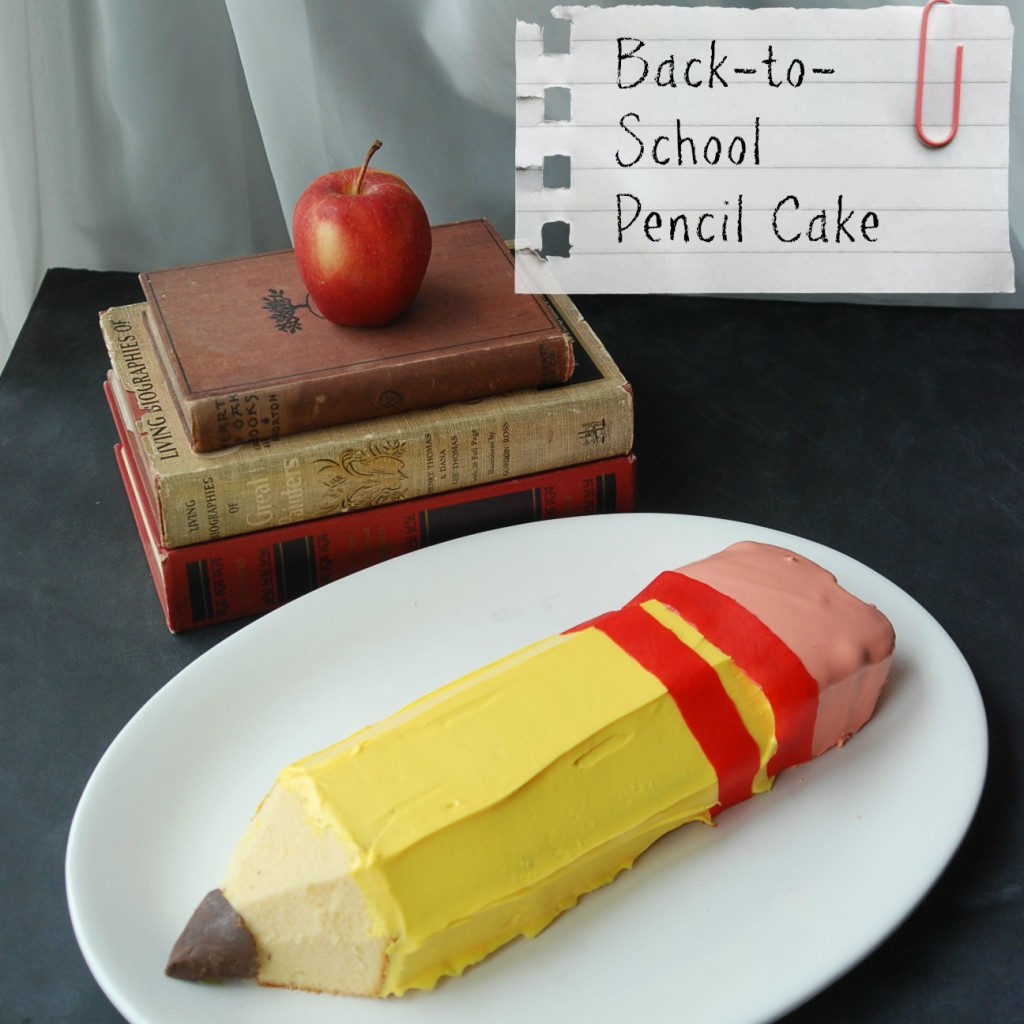
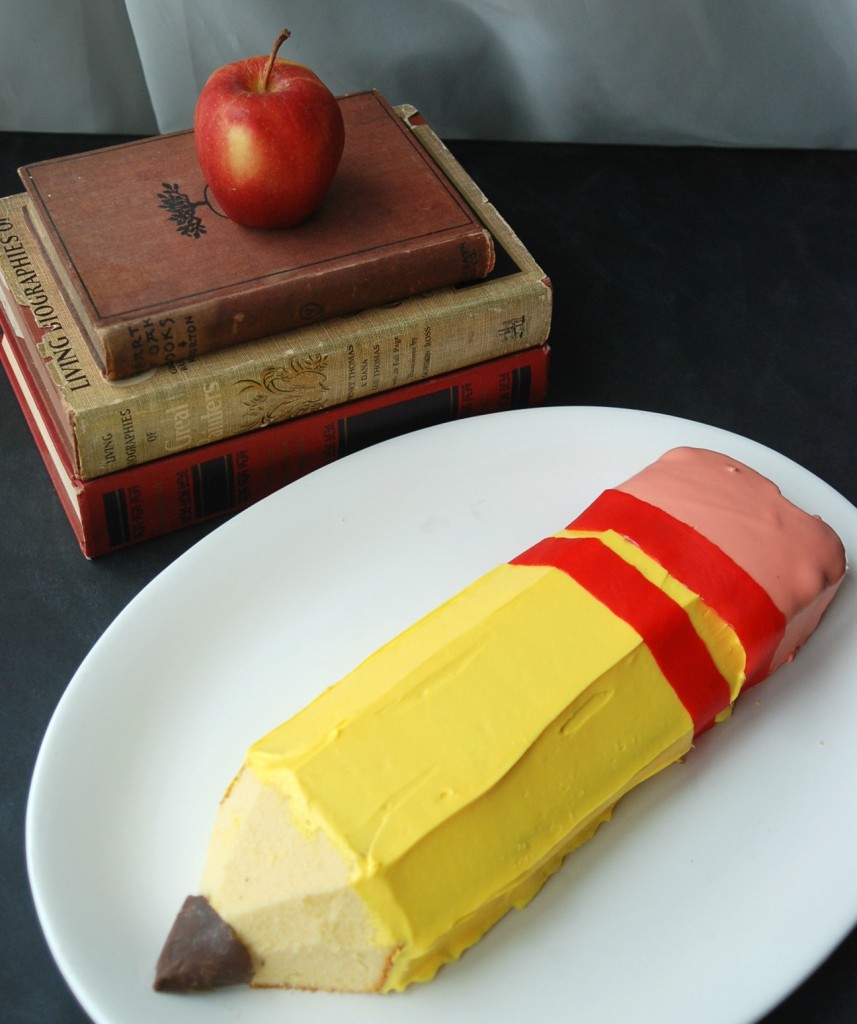
As I mentioned previously, school started this week. Not only that, but my little Con Man is now a Kindergartener. In addition to the special place setting he got to use, I also made him {and D, of course} a pencil cake.
 I made this for the first time a couple of years ago after I saw the instructions {I can’t even call it a recipe, really, because there’s no baking involved!} in Food Network Magazine.
It’s pretty much the easiest cake ever. Even if you have absolutely positively no baking or cake decorating skills whatsoever, I promise you, you can make this cake. The recipe says it takes an hour and 20 minutes, but it took me less than 45.
I followed the Food Network instructions {be sure to click the tab that says “Photos” to see step-by-step pictures}, but I have a few tips/suggestions for you to make the whole process even easier.
1. Make the pencil tip first and put it in the fridge/freezer while you do the rest. If you wait to do it until it tells you to in the instructions, you’ll have the rest of the cake done and will be waiting for the chocolate to harden.
2. When you’re making the eraser, I found it’s looks a lot better when you do two coats of frosting. Place the rack over a sheet of parchment paper, and pour your first coat over the eraser piece. {You may need to use a spoon to get it to completely cover the sides.} Let your first coat sit for a few minutes to set, and then scrape the excess frosting off the parchment and back into your measuring cup. Reheat in the microwave just for a few seconds, and pour on the 2nd coat.
3. I added one drop of red food coloring to the yellow frosting to make the color a bit more like actual pencils.
4. This cake is pretty much impossible to move once it’s done, so frost it on whatever platter you plan on serving it. To keep the plate clean, tuck 3-4 inch wide strips of parchment paper under it on all sides. Then, when you’re done icing the cake, slip them out. Voila, clean plate!
5. When frosting the cake, definitely use an offset spatula. If you don’t have one, get one. They’re really inexpensive, and you can find them pretty much anywhere these days. It make icing a cake about a bajillion times easier. {That’s a scientific fact. I did a poll.} Don’t worry about making the beveled edges of the pencil yet, just cover the whole cake with the yellow icing. Once it’s completely covered in frosting, hold your offset spatula at a slight angle, and follow the beveled edges all the way down the cake. This helps you get that beveled pencil look, and also smooths out the frosting.
6. I couldn’t find “green sour belt candies” {I don’t even know what the heck those are}, so I used Fruit by the Foot. And when you add the eraser, it’s not going to fit nicely up against the edge of the cake, because you trimmed the cake to create the beveled edges. Again, don’t panic: just cover up that seam with one of your strips of candy, and no one will know the difference.
7. Trimming the chocolate to make a pencil tip is pretty much impossible. If you run hot water over your knife {be sure to dry it before cutting the chocolate}, it helps a little. But don’t panic if it breaks — mine did, so I just flipped it over used that as the bottom. No biggy.
That’s it! I absolutely love projects that look like you spent all day in the kitchen but don’t even require you to turn on your oven!
{As always, click here to see where I link up and party!}
Disclosure of Material Connection: Some of the links in the post above may be affiliate links. Among others, we are a participant in the Amazon Services LLC Associates Program, an affiliate advertising program designed to provide a means for us to earn fees by linking to Amazon.com and affiliated sites. As an Amazon Associate I earn from qualifying purchases. This means if you click on the link and purchase the item, I will receive an affiliate commission. Regardless, I only recommend products or services I use personally and believe will add value to my readers. I am disclosing this in accordance with the Federal Trade Commission’s 16 CFR, Part 255: “Guides Concerning the Use of Endorsements and Testimonials in Advertising.”
what a great cake. Thanks for linking up to friday food frenzy this week.
Your pencil cake is so amazingly cute.
Your pencil cake is so cute! Thanks for the tips! I Food Network magazine has some fun food projects:)
Hi Jenn, this is just adorable. I, too, love recipes that are simple, yet look like you spent all day in the kitchen. I’m sure your son was just thrilled with it.
I’m just getting started in the blogging world…..one week old. Hope you’ll stop by and say Hi @ Melding Magic.
This is such a cute idea, I love it! Pinned, and thanks so much for sharing at my link party!
Too cute Jenn! My kids will love this!
This is adorable!!
That is cute.. and i like the red more than the green!
Cute cake! Prefect after school snack… Well, I guess you have to eat dinner first. lol
Navy Wifey Peters @ Submarine Sunday Link Party
How awesome is that, I bet he loved it ~ Lisa
How adorable!! Thank you for sharing at Sharing Saturday!
How cute is this!? I love it and can’t wait to make one! Thanks for sharing! 🙂
What a super cute cake. I will be featuring this tomorrow night at my Fall into Fall party that opens at 8pm EST. Please stop by and pick up an I’ve Been Featured button. Thanks.
Very Cute! Thanks so much for sharing at Tuesdays with a Twist.
Happy Tuesday! Come on over and share your latest posts.
http://back2basichealth.blogspot.com/2013/09/tuesdays-with-twist-23.html
What an adorable idea! This would be so fun for a back to school party or thank you for a teacher. Thanks for sharing this creative project!
I know this if off topic but I’m looking into starting my own weblog and was curious what all is
required to get setup? I’m assuming having a blog like yours would cost a pretty penny?
I’m not very internet savvy so I’m not 100% positive.
Any tips or advice would be greatly appreciated. Many thanks
If you desire to take much from this paragraph then you
have to apply such methods to your won blog.
Hi there to all, how is all, I think every one is getting more
from this web page, and your views are good designed for new people.
Someone necessariamente dare una mano sensibilmente
articoli Vorrei . Questo è il primo prima volta che ho frequentato
il suo pagina web e a questo punto ? I stupito con analisi che hai fatto per creare rendere questo reale
pubblicare incredibile . Excellent processo !
Usually I do not read post on blogs, but I wish to say that this write-up very compelled me to check out and do it!
Your writing taste has been surprised me. Thanks, quite great article.
Hey I know this is off topic but I was wondering if you knew of any widgets I could add to my blog that automatically tweet my
newest twitter updates. I’ve been looking for a plug-in like this for quite some time and was hoping maybe you would
have some experience with something like this.
Please let me know if you run into anything. I truly enjoy reading your blog and I
look forward to your new updates.