A week ago this past Sunday was my little Con Man’s birthday. Somehow, he managed to turn 7. Not sure how that’s possible. But whatever.
For some reason, his birthday sort of snuck up on me this year. I don’t know if it was because school had just started or because his party wasn’t until this past Saturday or what, but all of a sudden, last Friday I was like, “Gaahh! Connor’s birthday is in 2 days!” {Mom of the Year.}
So I frantically spent a couple of hours on Pinterest that night, trying to figure out what kind of cake I could make him. Or, more accurately, what type of cake I make by decorating a store-bought cake.
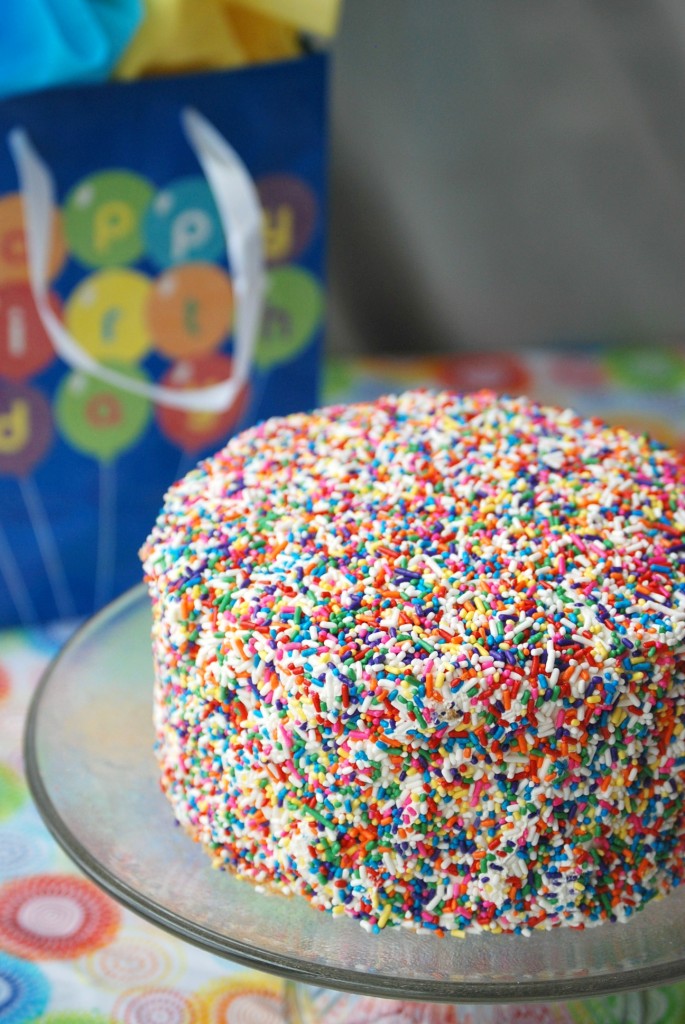
Because that is my secret trick: buying a plain cake from the grocery store and decorating it myself. I always get the Wegmans Ultimate White Cake, which is frosted but not decorated. And it’s amazing. I need to figure out how to make their buttercream frosting, because it’s crazy good. I started using this trick last year when I made Connor his Sprinkle Cake for his 6th birthday, and I plan on continuing to do this for the foreseeable future.
I love doing this, because it makes your whole cake-making process about 2 1/2 hours shorter. I can tell you that I would never have had the time to make the cake batter, bake it into two rounds, make the buttercream, even out the cakes, stack them, frost them and THEN decorate. Never gonna happen.
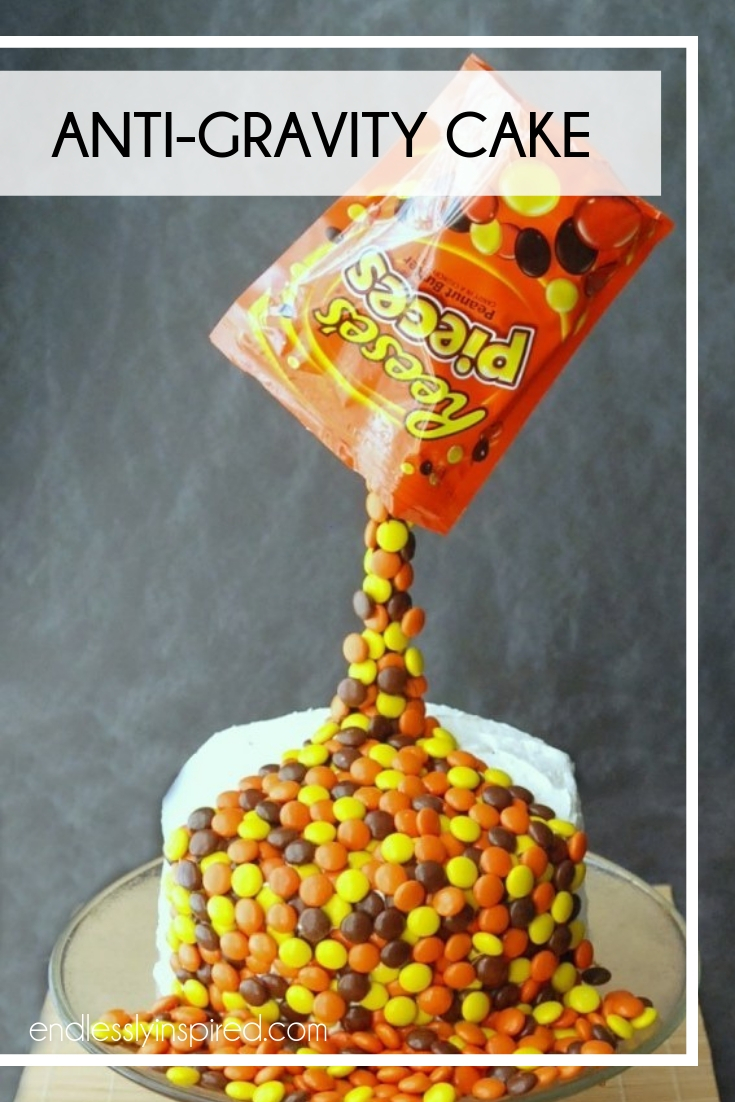
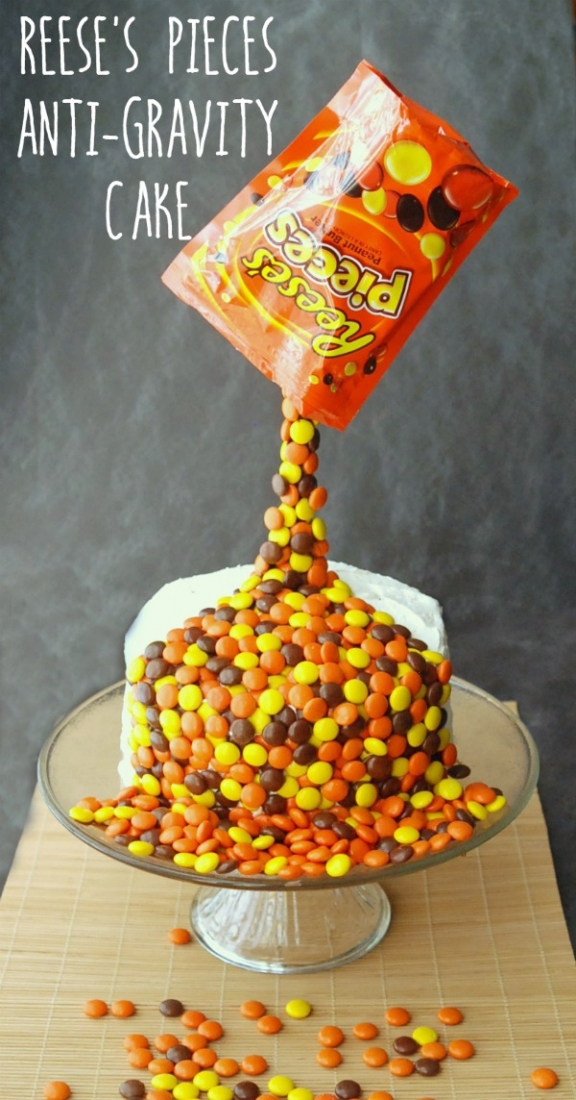
Anyhoo, there I was on Pinterest crazily searching birthday cake ideas, when I discovered something called an Anti-Gravity Cake. And *poof*! My mind was blown.
An anti-gravity cake is basically a cake that looks like it’s defying gravity in some way. Some of them look like there’s icing coming out of a floating piping bag, some look like a bowl of noodles, and some look like a bottle of syrup pouring out on a stack of pancakes. Then there are the ones that I love: the ones with the candy. {Naturally.}
Unfortunately, the majority of anti-gravity cake pins were just photos, not tutorials. I did find this great video, though, which is what I used as a guide to make my cake. And I would like to apologize for the quality of a couple of these pictures, as these were all taken during my camera’s final hours. Clearly it was on its way out.
Supplies:
1 frosted cake, either homemade or store bought
1/4″ dowel, around 12-18″ long, depending on the height of your cake
Approximately 1 lb of Reese’s Pieces, plus the bag they came in
8-10 large marshmallows
12 oz milk chocolate candy melts
Skewers or toothpicks
Cake stand
To get started, place your cake on a cake stand and stick your dowel down through the top of the cake. This is going to be the base of the “stream” of Reese’s Pieces.
Dump all of your Reese’s Pieces into a dish, and fill the bag with marshmallows. This will make it look full and help hold the bag in place on the dowel.
To stick the candies to the dowel, paint your melted candy melts onto the dowel with a skewer or toothpick. You want to use candy melts here, rather than chocolate chips or icing, because they will harden quickly and work just like glue.
You also only want to do a few at a time, because if you try to load too many on at once, they’ll just end up sliding down the dowel and making a mess.
While you’re waiting for the candies on the dowel to stick, you can start laying out your Reese’s Pieces on the cake. I did a v-shape on the top, and then two lines down the side of the cake to give me an idea of where I wanted the final “flow” to be.
Then just keep alternating between adding some more candies to the dowel and placing candies on the cake. Don’t worry if you can see some icing between the candies, you’re going to fix that later.
Once you have your dowel covered almost all the way up, place your marshmallow-filled bag on top. If your bag is a zip-top like mine, zip it most of the way closed to keep the marshmallows in place. If not, use a bit of glue to seal part of the opening closed.
Now it’s time to go back and start covering up all the spots where you see icing. I found that for me, the easiest way to do this was to put some of the melted candy melts into a piping bag {I actually used a zip-top bag and snipped a tiny corner off} and pipe little dots of chocolate on the spots I wanted to cover up, and then I stuck a candy on top. I also used this method to make the “stream” at the bottom of the dowel a little bit wider.
Once you have everything covered, pour some more Reese’s Pieces on the cake stand, and you’re done!
I think this is one of my very favorite things I’ve ever made. The boys went nuts over it. And while it definitely took a while {mostly because I’m freakish about making sure every single piece of frosting was covered up}, it was actually pretty easy to make.
I am going to try mini versions with cupcakes next!
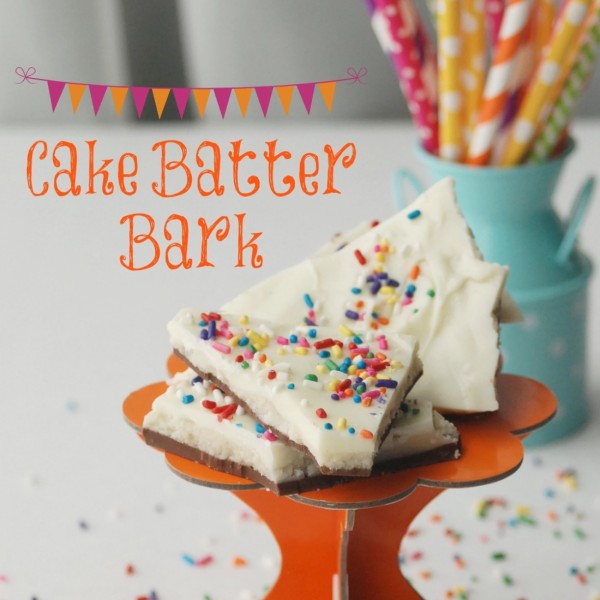
Don’t miss these other birthday treats!
Disclosure of Material Connection: Some of the links in the post above may be affiliate links. Among others, we are a participant in the Amazon Services LLC Associates Program, an affiliate advertising program designed to provide a means for us to earn fees by linking to Amazon.com and affiliated sites. As an Amazon Associate I earn from qualifying purchases. This means if you click on the link and purchase the item, I will receive an affiliate commission. Regardless, I only recommend products or services I use personally and believe will add value to my readers. I am disclosing this in accordance with the Federal Trade Commission’s 16 CFR, Part 255: “Guides Concerning the Use of Endorsements and Testimonials in Advertising.”




That is so super cool! I can’t wait to try it out!!!
Thanks, Jessica! It was so much fun, and way easier than it looks!
Super cute! I love it! Oh man, how i want Reece s! I’d love for you to stop by my blog and add this to the Retro Repin post. The gang & I will repin it! If your interested anyway. I hope your having a great Wednesday!
so fun!! I love it. thanks for sharing how to make it… will keep this one in mind for sure!!
This is the coolest thing ever! I love Reece’s Pieces 🙂 Happy birthday to your little one!
Thank you very much for your instructions! Very much appreciated 🙂
I am gearing up to make my cake this week…well attempt to, at least, so I will let you know how I go LOL
I had never heard of Reece’s?? – They must not sell them here in Australia…so I am going to use raspberry m&ms, so hopefully that will look good 🙂
Thanks, Leona! I’d love to see a picture of your completed cake! Reese’s Pieces are kind of like M&Ms, just with peanut butter inside instead of chocolate. I’ve never heard of raspberry M&Ms, those sound amazing!!
Hi jenn,
I like your blog about anti gravity cake. I was searching and I couldn’t find exactly what I am looking for (tutorial). Your blog show pretty much a bout how to make it, made me so happy.
Btw, I have plan to make this for my husband b’day coming up on Wednesday. I want give him surprise before he go to office.
I have some question about this technique
1. how did you do to make the dowel stand up in the middle of the cake?
2. Did you put more chocolate melting to stick the candy till fill it up?
Thank you
Hi Sari! I’m glad you like the tutorial! The dowel will stand up on its own, just push it down through the cake. Yes, I used chocolate to stick the candy to the dowel. I’d love to see your completed cake!
I made this for my 20 year old son. There is no age limit to loving Reese’s Pieces!
It turned out great. I cheated and bought a pre-made cake from my local baker also.
Thanks so much for the idea and directions!! I have been making “special unique” cakes for my 3 boys since they were babies and I am running out of ideas!! 🙂
Thanks Beverly! I’d love to see a picture of your completed cake!
Wonderful ! I’ll do it this week end for my husband’s birthday
Hope mine will be beautiful like yours
Hi! I was looking at my blog traffic and saw that you linked up to one of my posts. Thanks so much!
I love your Reese Pieces cake. You were so generous in posting the how-to. Great pics.
Love this cake! I’m doing some testing with sticks and using frosting vs chocolate. I messed up and bought chips…..can you tell me a brand of candy melts? I’m not sure I know what these are! My hubby and son are going to try to recreate this cake for the father/son cake making contest for my son’s Cub Scout Banquet! Thanks so much for the tutorial!
Thanks, Heather!! I usually use Wilton candy melts that I get at Michael’s. http://www.wilton.com/store/site/product.cfm?sku=pg_candymelts
I have never seen this idea before! Great idea for teen birthday cakes!
I have to make this cake with Skittles for my son’s birthday party on Thursday. I’m equally thanking and cursing you, Jenn.
What a great cake and thanks for the tutorial. My dowel toppled over twice nearly ruining the cake. Not sure if this was because my cake was fresh (1 hour post baking) or because of something else. I even piped melted chocolate into the hole made by the dowel. I think personally the marshmallows were too heavy so next time I might fill the empty bag with scrunched up plastic wrap instead. Thanks again for the great tutorial!
Great cakes!
KI LINDO!!! ´PERFEITO!!!!!
OBRIGADO POR ESSA MARAVILHA DE BOLO!!!
AMEI DE PAIXÃO ..
My frosting kept melting 🙁 I had to keep putting it in the freezer
If you are interested in topic: earn cash online singapore address book – you should read about
Bucksflooder first