Welcome to the 31 Days of Halloween, Day #4! If you missed any of the previous days, click here!
I am so excited to have my friend Emily from The Crafty Carlson here today sharing a super cute sparkly skull tutorial. I just love the way this turned out!


Hello! I’m Emily from The Crafty Carlson and I am so excited to be here for Endlessly Inspired’s 31 Days of Halloween! I’m the wife to the best man I know, mama to the sweetest little baby boy, and mama to the funniest and cutest little fur baby! I love DIY, crafts, and home decor and focus mainly on those hobbies over on my blog. Thanks for stopping by! And I hope you enjoy this tutorial.

I’m going to be sharing a really fun and easy Halloween decor project with you today! This is so quick to put together and turns out so cute! The photos don’t even do this guy justice… Here’s how to make this Sparkly Skull Halloween Decor!
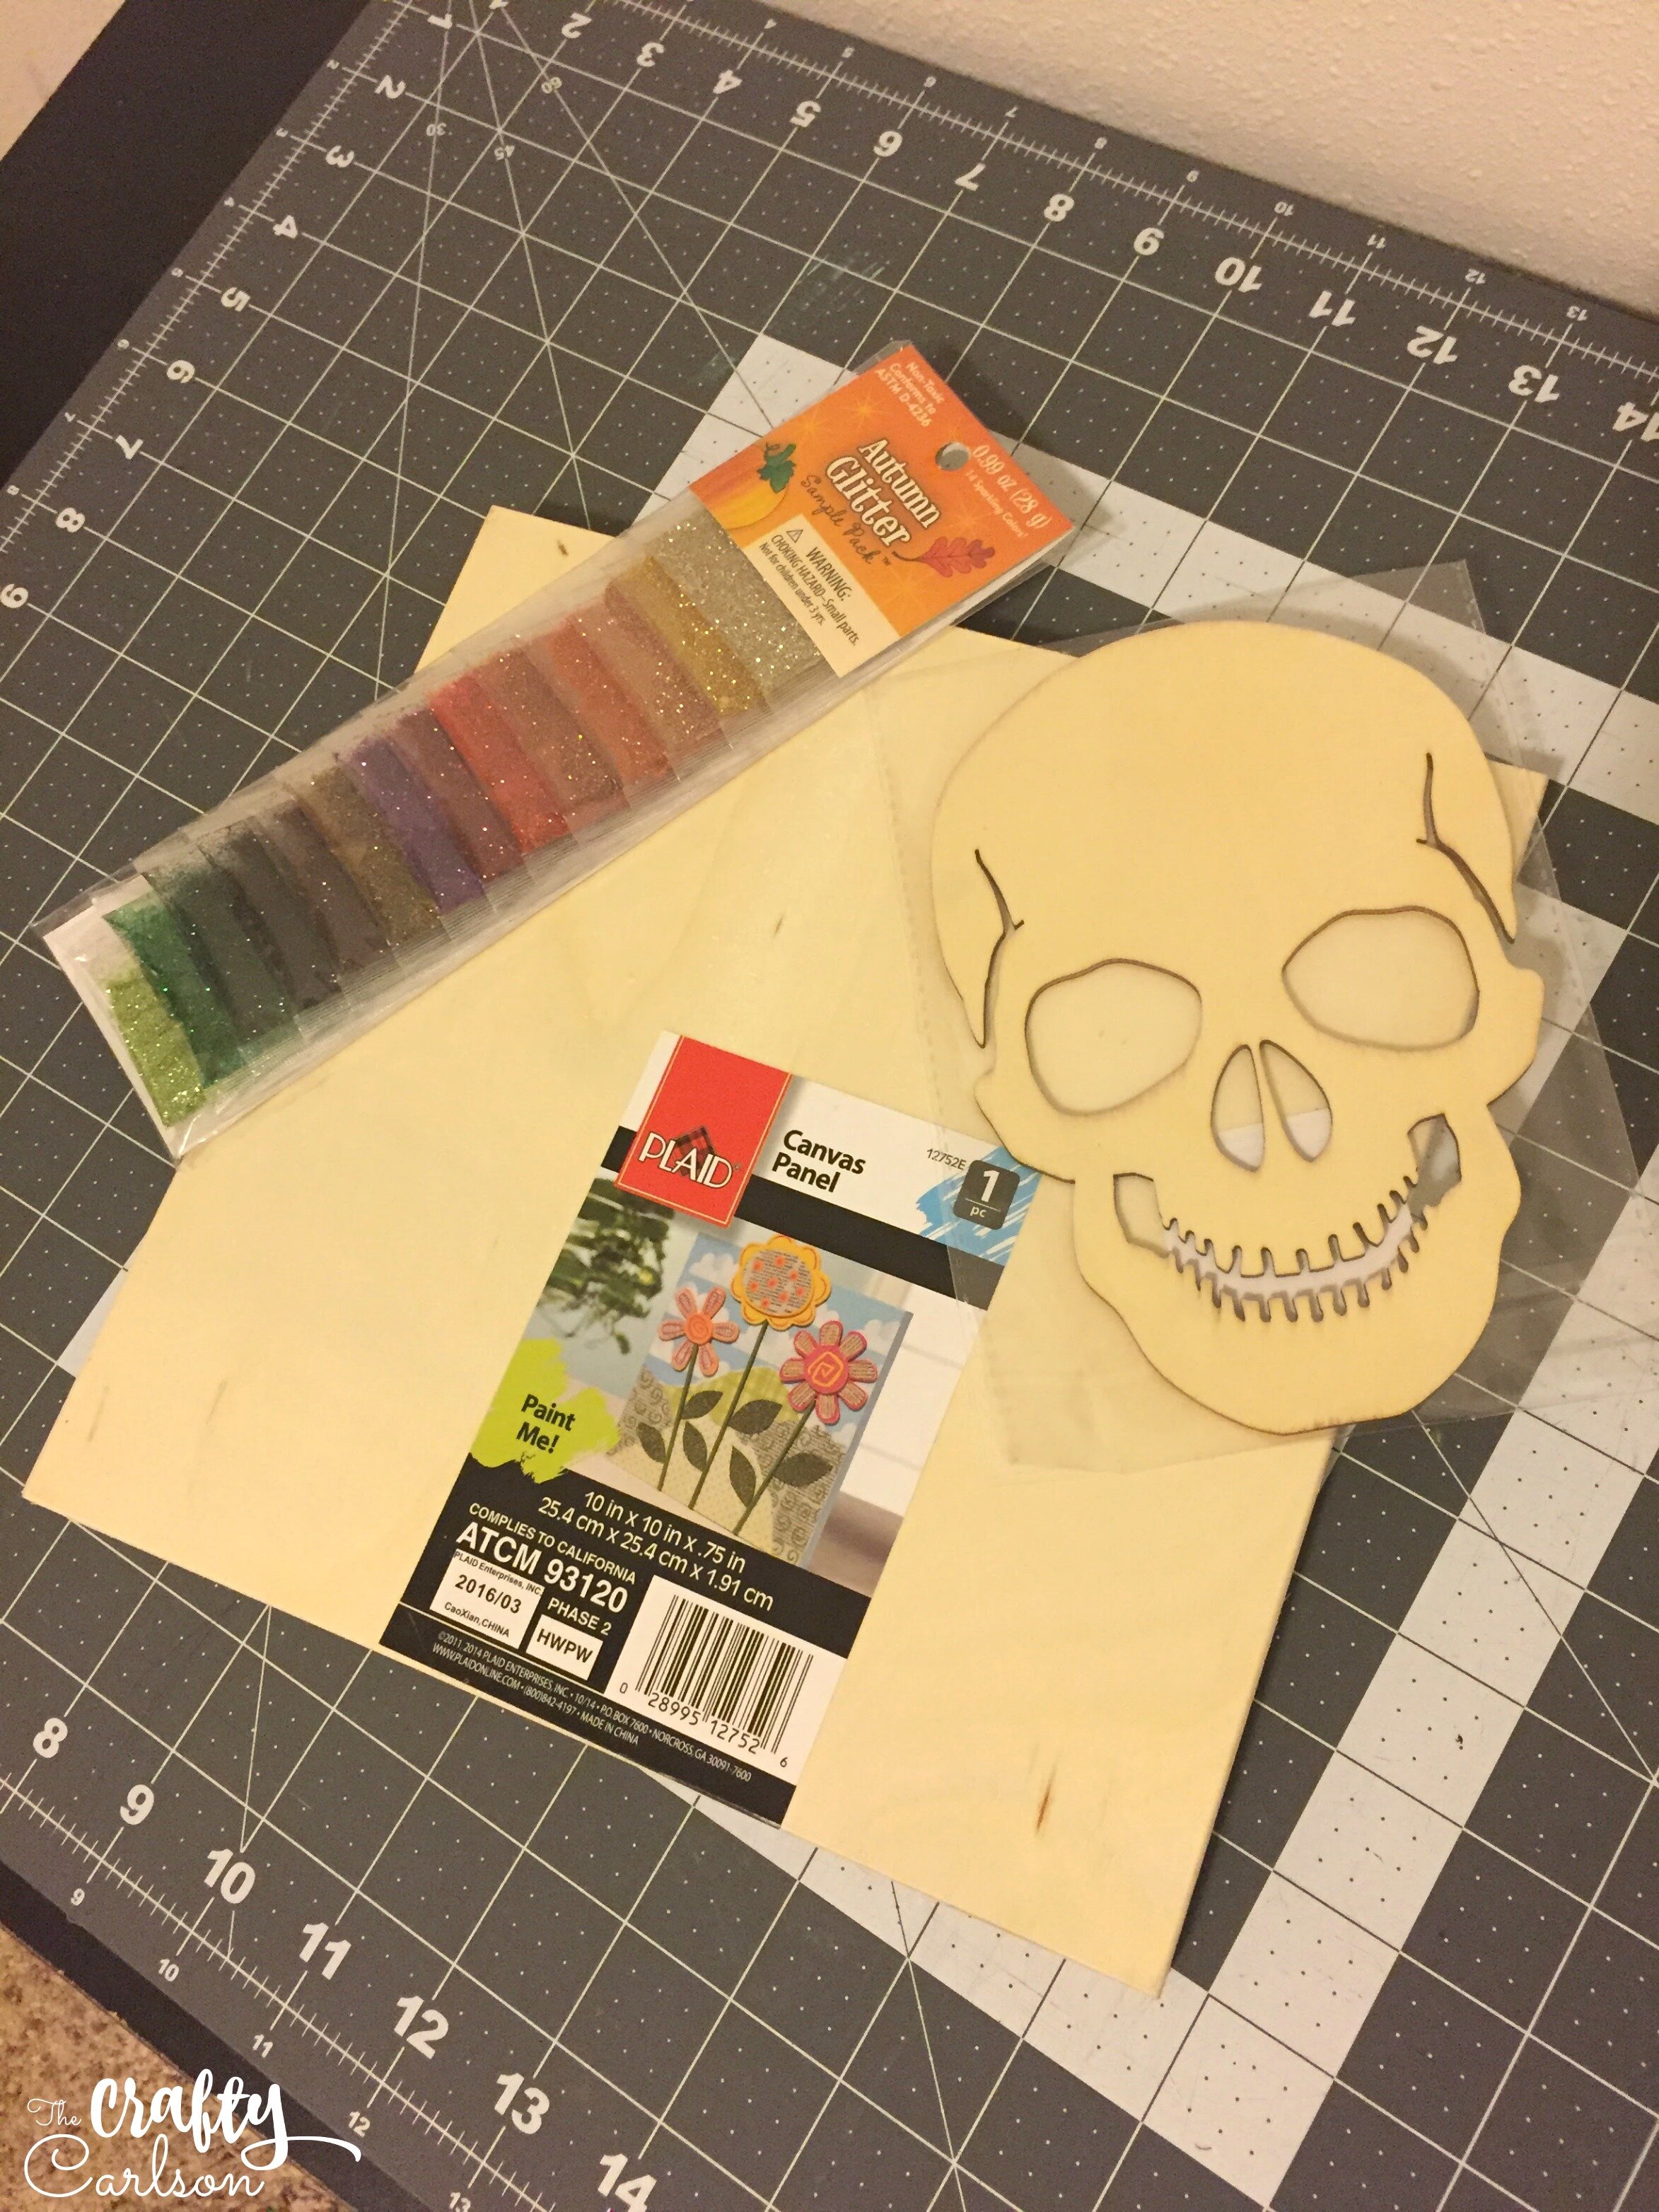
This is what you will need to get started. I got this canvas panel at Walmart, the skull wood die cut at the Target dollar spot, and the glitter pack at Joann. The rest of the stuff I needed I had on hand! So in addition to these items, you need a sheet of whatever paper you want to use for the background, paint, and tacky glue.
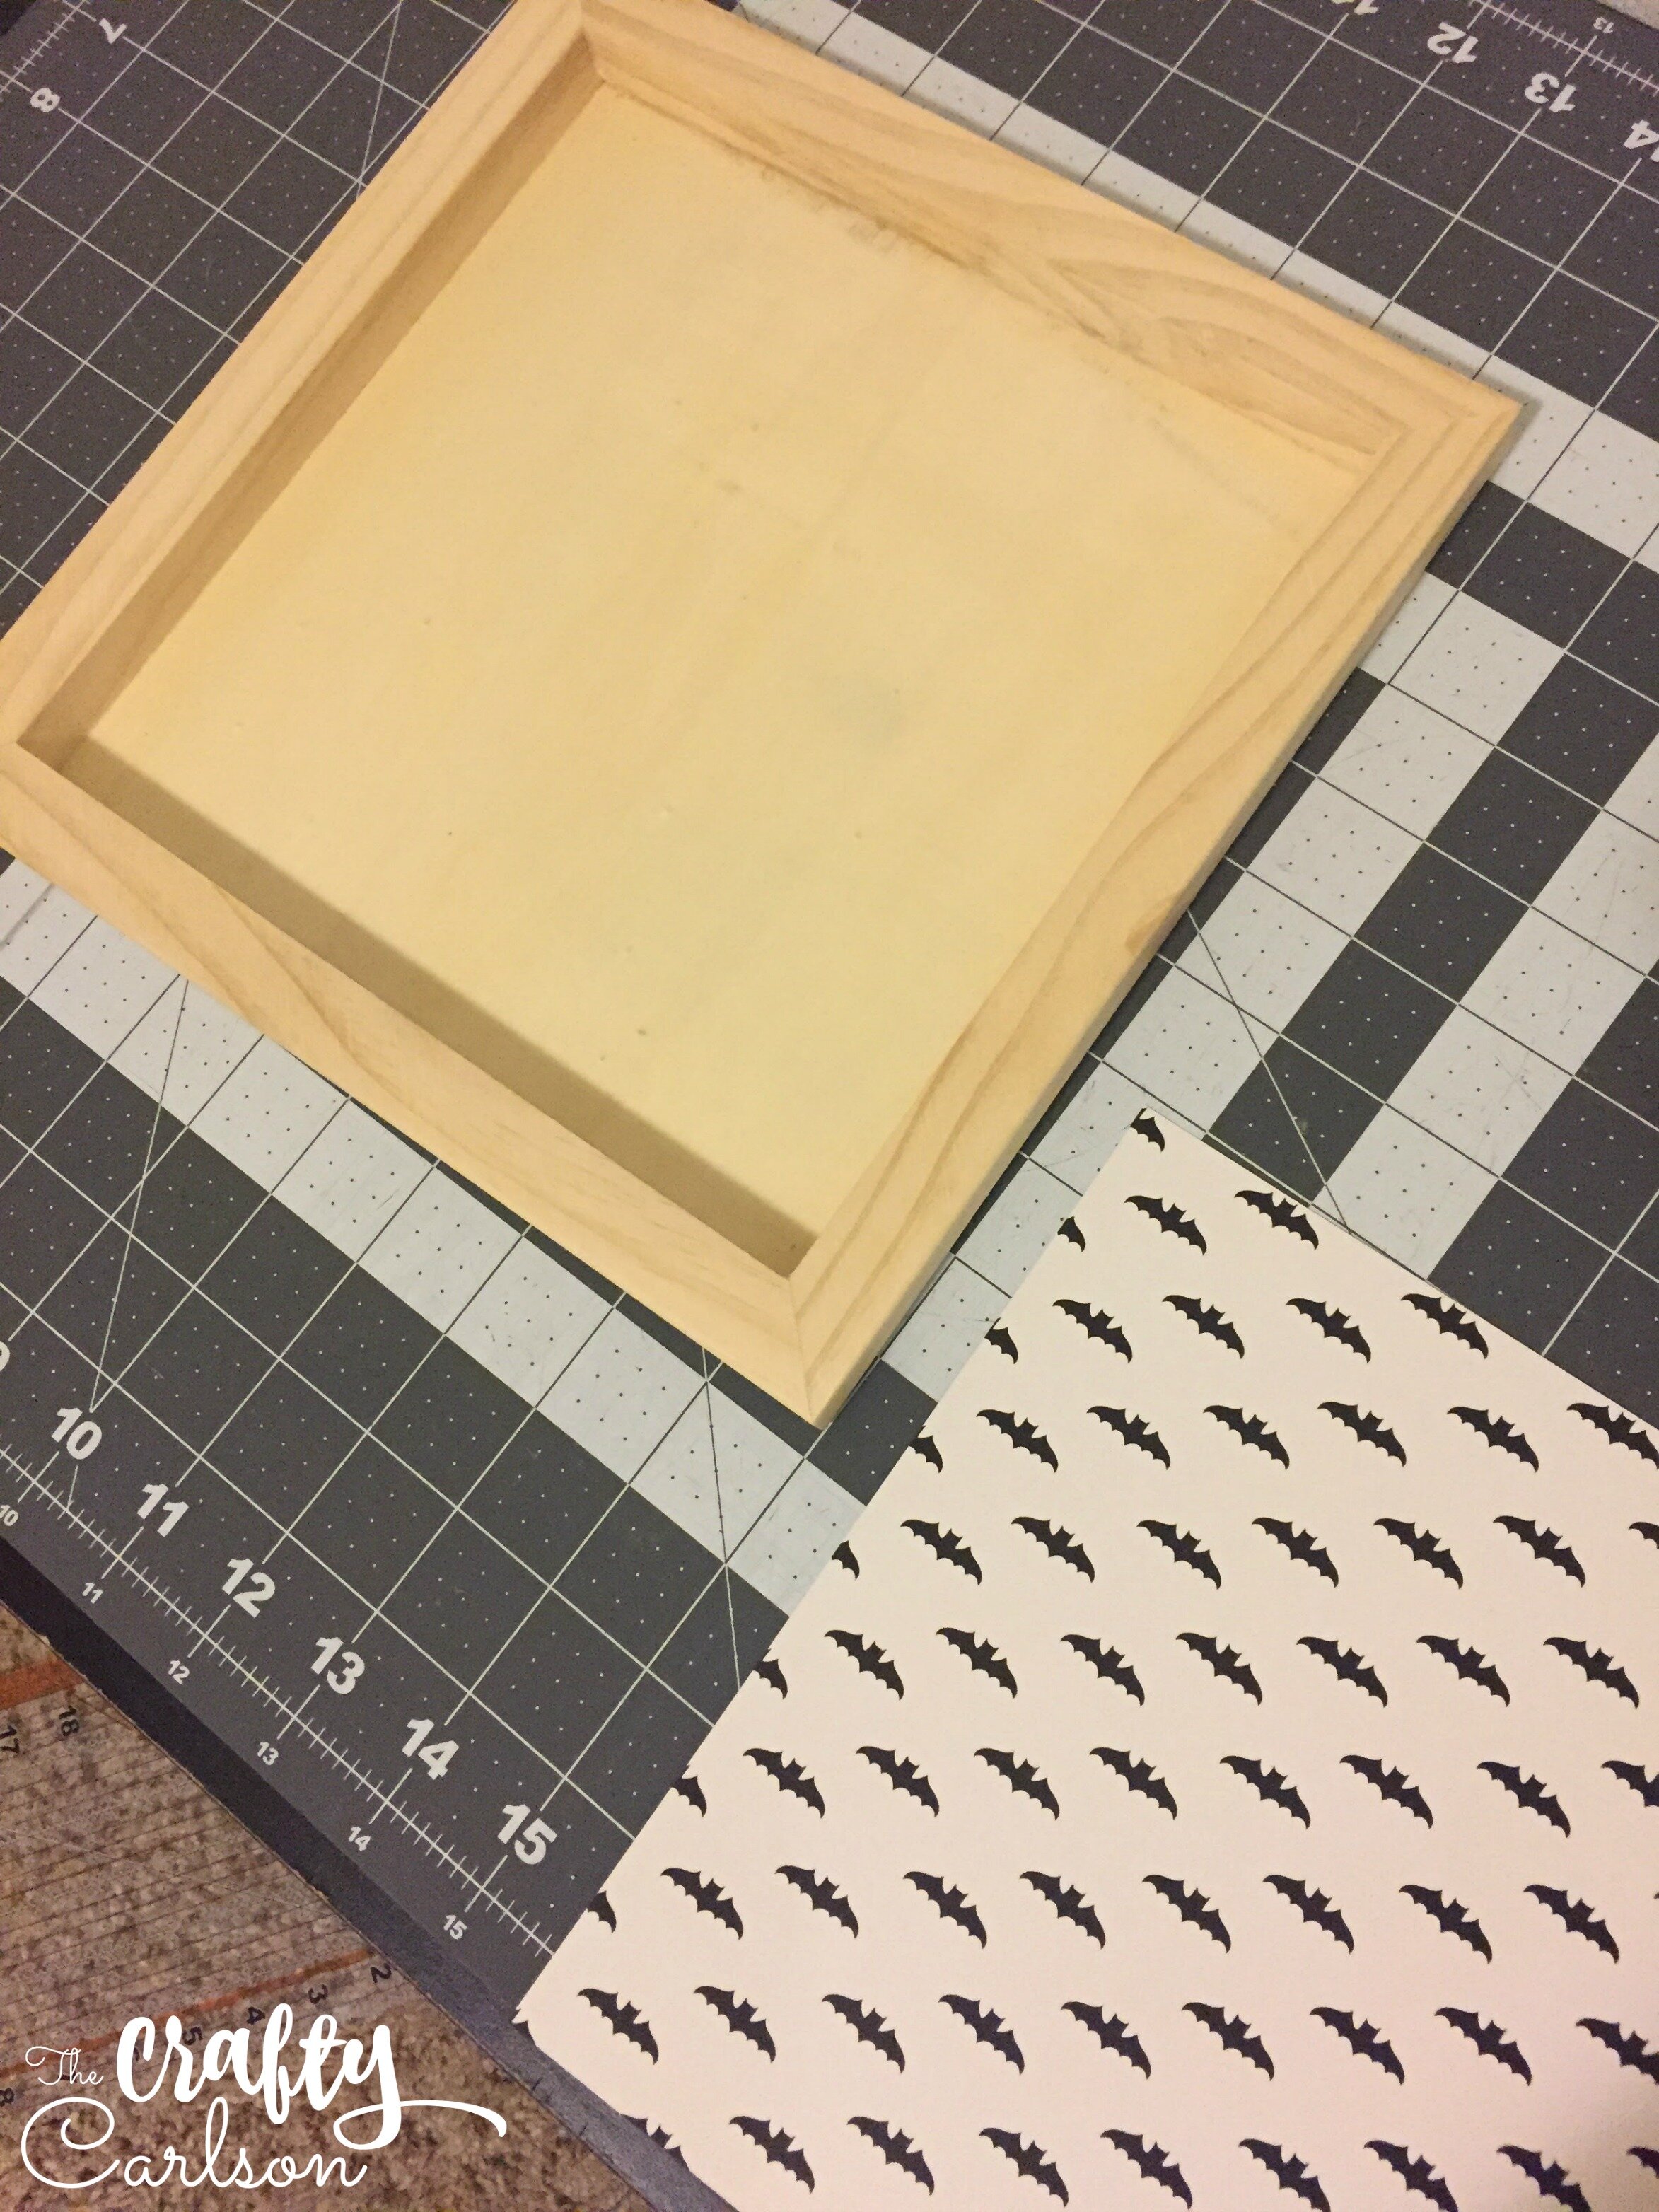
The first step is to cut the paper out so it fits inside the frame. Isn’t that bat paper so cute?
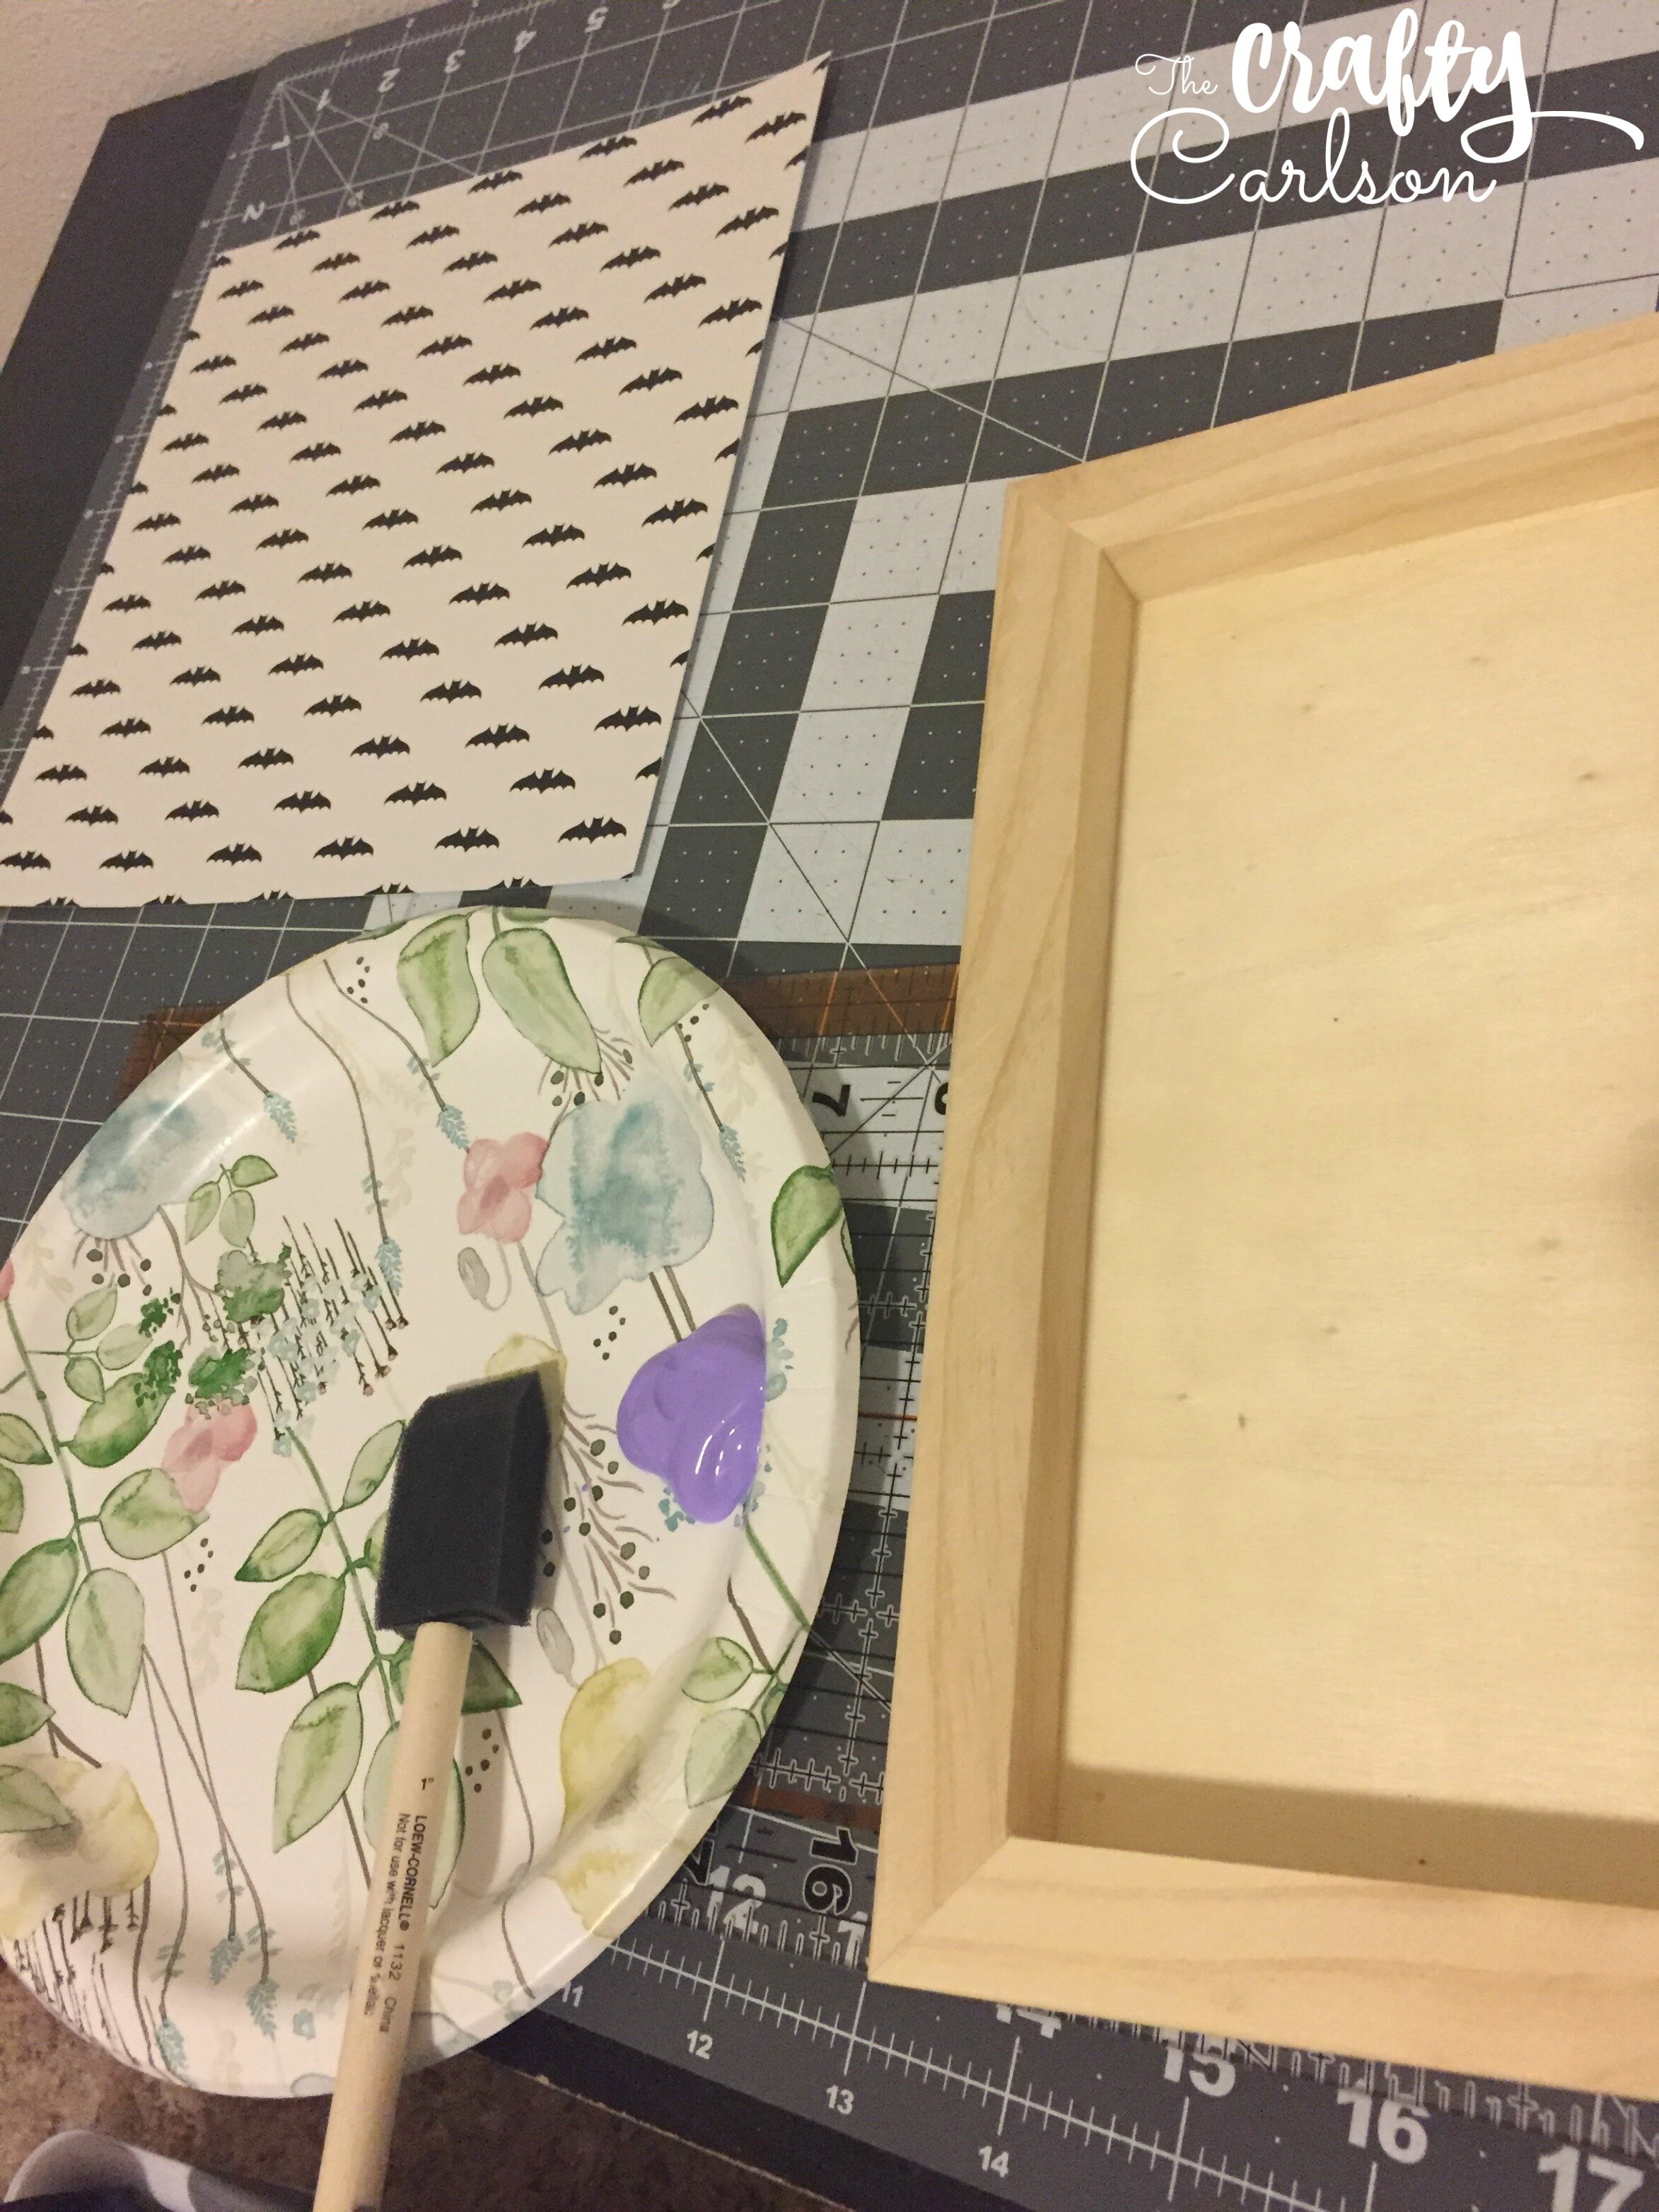
Now you need to paint the frame. Don’t worry about painting the back. It will just be covered with the paper later.
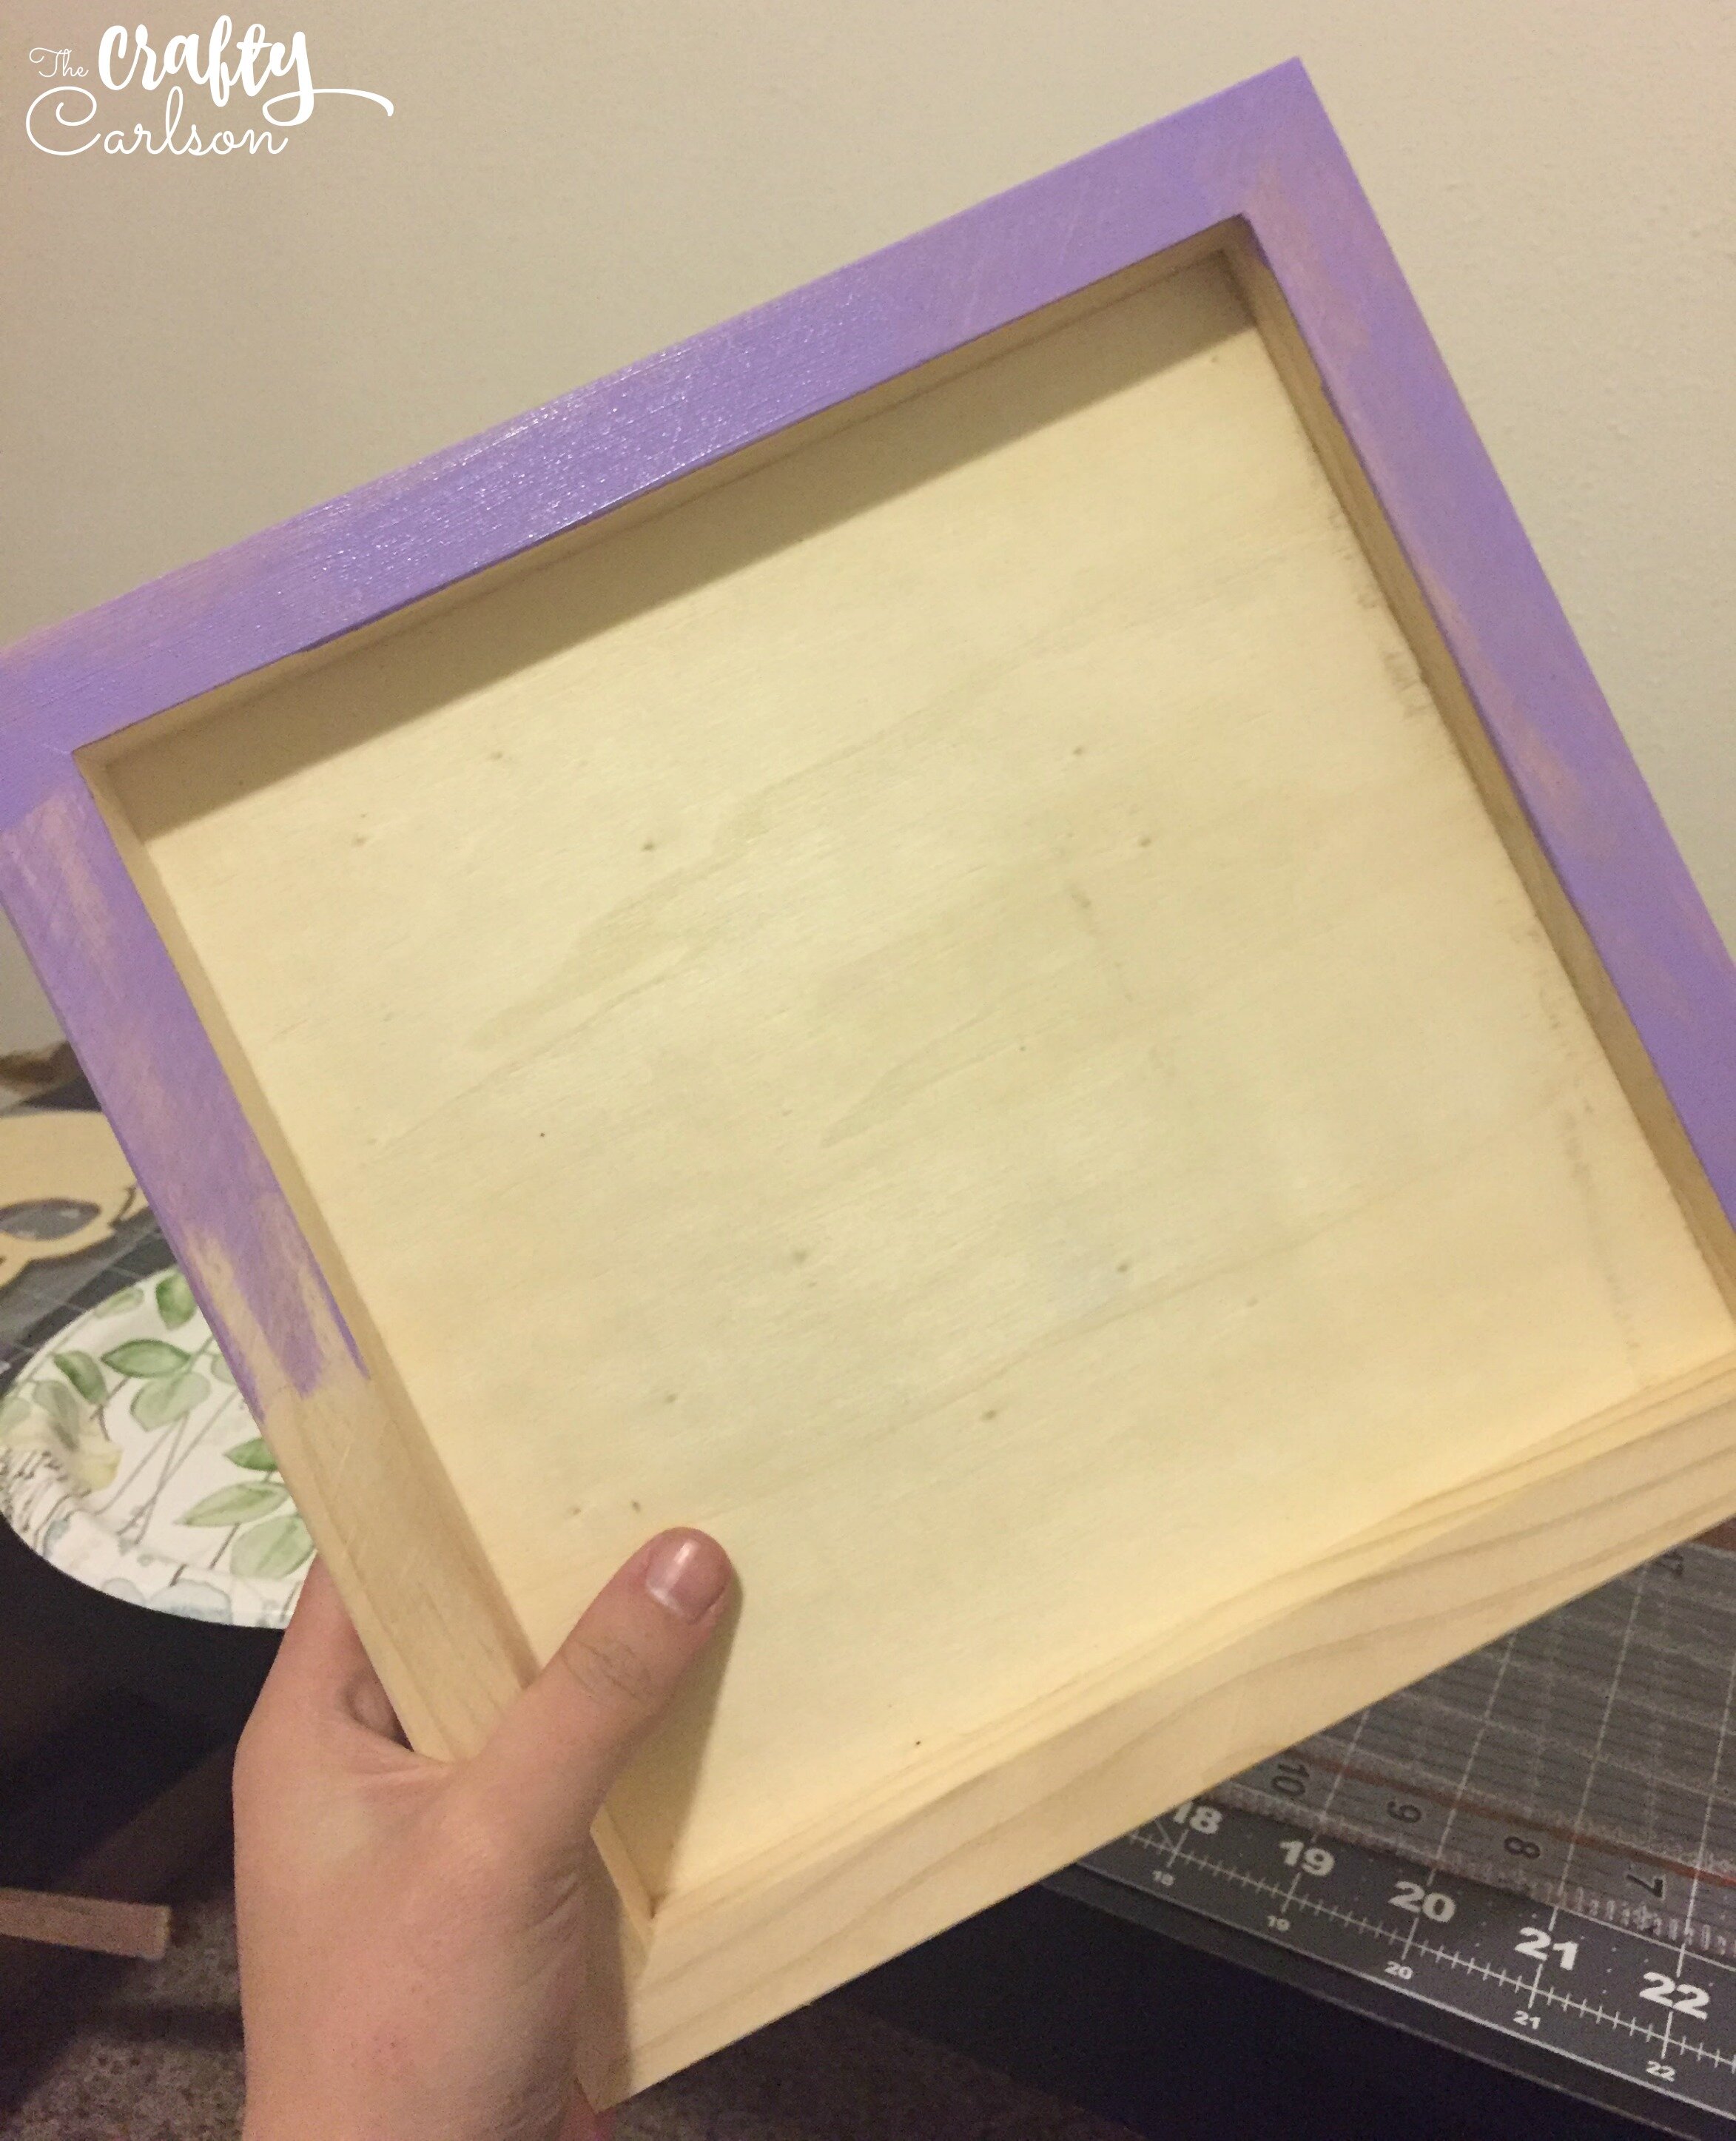
It took a few coats to get a good coverage. I planned to glitter my skull in purple, so that’s why I chose to paint the frame purple! You can do whatever colors you would like. This project is so versatile!
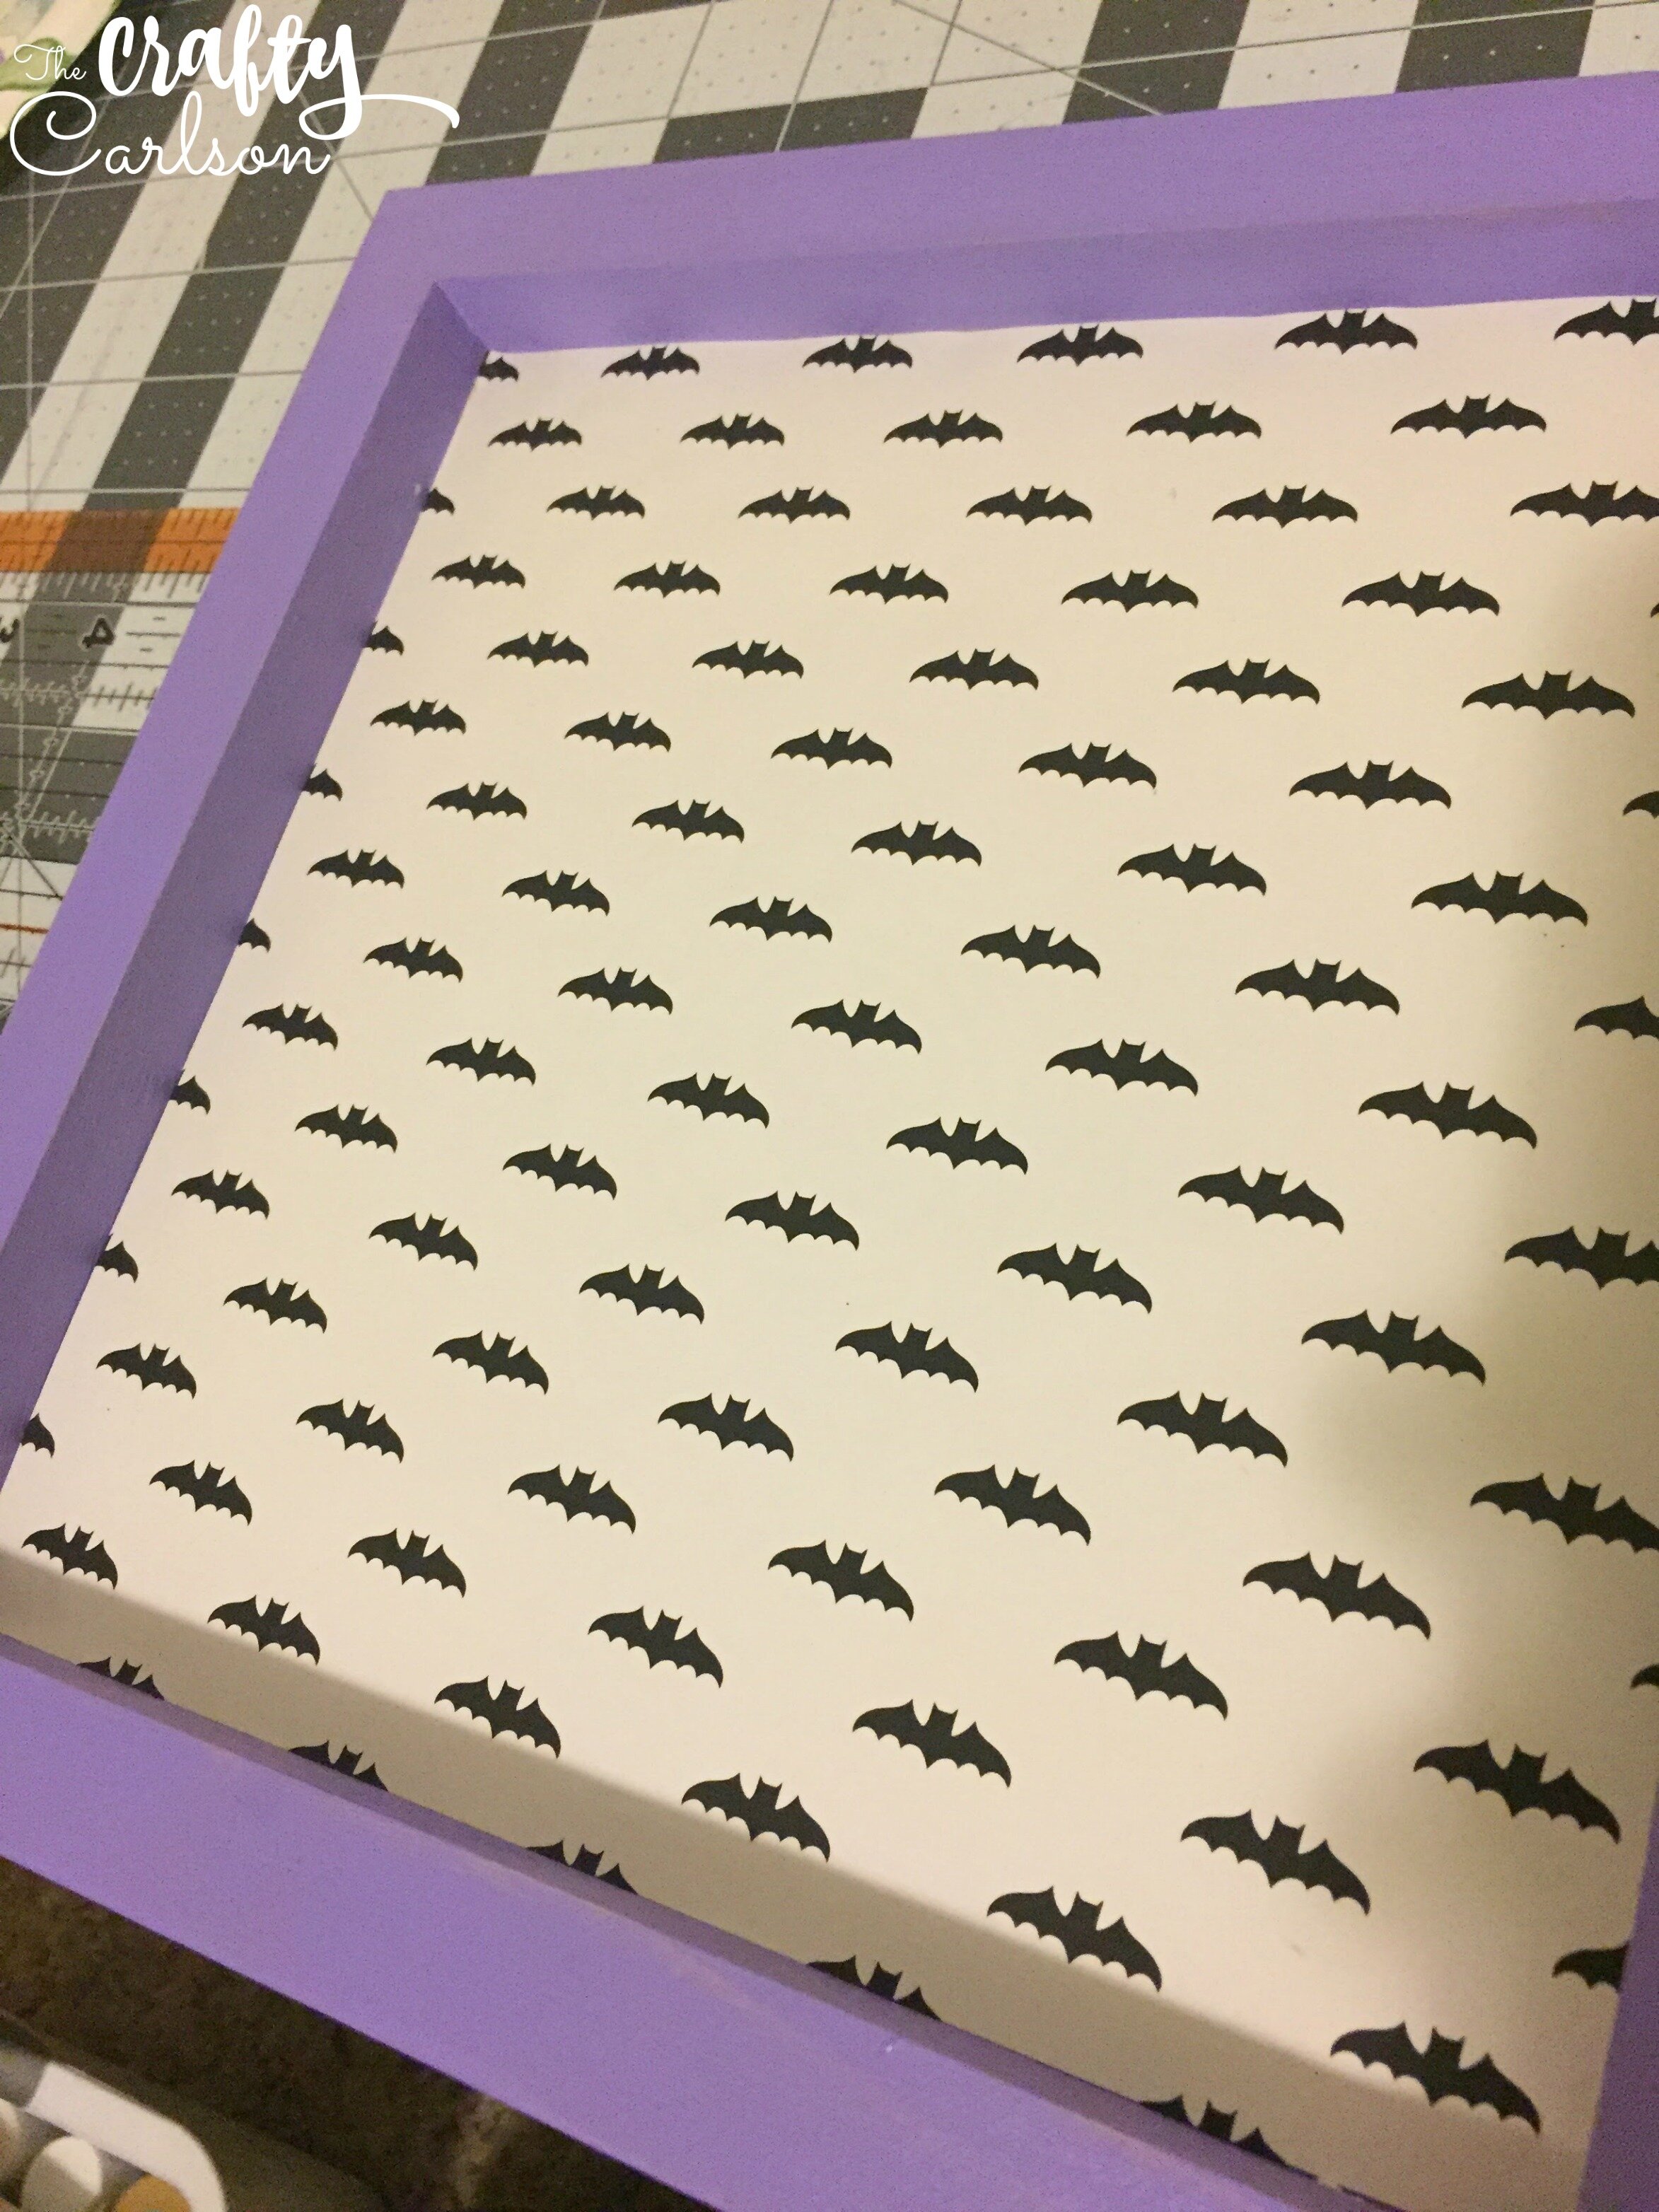
Once the paint is dry you can glue the paper to the bottom.
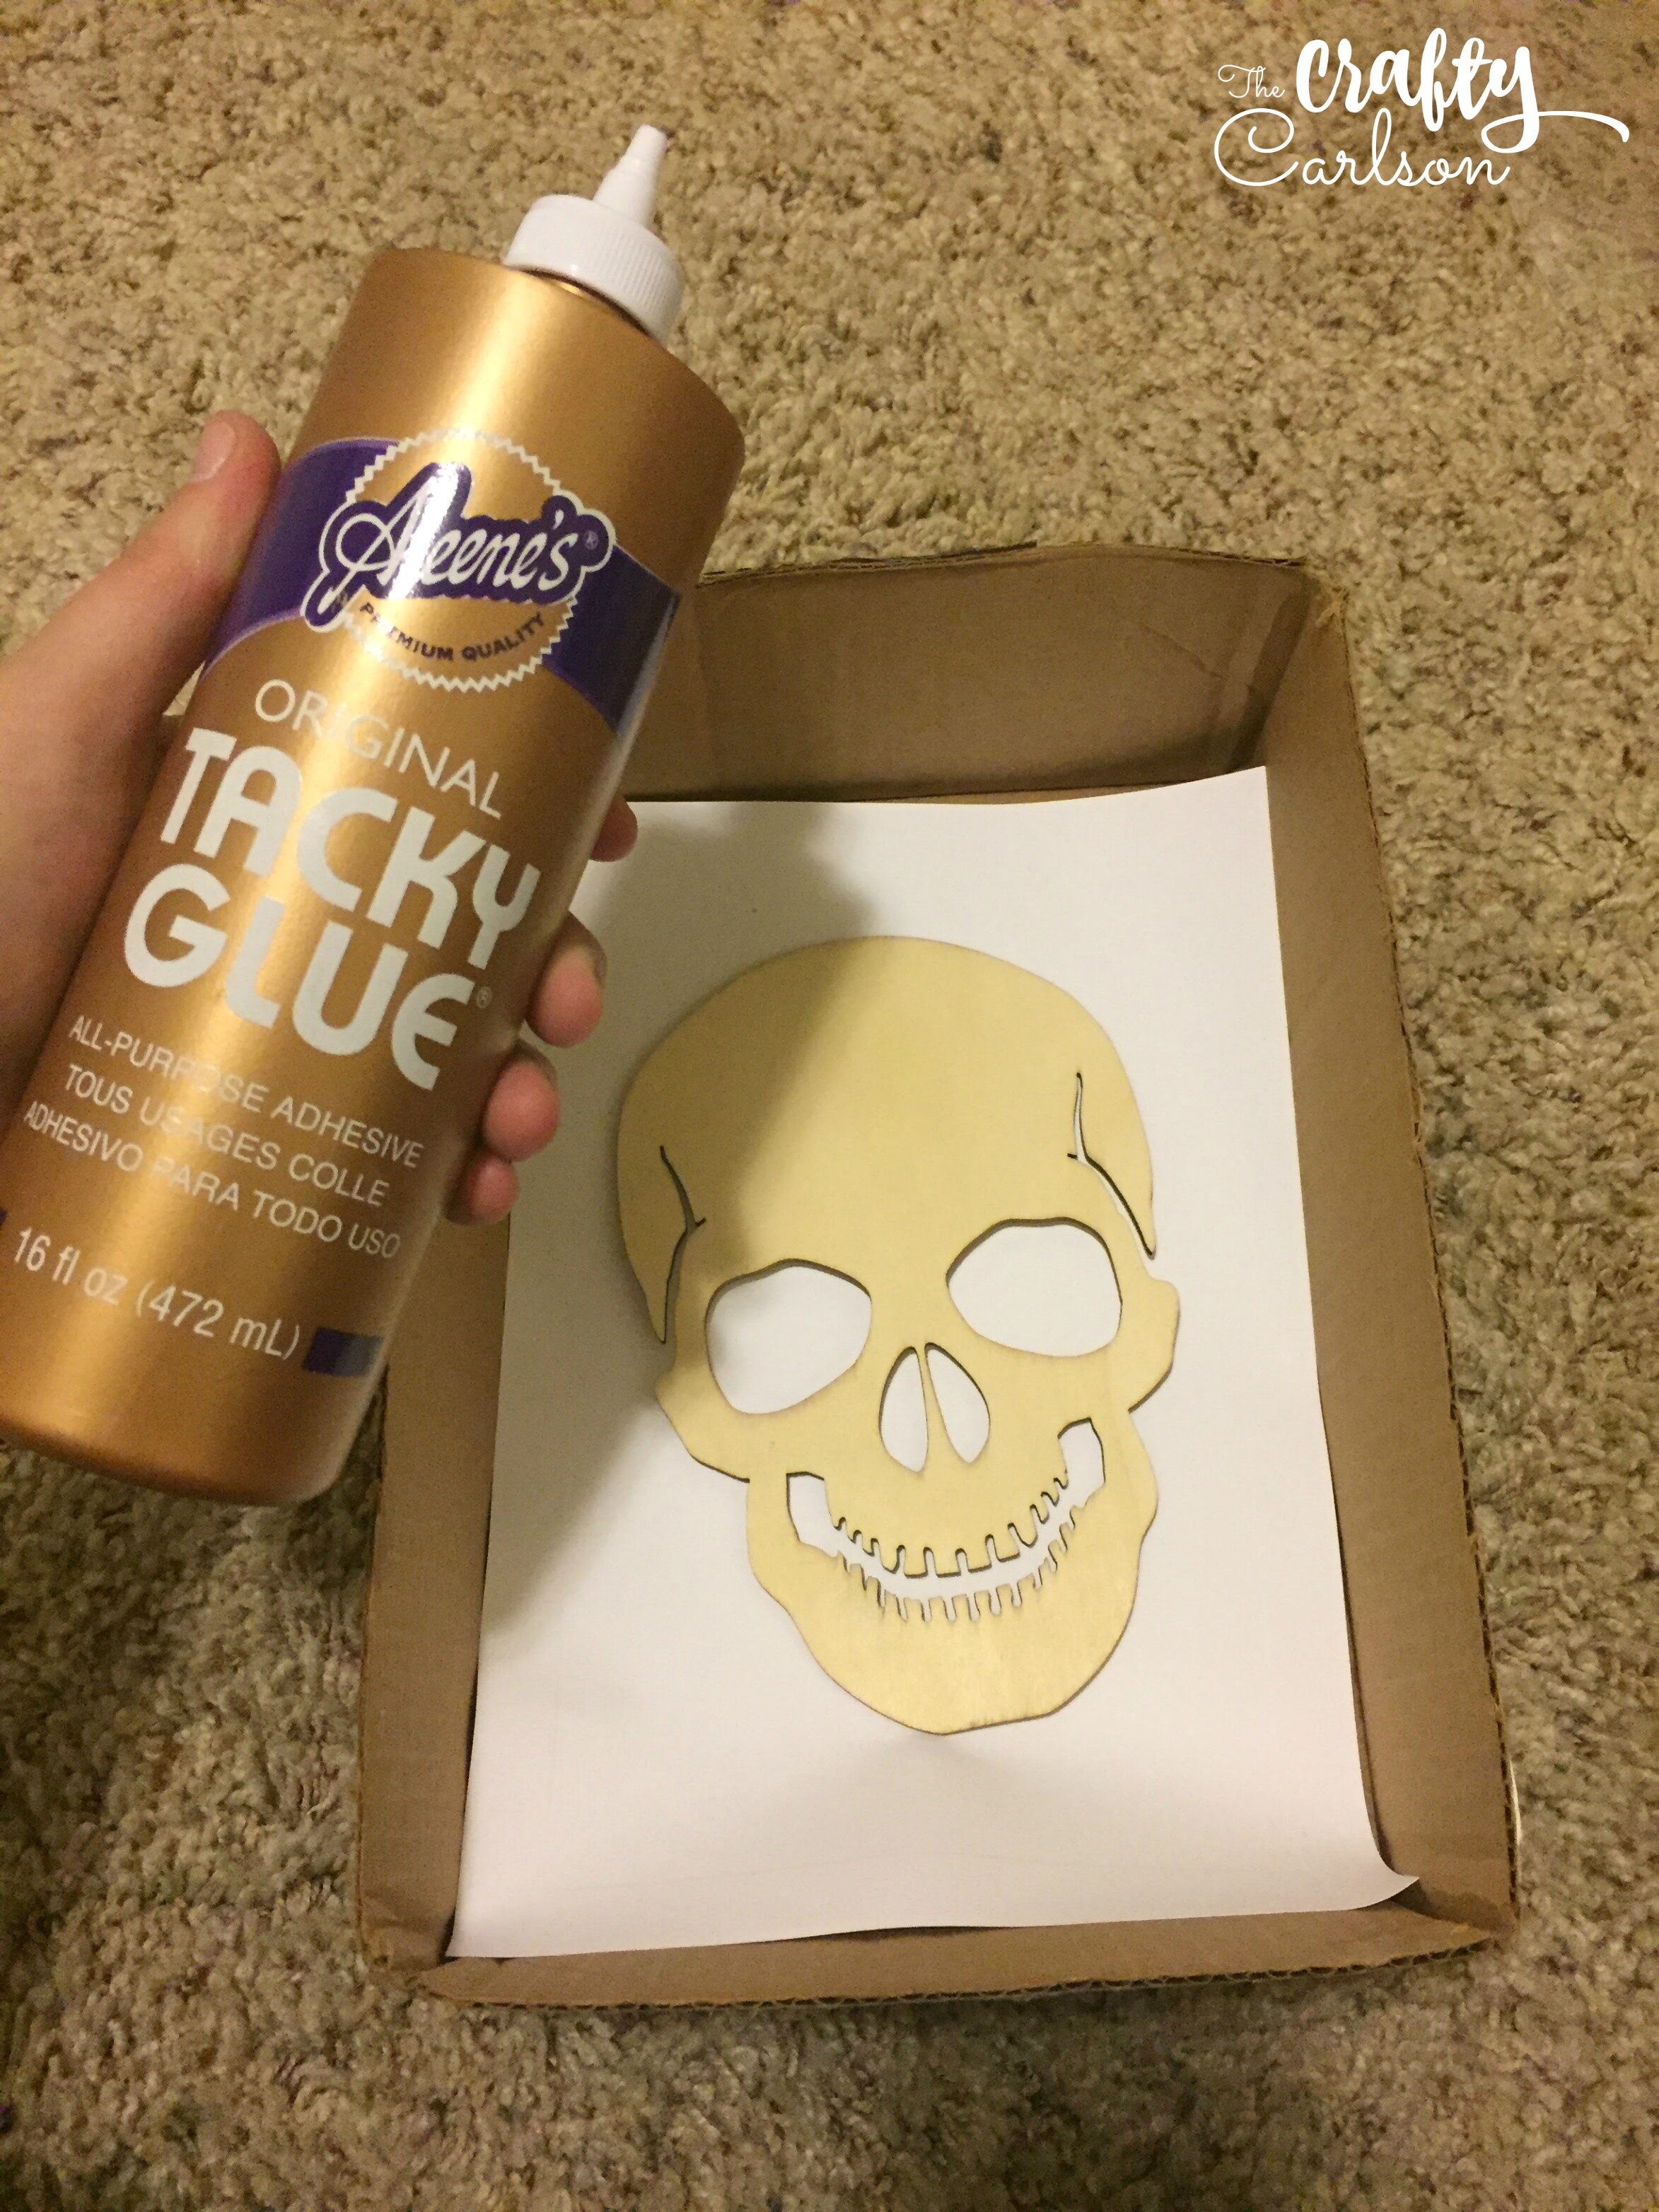
Next you will need to glitter the skull! I used this little box to help catch all the stray glitter. It worked great! To apply the glitter just smear some tacky glue all over the skull then lightly sprinkle the glitter over it until its covered to your liking! Or you can do it the easy way and use spray adhesive… I didn’t have that on hand but I’m sure that would work great as well.
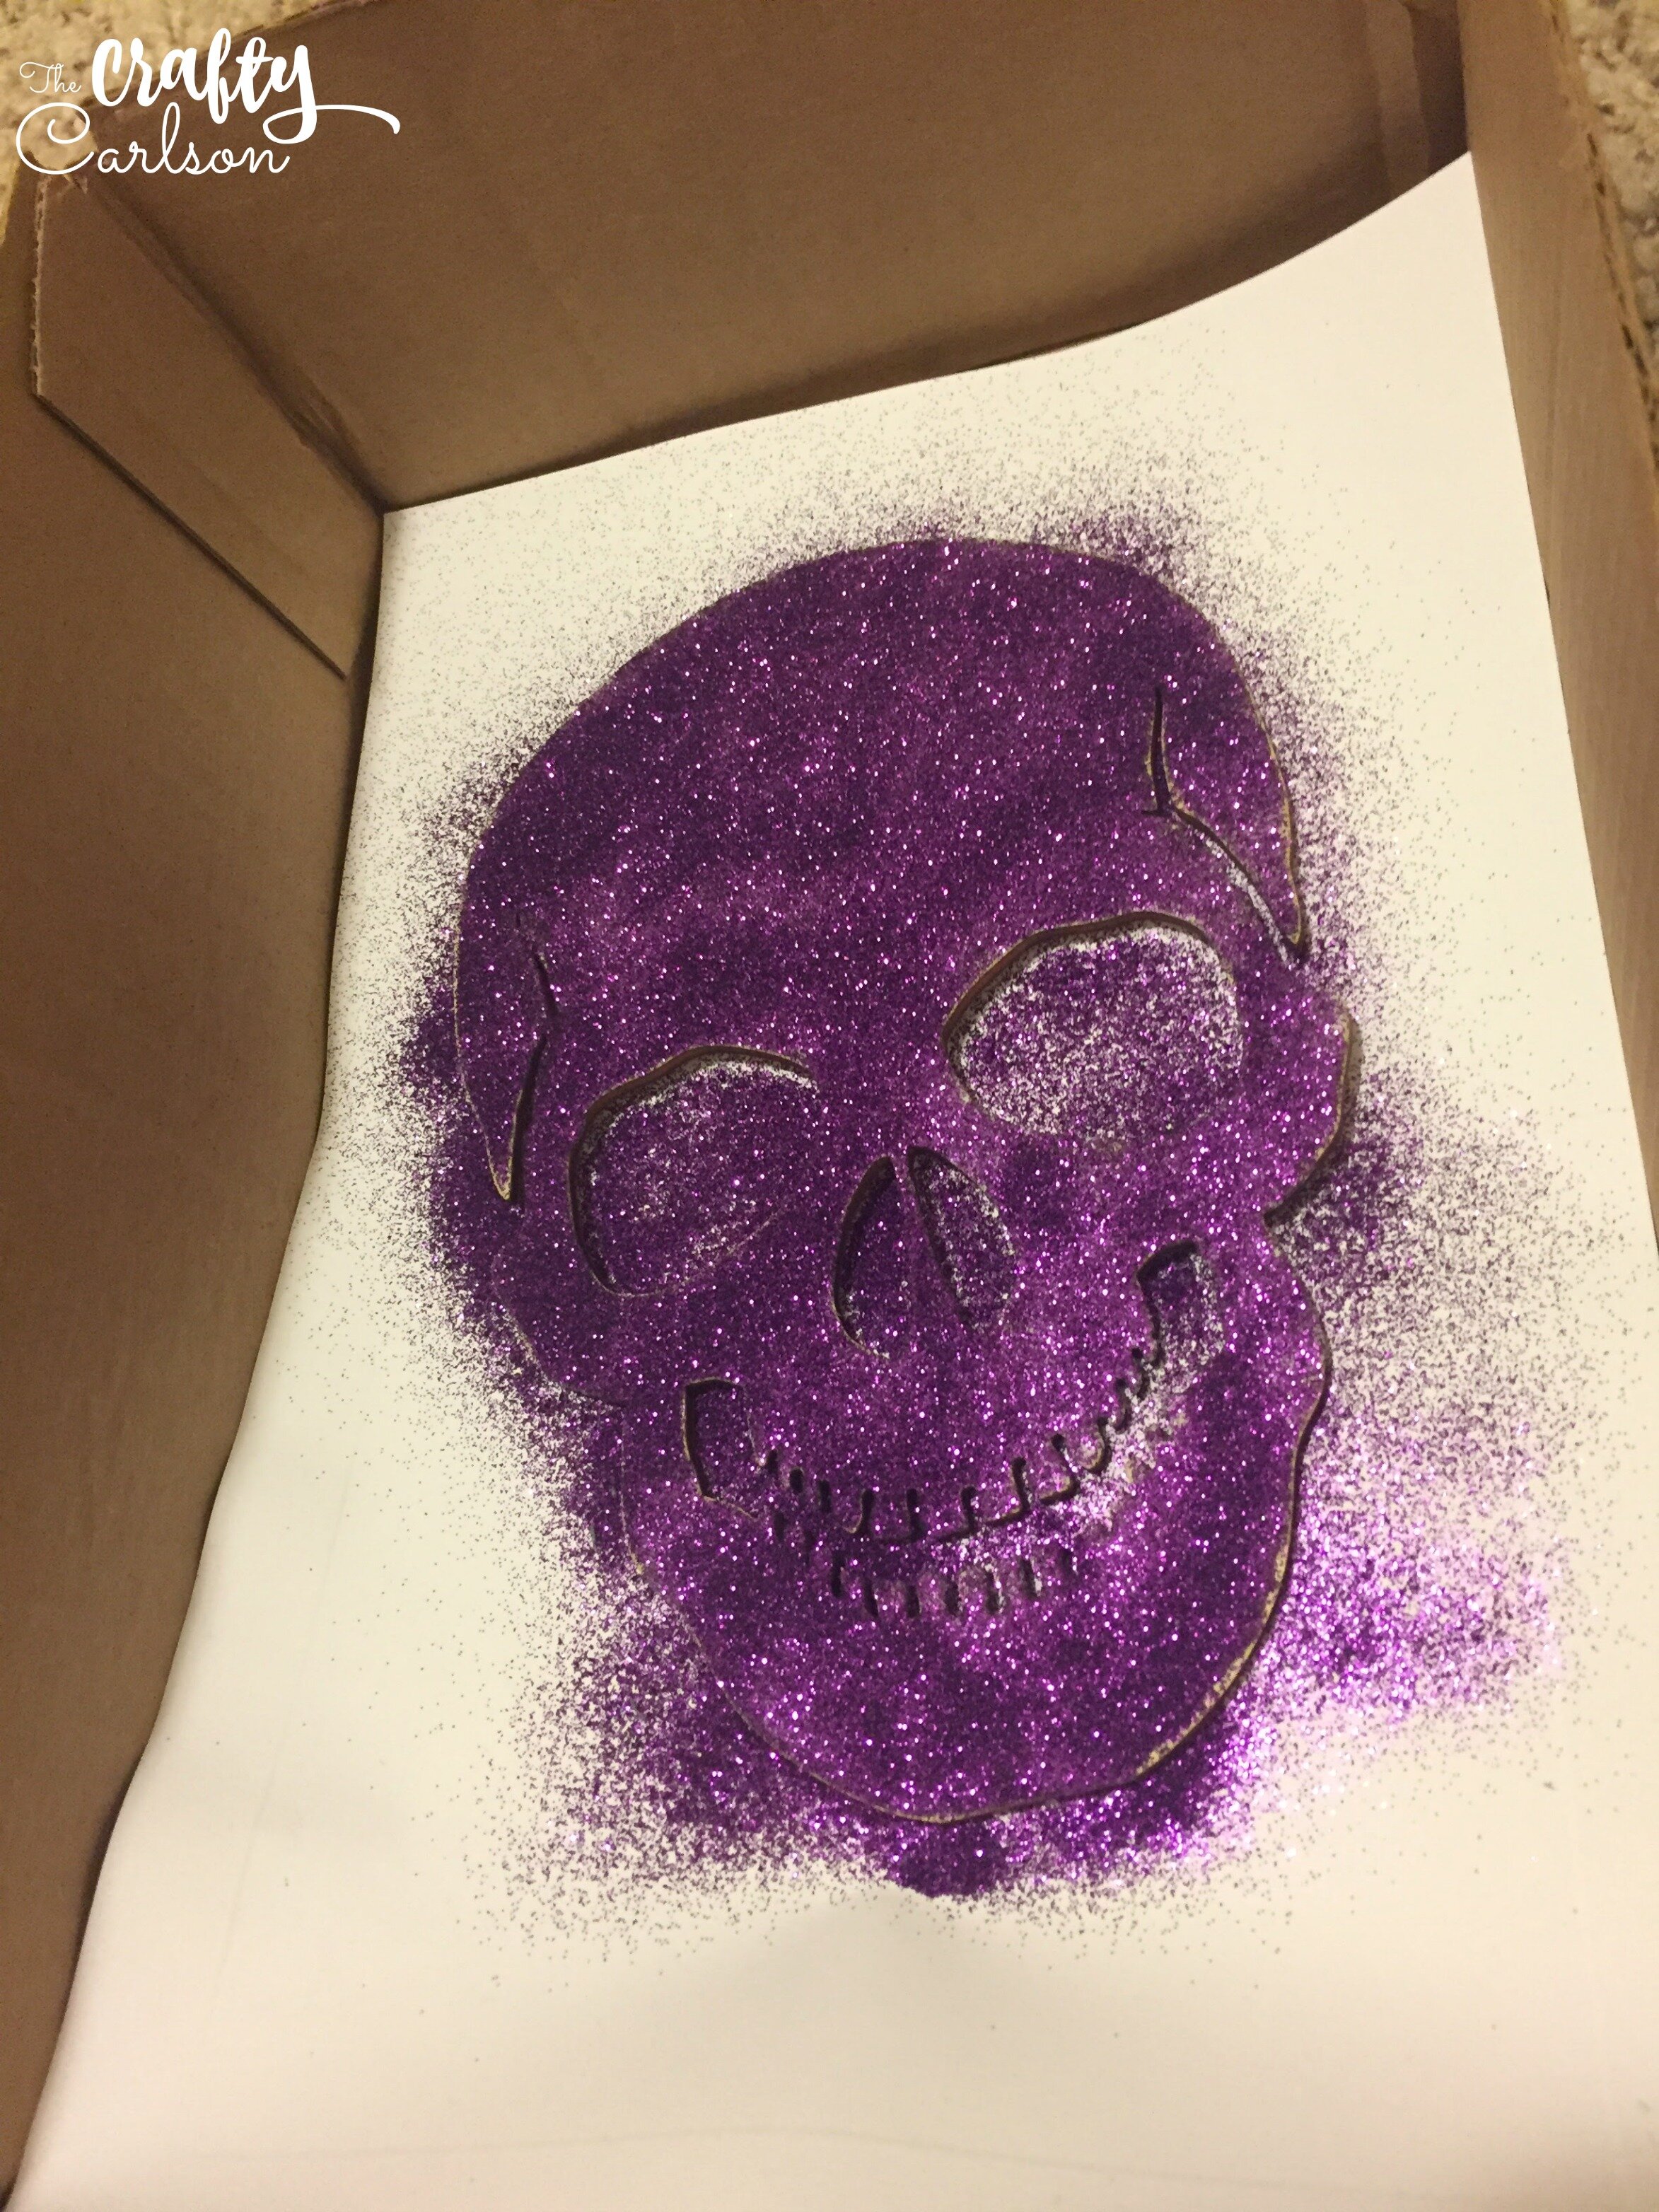
Look at all that glittery goodness… It was funny to see the outline of the skull when I picked it up off the paper. And kinda creepy…
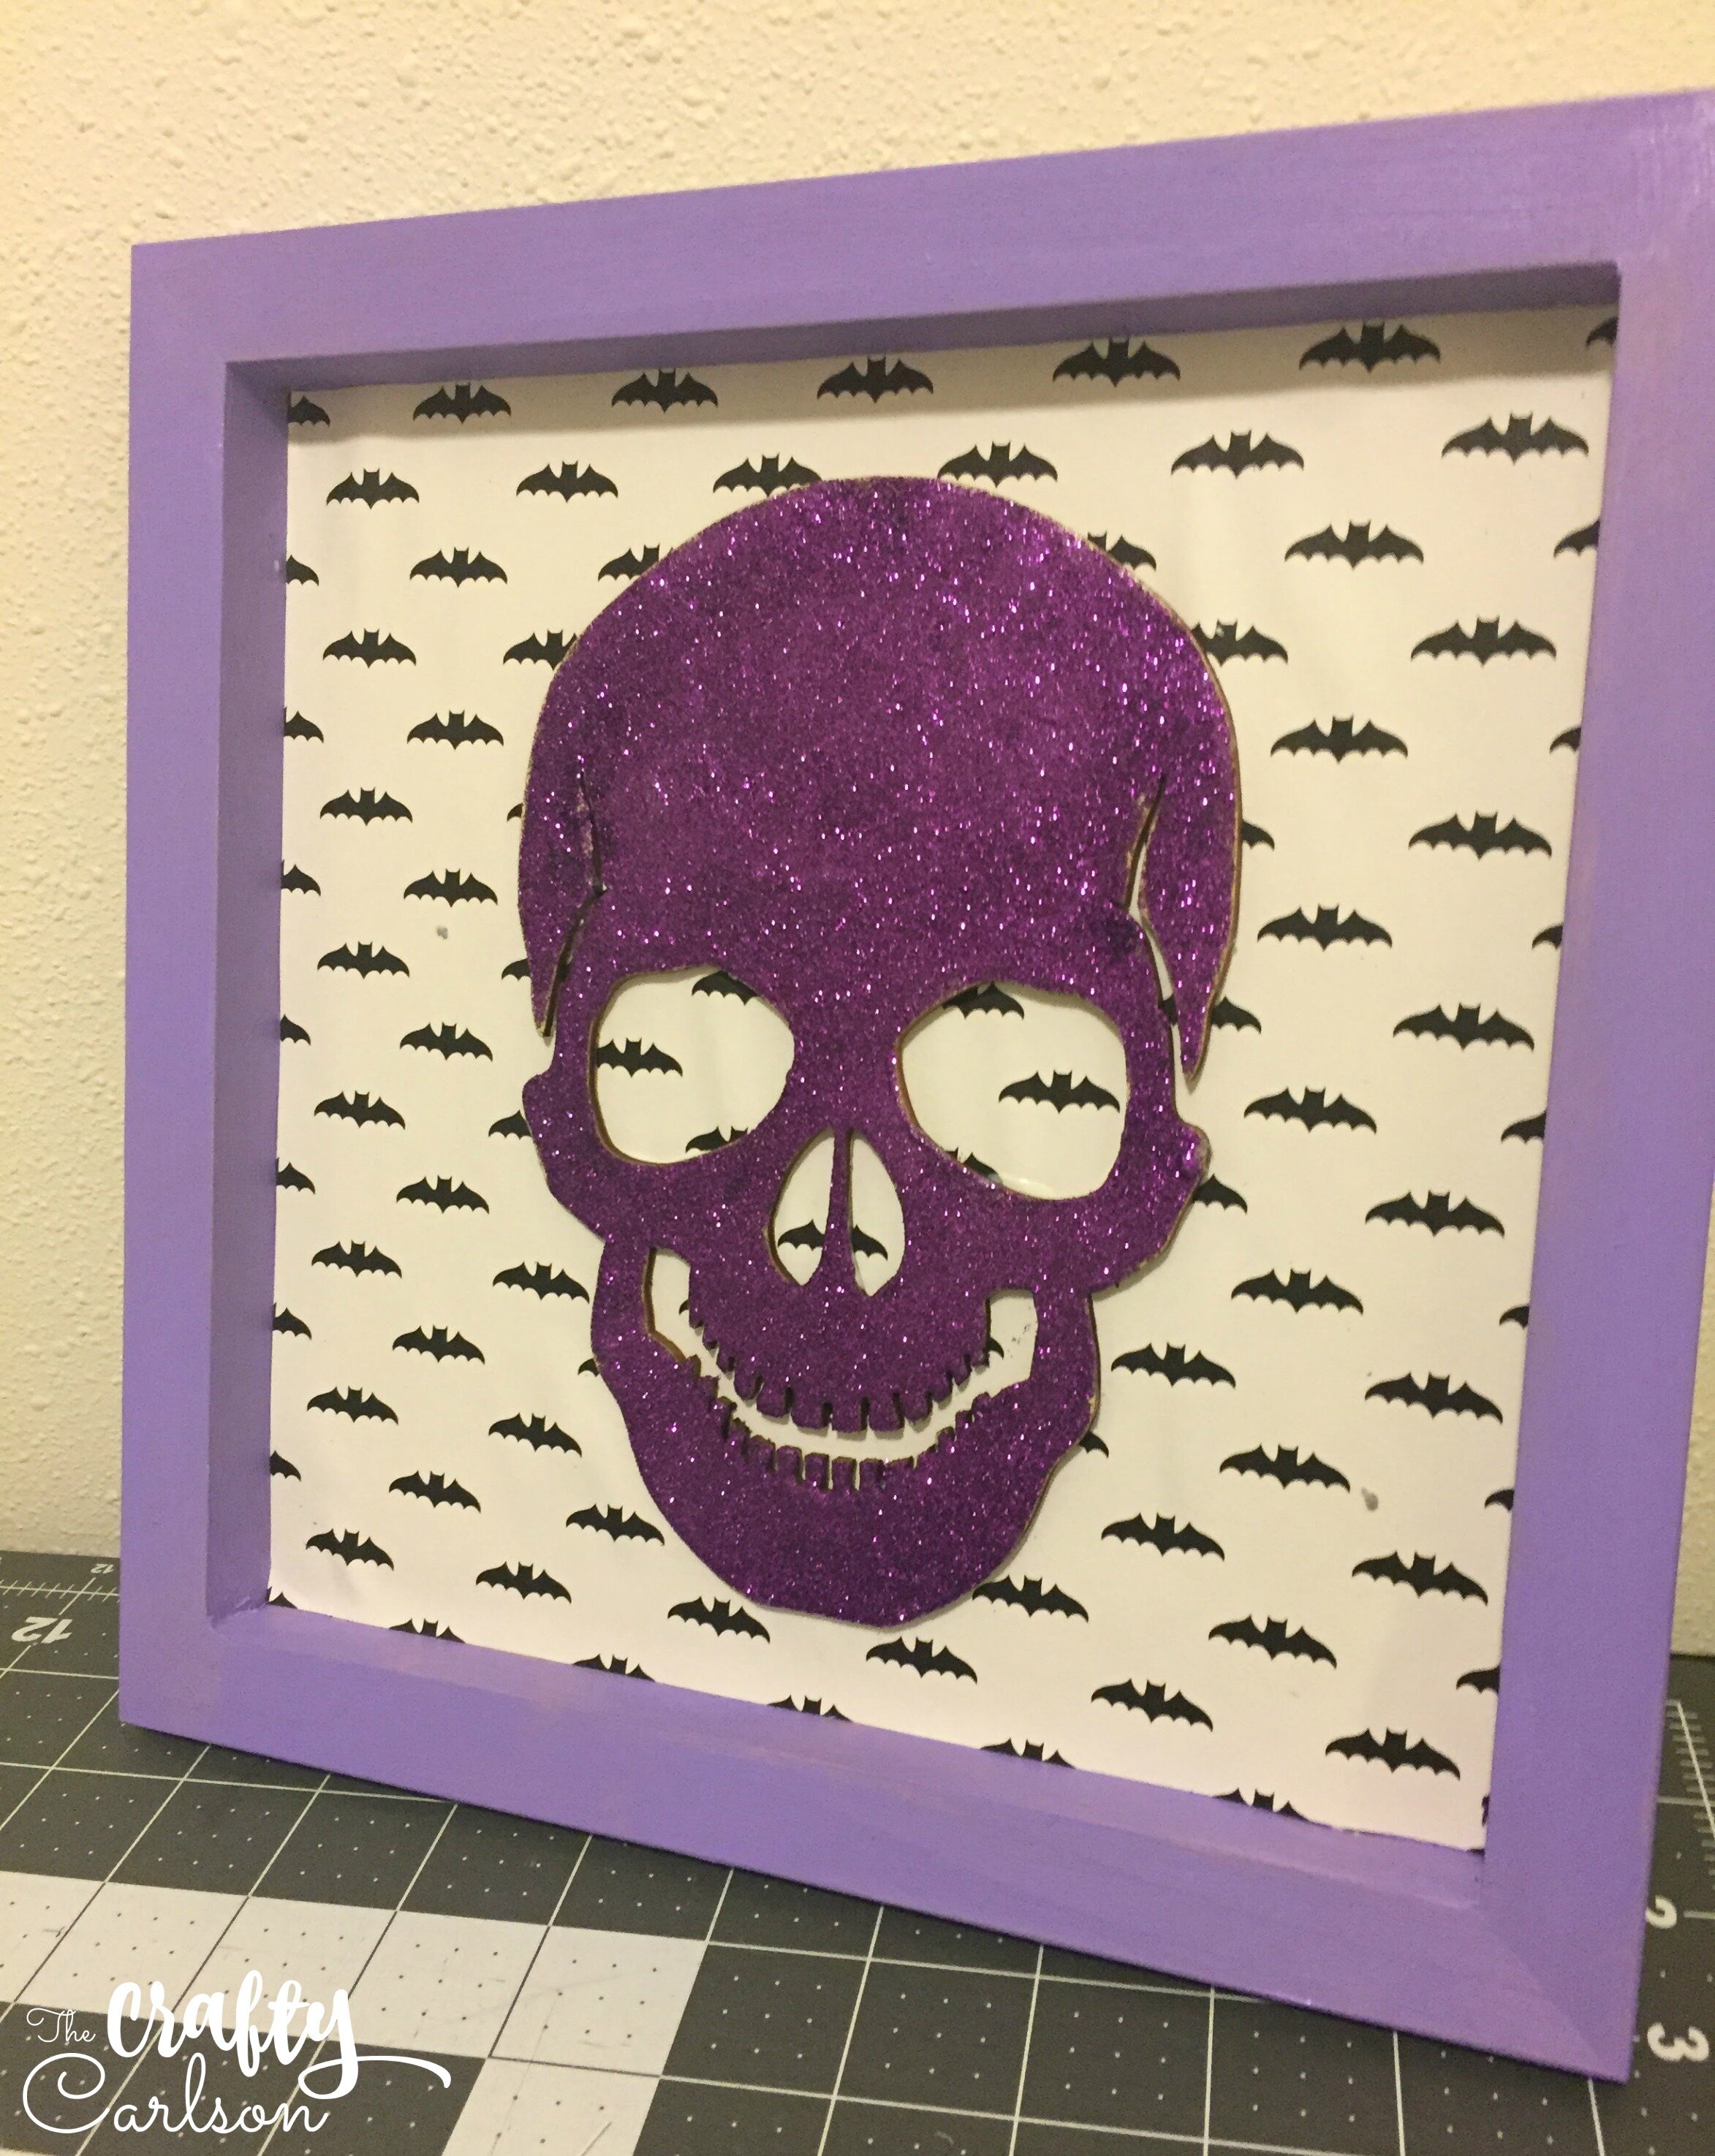
After the glittery glue is dry you can attach the skull to the frame! I just used some tacky glue. I love that stuff.
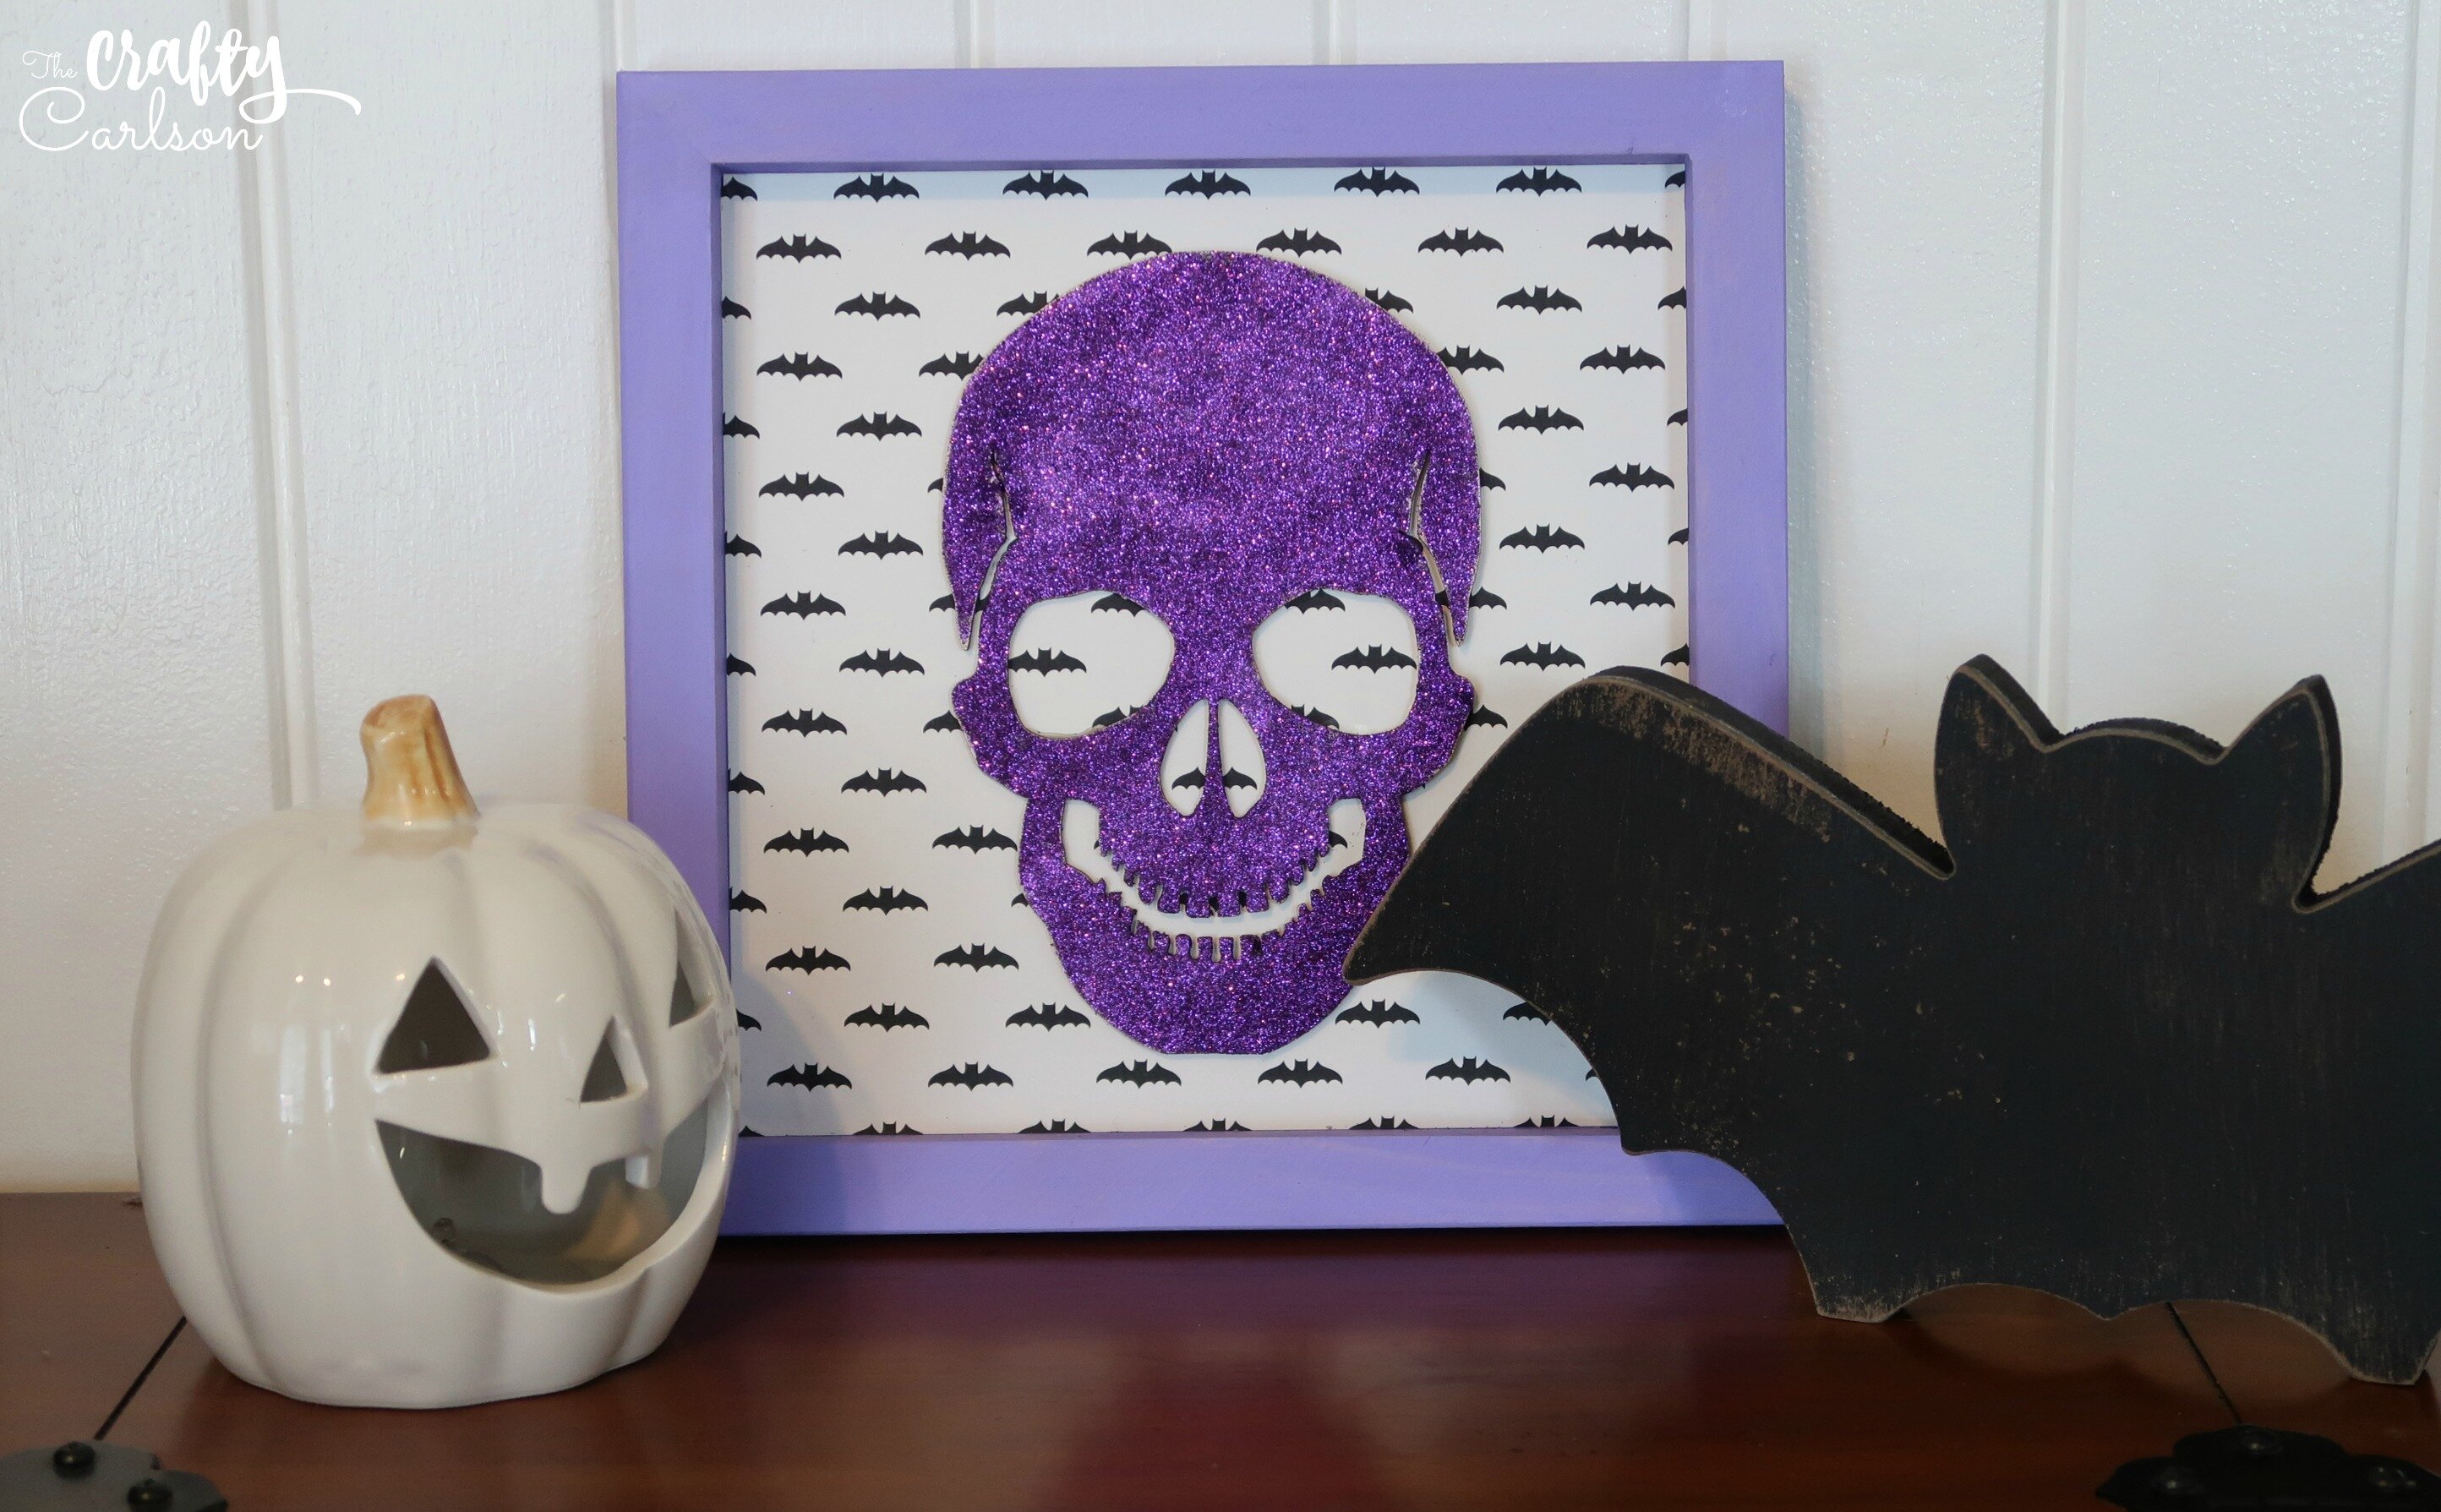
And that’s it! So easy right? I love how this looks with my wood bat from Target and that happy little pumpkin.
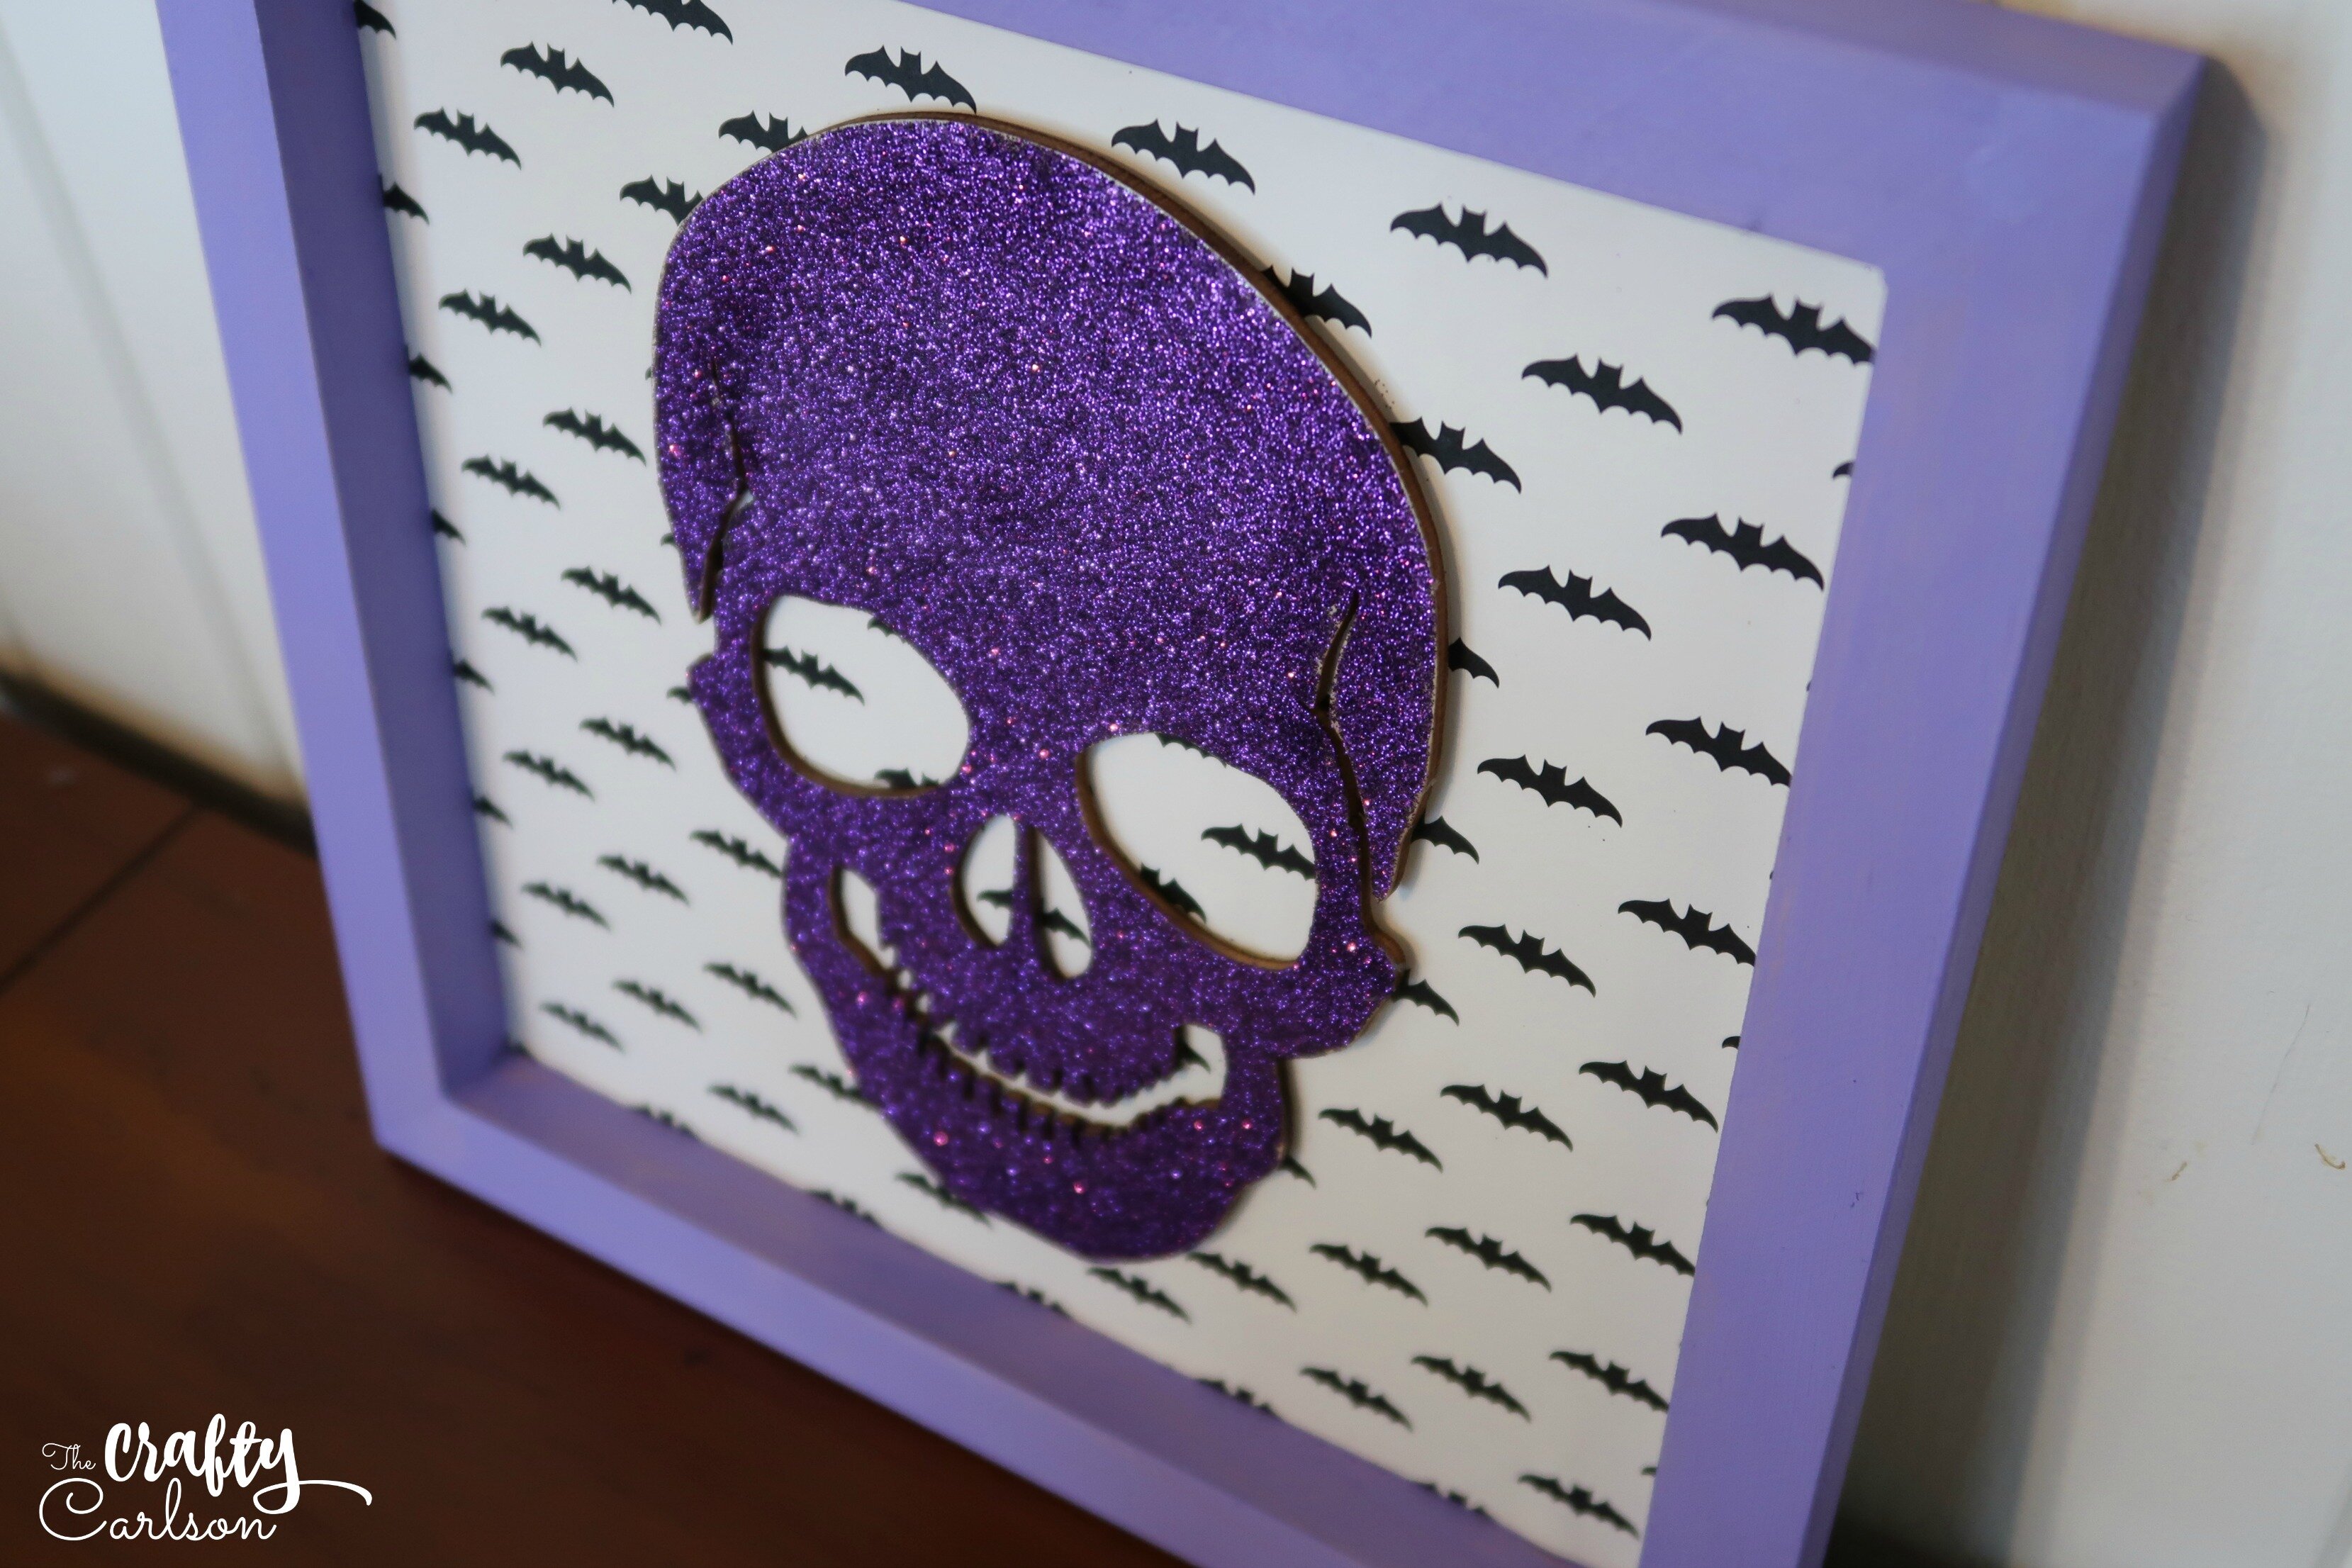
I’ve been loving the purple and black color combos this year for Halloween. So this project didn’t disappoint! And its super glittery. That was hard to capture in a photo!
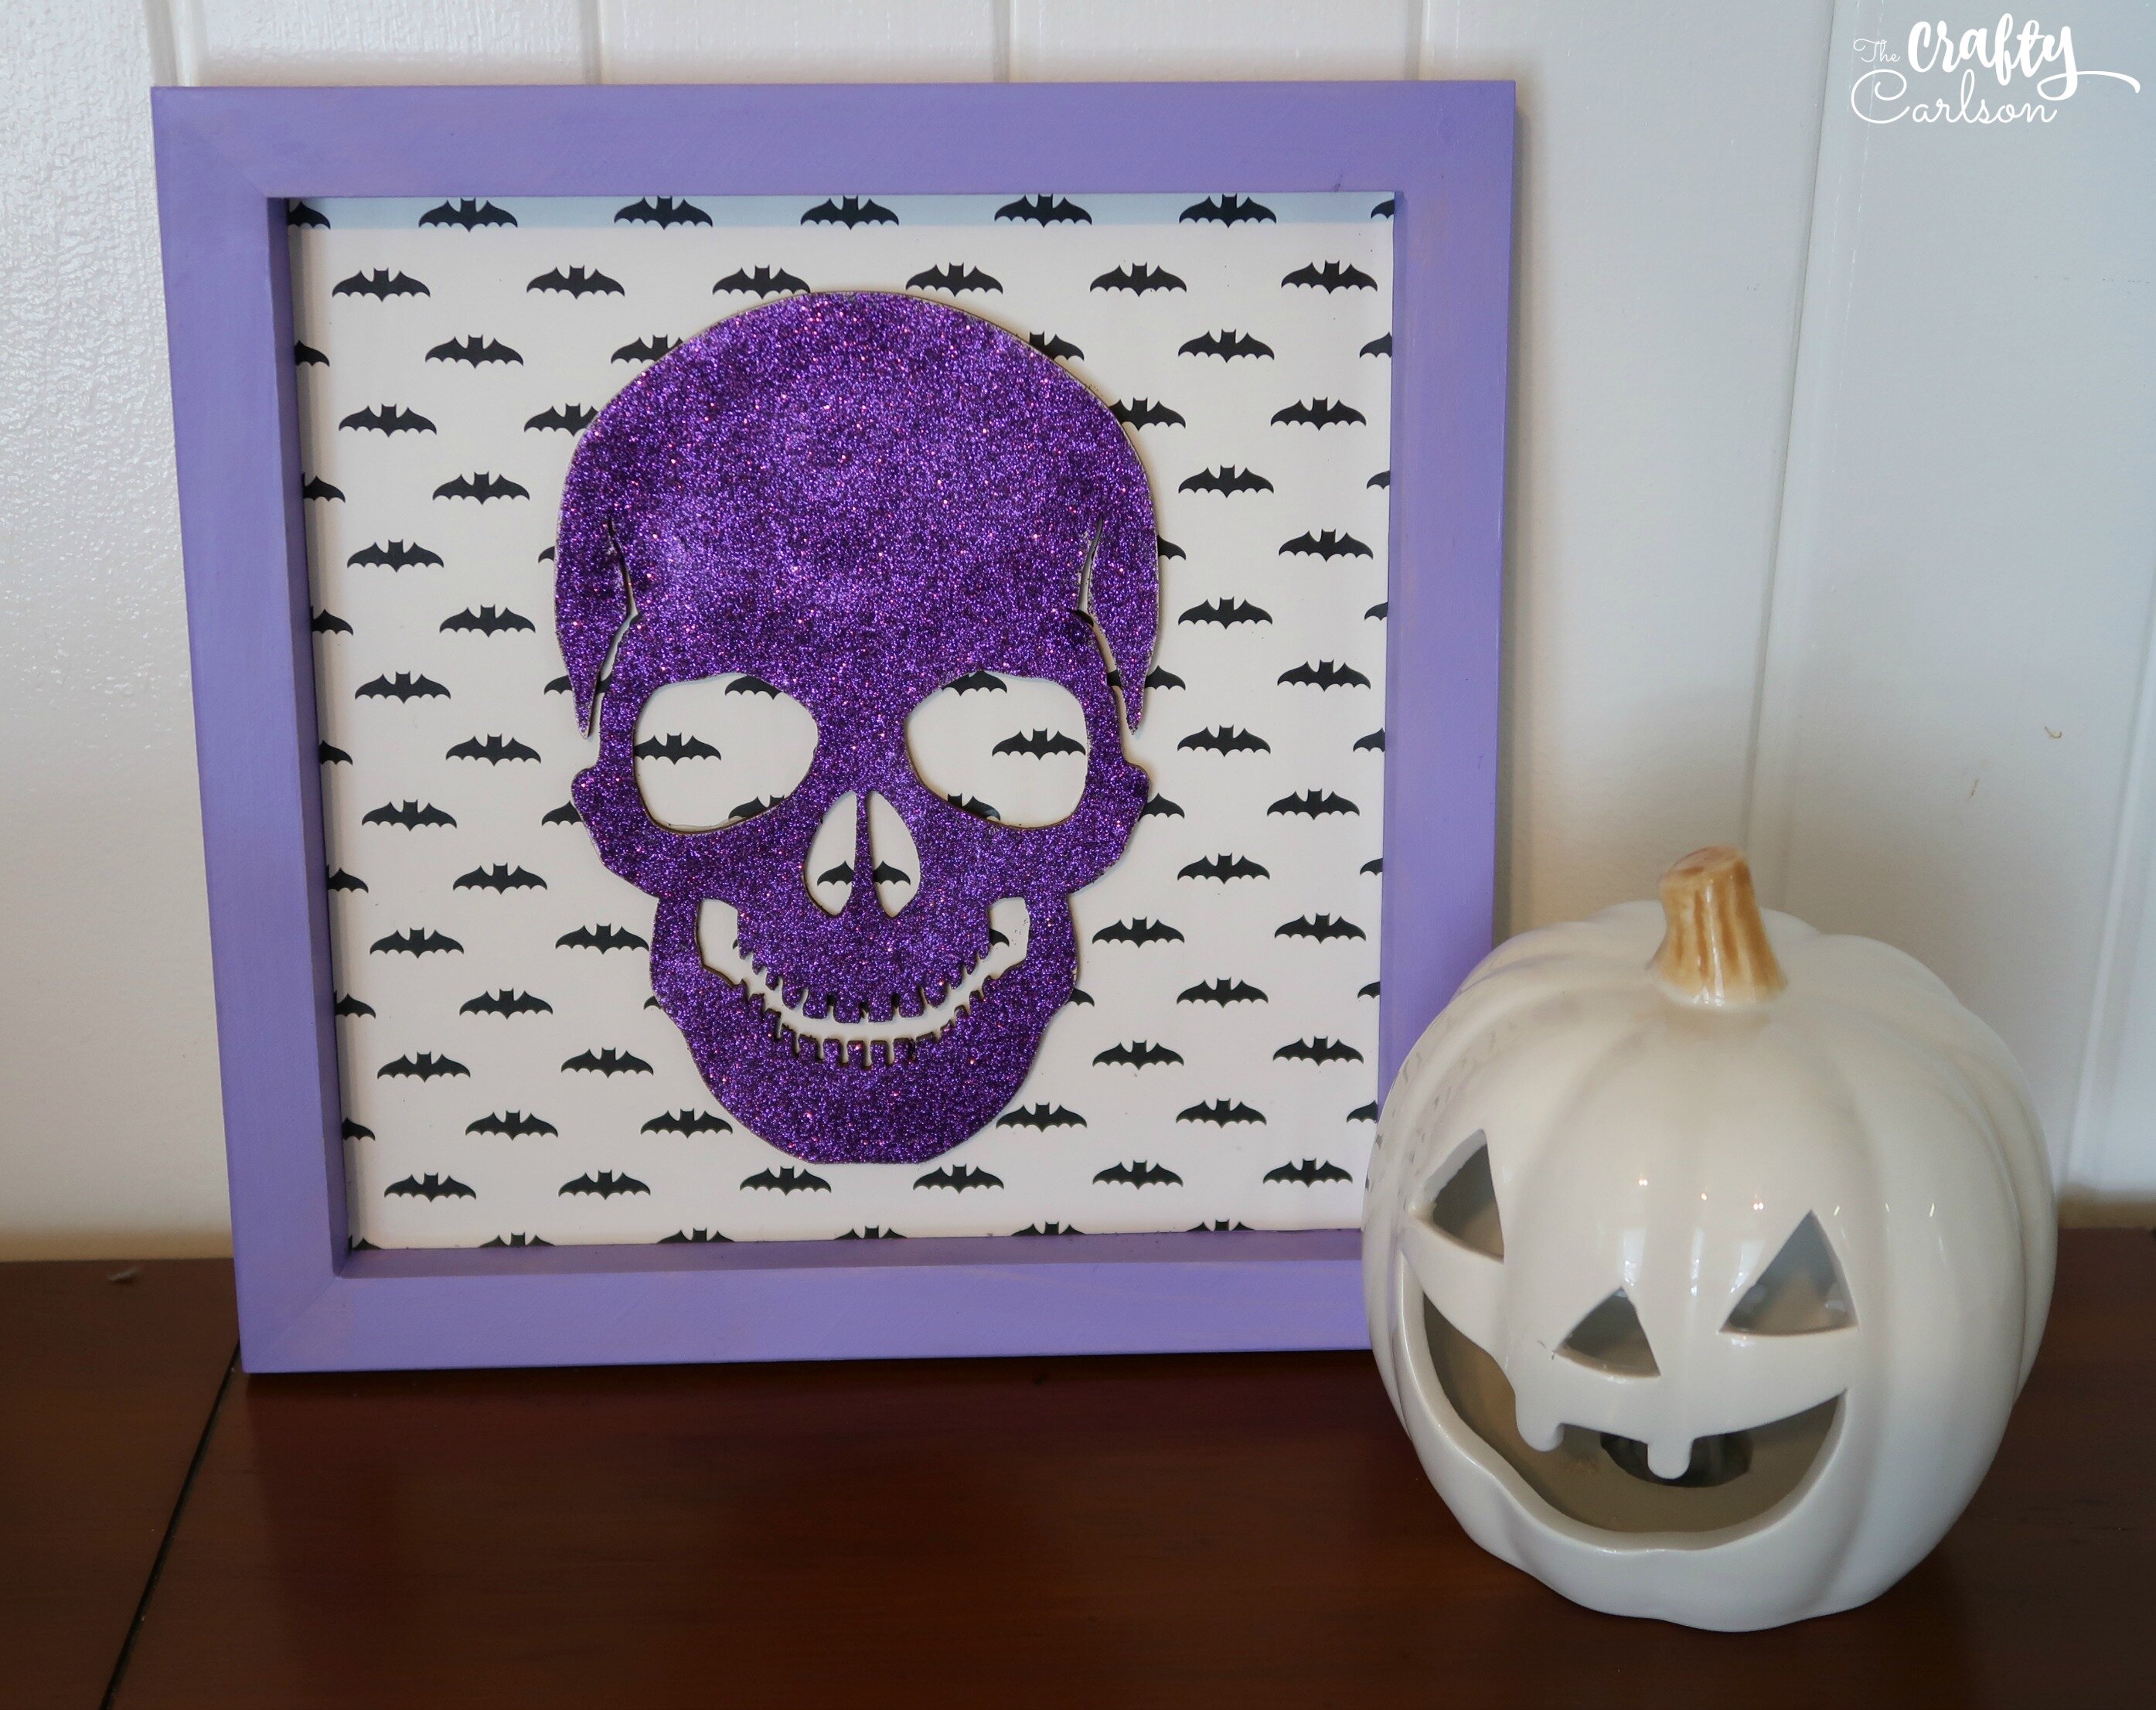
Super spooky huh! I hope you enjoyed this tutorial.
Thanks so much for reading! And Happy Halloween!
Emily
Disclosure of Material Connection: Some of the links in the post above may be affiliate links. Among others, we are a participant in the Amazon Services LLC Associates Program, an affiliate advertising program designed to provide a means for us to earn fees by linking to Amazon.com and affiliated sites. As an Amazon Associate I earn from qualifying purchases. This means if you click on the link and purchase the item, I will receive an affiliate commission. Regardless, I only recommend products or services I use personally and believe will add value to my readers. I am disclosing this in accordance with the Federal Trade Commission’s 16 CFR, Part 255: “Guides Concerning the Use of Endorsements and Testimonials in Advertising.”
[…] Sparkly Skull Art – 1 freebie(s)? […]